
User`s guide


Table Of Contents
- Contents
- Tables
- Figures
- Preface
- Introduction
- Installation
- Operation
- Functional Description
- Best Practices
- Frequently Asked Questions
Chapter 3 Operation
Managing GoVault Cartridges and Data Protection
GoVault™ Data Protection Software, Version 1.0 User’s Guide 59
Erasing Cartridges 3
The GoVault data protection software uses the standard Windows
reformat drive function to erase GoVault cartridges.
After erasing a cartridge:
• The saved protection plans that were stored on the cartridge will no
longer display the
Last run . . . text.
•The
Results page will no longer display the results for protection
plans that used the cartridge.
•The
Explore page will no longer display the protection plans that
were stored on the cartridge.
To avoid this situation, consider purchasing additional GoVault
cartridges to expand your storage capacity.
To erase a GoVault cartridge:
1 Insert the cartridge that you want to erase into the GoVault dock.
2 Click the GoVault data protection software
Cartridges command
button to display the
Cartridge dialog (see figure 46).
3 Verify that the inserted cartridge is selected/highlighted in the
Cartridge Status display and click Cartridge Utilities to open the
cartridge utilities menu.
4 Click
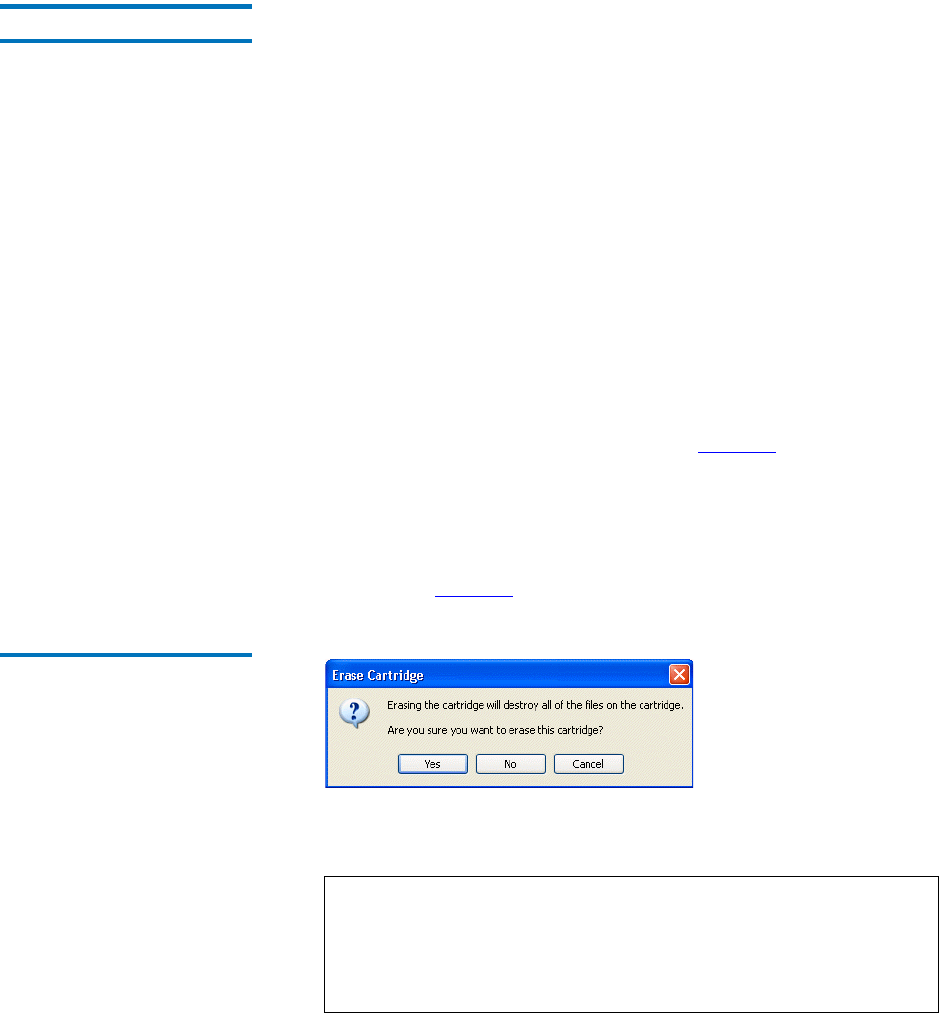
Erase Cartridge to display the Erase Cartridge confirmation
prompt (see figure 47
).
Figure 47 Erase Cartridge
Confirmation Prompt
5 Click Yes to display the standard Windows Format Removable Disk
dialog that you can use to reformat (erase) the GoVault cartridge.
Note: Always specify the NTSF file system when erasing
GoVault cartridges. The GoVault data protection software
will not recognize cartridges formatted with the FAT32 or
any other non-NTSF file system, as indicated by a resulting
Unsupported format Alert condition.