
User's Manual

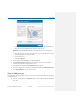
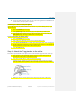
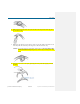
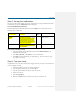
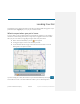
Table Of Contents
Basic Setup
Qualcomm Confidential and Proprietary 12-DRAFT May contain U.S. and international export controlled information
Step 2: Activate your Tagg device
You may have done this when you unpacked your Tagg tracker. If so, you can skip to Step 3: Add your
pet.
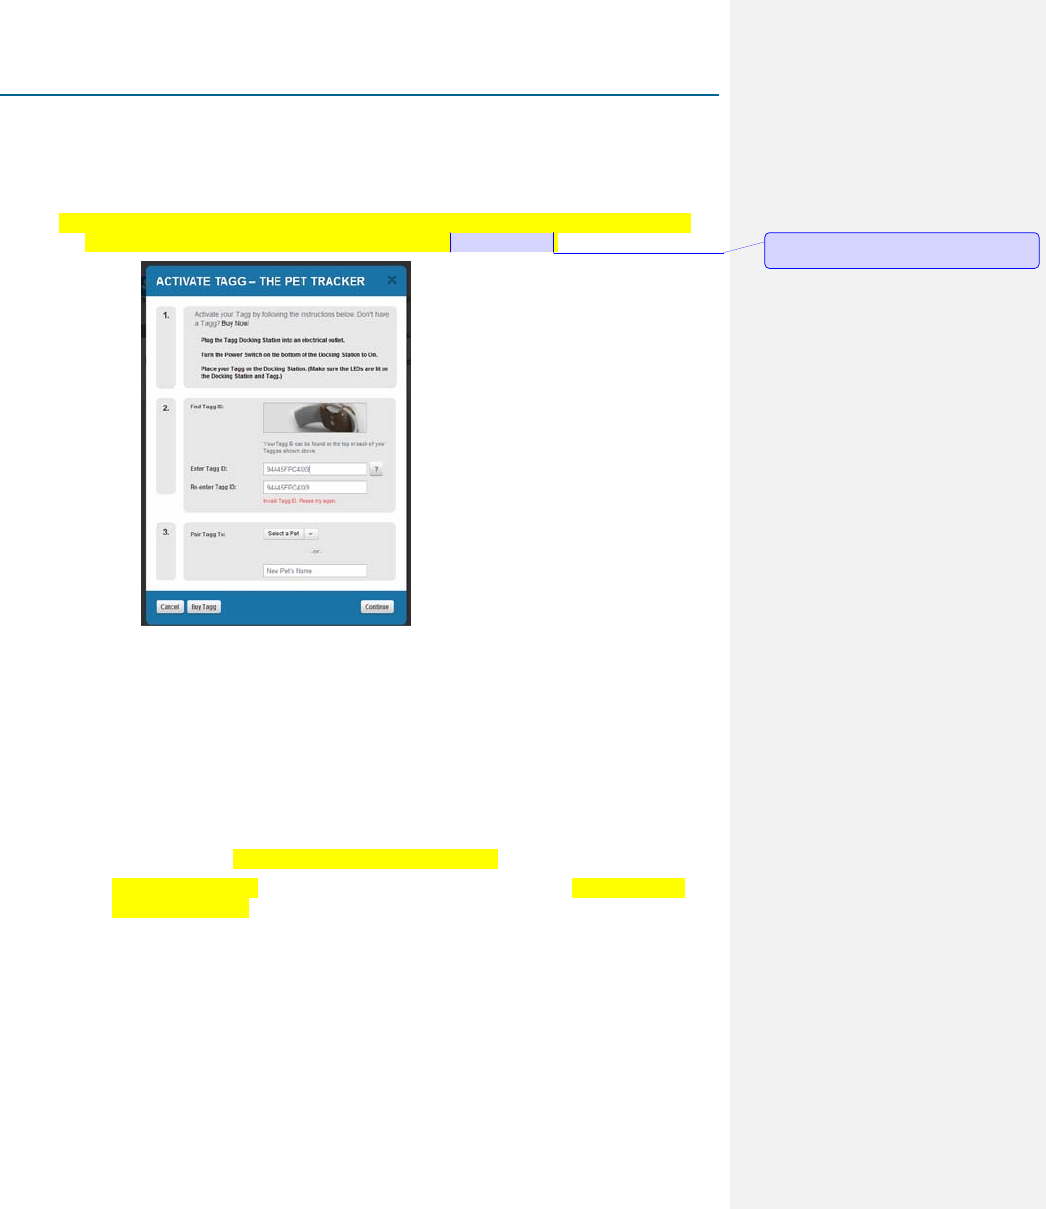
1. Open the Activate Tagg – The Pet Tracker window, as pictured here. You can get there by
clicking Activate Tagg on the Dashboard or from the marketing page.
2. Follow the instructions on the Activate Tagg – The Pet Tracker window.
a. Your Tagg ID number is listed on the temporary sticker on top of the Tagg wing and on a
permanent label on the back of the wing.
b. Pair the Tagg device with one of your dogs and click Continue
– If you have already set up a pet profile, select the pet from the list.
– If you have not set up a profile, just type your pet’s name and you can fill in the
details when you get to Step 3: Add your pet.
3. Verify your current subscription and add upgrades if desired. Click Continue.
4. Set up the Tagg Zone – the safe zone around your pet’s home.
a. The Pet Address field may auto-populate with the shipping address. If that’s not your
pet’s home address, type a different address and click View on Map.
b. The Tagg Zone appears as a blue circle centered around the street address. To adjust the
location of the Tagg Zone, click and drag the blue circle to the proper spot.
Comment [BEC2]: What is the name of this
page?