
User manual

SAS to SAS/SATA II JBOD Subsystem
User Manual
23
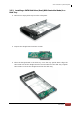
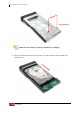
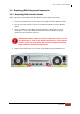
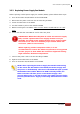
5. Turn the disk tray upside down. Align the four screw holes of the SATA disk
drive in the four Hole C of the disk tray. To secure the disk drive into the disk
tray, tighten four screws on these holes of the disk tray. Note in the picture
below where the screws should be placed in the disk tray holes.
NOTE: All the disk tray holes are labelled accordingly.
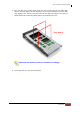
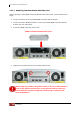
6. Insert the disk tray into the subsystem.
Tray Hole C