
ULTRATRAK100 TX4 and ULTRATRAK100 TX8 User Manual


UltraTrak100 TX4 and UltraTrak100 TX8
User Manual
30
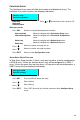
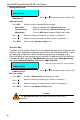
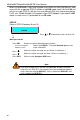
ADVANCED FEATURE
Wipe out disk
Synchronize Array
Disable Buzzer
Rebuild/Sync Pri.
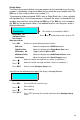
Press
or to move these items on the LCD.
What you can do:
Press
SEL
:
Selects one of the following active functions:
Wipe out disk
Moves the display to the
Wipe out disk
menu.
Synchronize Array
Moves the display to the
Synchronize Array
menu.
Disable Buzzer
Pressing
SEL
toggles between Enable and Disable
Press
:
Moves the active message line up. (
Active is marked by *.
)
Press
:
Moves the active message line down. (
Active is marked by *.
)
Press
EXIT
: Returns to the
Configure Array
menu.
W
IPE
O
UT
D
ISK
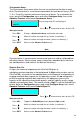
The Wipe Out Disk menu allows the user to delete the area on the hard drive that
contains array information used exclusively by the UltraTrak100 controller. It may
be necessary to wipe out a disk if the disk was previously a member of an
UltraTrak100 array and you wish to use the disk in a different UltraTrak100 array.
To wipe out a disk, go to the Configuration menu and select Configure Array;
then select Advance Features and choose Wipe Out Disk.
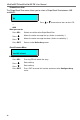
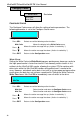
1 MAXTOR Asng In Ary 1
2 IBM Asng In Ary 2
Where the values shown are simply examples.
3 MAXTOR Asng In Ary 3
4 IBM Asng In Ary 4
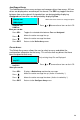
Press
or to move these items on the LCD.
What you can do:
Press
SEL
: Displays a
Wipe out disk
confirmation message.
Press
:
Moves the active message line up. (
Active is marked by *.
)
Press
:
Moves the active message line down. (
Active is marked by *.
)
Press
EXIT
: Returns to the
Advance Feature
menu.
Caution
The
Wipe Out Disk
option will delete all data on the drive that is
selected.