
User Manual

Chapter 3 Installation and Wiring
3-15
When attaching the HDD/SSD to the PS-3711A
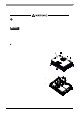
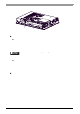
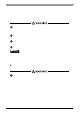
(1) Place the PS-A unit face down and unscrew eight (8)
attachment screws (See diagram).
(2) Lift the PS-A unit’s Rear Cover off of the PS-A unit.
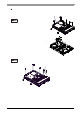
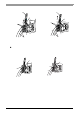
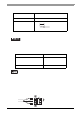
(3) Insert the HDD/SSD unit cable connector completely
into the IDE I/F. Attach the HDD/SSD unit using four (4)
attachment screws. The torque should be 0.5 to 0.6 N
•m.
(4) Repla ce the PS-A unit’s Rear Cover and reattach eight
(8) attachment screws. The torque should be 0.5 to 0.6
N•m.
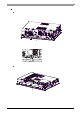
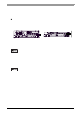
• As for AC Power Supply type, remove the
power cover as shown below.
• As for AC Power Supply type, replace the power
cover and reattach the screws.
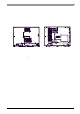
PS-A unit’s Rear Cover
IDE I/F
AC Power Supply type
Power Cover