
User Guide
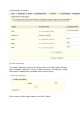


The number you write in these fields corresponds to how many of them
will appear on the product page of your online store.
In our example, we are going to modify the two values by writing "1" in
each of the fields. Once this is done, click "Update Settings." It will then
look like this:
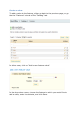
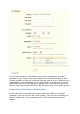
In Files Fields, indicate what type of file must be sent (i.e. "Image to
engrave"). Click the box labeled "Required" if this element is
necessary to validate the purchase
In Text Field, indicate what type of content must be filled out by
your customer (i.e. "Text to engrave"). Click the box labeled
"Required" if this element is necessary to validate the purchase.
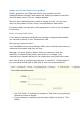
Once this is done, click on "Save labels." You should know see the
following appear in the lower part of the screen:
The advantage of this function is that it offers your customers a personal
service, which they will without a doubt appreciate!
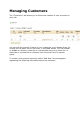
Managing Attachments
PrestaShop enables you to make some files available to your customers
before their purchase.
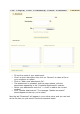
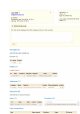
For example, let's say you sell electronics, and you would like to advise
your customers to read a document on how a product works. You can
upload a document for that purpose.
First, click on the seventh tab for your product, "Attachments".