
User Guide
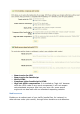
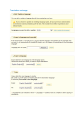

Add / Update a language
Many languages are available for your to download and install, directly
from the PrestaShop servers. Your PrestaShop install will take care of
downloading the language pack, unpacking it and create the correct sub-
folder in your install's /translation folder.
You can also update the currently installed languages, likewise directly
from the PrestaShop servers. But be reminded that any change that you
might have made to a language pack will be lost if you update it.
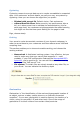
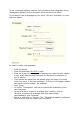
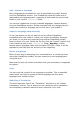
Import a language pack manually
In the case where you do not want to use an official PrestaShop
translation pack, but rather a custom one (either provided by someone
you know, or one that you exported from another PrestaShop install),
then this form is for you. Select the Zip file, click the "Import" button, and
it will install the pack in the /translation+ folder. Warning: if there
already exist a language folder with the same ISO 639-1 code, it will be
replaced by the files from the archive you are importing.
Export a language
Either as of a way of backuping your customizations, or of sharing them
with other PrestaShop installs, you can create your own language pack
using this form.
Note that the pacl will contain the theme that your translation is supposed
to support.
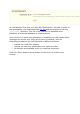
Copy
You can copy the content of one language to another. This is especially
useful when you wish to replace a theme language with the same
language from another theme.
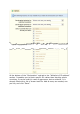
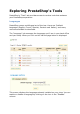
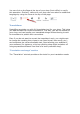
Modifying a Translation
The most important tool of the "Translation" sub-tab is in the "Modify
translations" section. This is where you can choose to edit a translation,
and completely customize each and every sentence if you wish.