
User Guide

4. Locate the new module in the modules list. You might have to scroll
down; you can also use the list's search engine, which should give
you a dynamically updated list of matching module names.
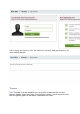
5. In the row for the new module, click the "Install" button.
6. Your module is now installed and should be activated too (green
tick). If necessary, click on the module's "Configure" link. Pay also
attention to any warning message that might be displayed by
PrestaShop.
Once configuration is complete, be sure to test the module immediately to
confirm that it works as planned.
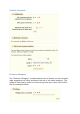
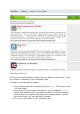
Uninstalling a module
If you only need to temporarily not use the module, but still wish to keep
its configuration, you can simply disable it: just click on the green tick,
which should then turn into a red cross, meaning that the module is still
installed, but disabled.
If you do not care about the module's configuration, click on the
"Uninstall" button: your module's folder will still be in the /modules folder,
but the module will not have any more impact on your shop.
If you changed your theme to take the module into account, make sure
that the disabling or removal of the module does not break the theme.
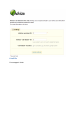
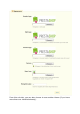
My Account
PrestaShop also enables you to access your Addons account right from the
back-office.