
User Guide


146
PrestaShop version 1.3 UserGuide – OCTOBER 2010
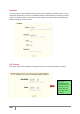
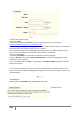
In order to add a new language,
• Enter the "Name."
• Then enter the adequate “ISO Code.” If you do not know the code, go to this address:
http://en.wikipedia.org/wiki/List_of_ISO_639-1_codes
• Enter an image of the flag of the language you want to add. (Remember to upload a very small sized
picture that does not exceed the resolution of 16 * 11 pixels.)
• Then upload an image in the new language that will appear when an image is missing from your
store. In French this image contains the words "Aucune image," for example.
• Save by clicking "Save."
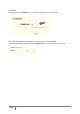
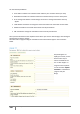
• Go to the "Translations" tab to finalize the installation of the new language.
• Click on "Browse" in the section "Import a language pack” to select the language pack already
downloaded to your computer.
• Once it is selected click on "Import." The notification "Translations added" then tells you that the
import was successful.
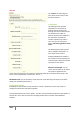
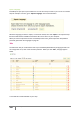
You can click on the flags at the top of your shop to verify this operation. Similarly, visitors to your
shop can now select an additional language by using the icons at the top of the page, as shown in the
screenshot below.
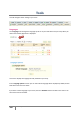
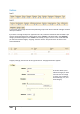
Translations
By clicking on the “Translations” tab the page below will appear.
Translation page 1