
Installation Guide
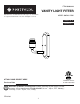
ASSEMBLY INSTRUCTIONS
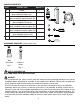
7
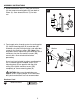
Wrap electrical tape (not included) around each
individual wire connector (AA) down to the wire.
Push wire connectors (AA) gently back into outlet
box. Carefully push excess wiring into outlet box.
WARNING: Make sure no bare wire or wire
strands are visible after making connections.
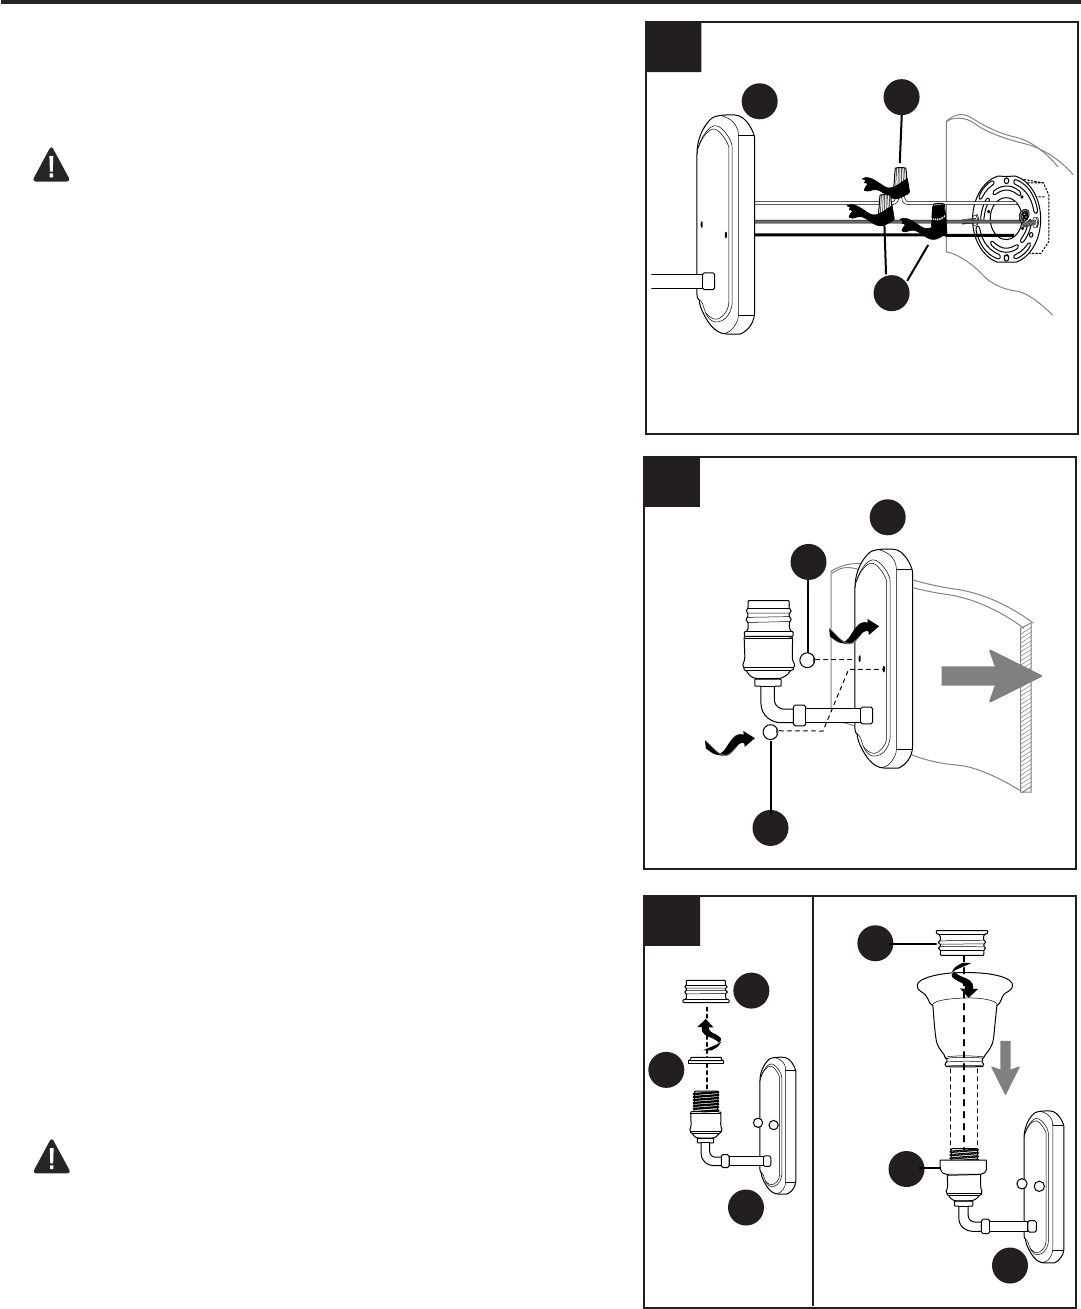
7
7.
A
AA
AA
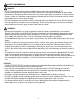
8
8.
9.
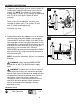
Secure fixture (A) to mounting plate (B)
using the decorative nuts (C) previously
removed (Step 3, Page 5).
OPTIONAL: If you wish to install a glass shade
(sold separately), remove socket ring (D) and
spacer (G) from socket of fixture (A). Screw shade
adapter (H) onto the socket of fixture (A). Note:
Spacer (G) will not be used.
Attach glass shade (sold separately) to socket,
securing with socket ring (D) upside down.
CAUTION: Do not overtighten socket ring (D)
as glass may crack or break.
A
C
C
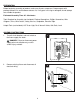
9
Glass Shade
[representative
only]
D
D
H
G
A
A