
Network Router - Wireless Network Device User Manual

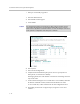
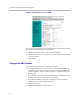
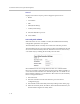
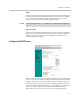
Table Of Contents
- Introduction
- Getting Started
- Configuring the V2IU 4350
- Configuration Guide For IP Centrex Applications
- Configuration Guide For Station Side IP PBX Applications
- Configuration Guide For Trunk Side IP PBX Applications
- Configuration Guide For Hosted Video Applications
- Configuration Guide For Enterprise Video Applications
- System Configuration
- Read-only User
- Subinterfaces
- ToS Byte Setting
- H.323 Configuration
- Forwarding Rules
- Peering Proxy
- Clients List Lock
- H.323 Activity Monitor
- VoIP Configuration
- Data Networking Configuration
- Traffic Management Configuration
- System Diagnostics
- Saving and Restoring the V2IU 4350 Configuration
- Upgrading the V2IU 4350
- Appendix
- Regulatory Notices
User Manual V
2
IU 4350 Converged Network Appliance
3 - 16
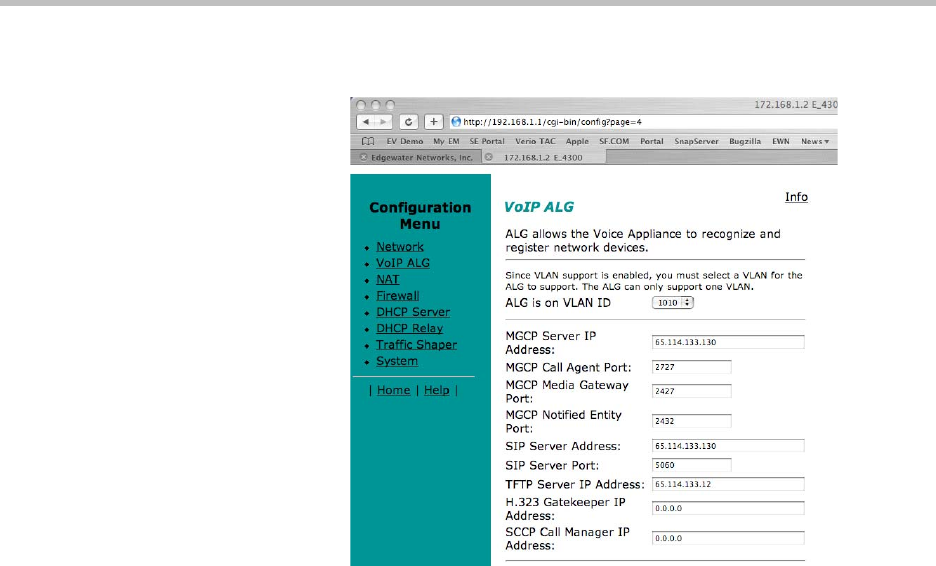
Assign the 4350’s ALG to your Priority VLAN
Once you have completed your VLAN configuration you must assign the 4350
ALG to the VLAN containing your VoIP phones.
1. Select the VoIP ALG from the main configuration menu.
2. Use the drop down menu to assign the ALG to the VLAN ID containing
your VoIP phones.
3. Press Submit.
Configure the WAN Interface
The 10/100 Ethernet WAN port is configured as follows:
1. Select ADSL-PPPoE if you want to connect to Internet using ADSL and
your ISP has given PPPoE username and password. Press Submit. You
will be prompted to enter username and password, enter these and press
Submit again.
2. Select DHCP if you want to get WAN side IP address using DHCP server
available in WAN side of the network. Press Submit.
3. Select Static IP address if you want to manually assign the IP address
configuration to the ethernet WAN interface.
4. Enter the IP Address.
5. Enter the Subnet Mask (e.g. 255.255.255.0).