
Network Router - Wireless Network Device User Manual

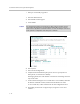
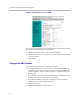
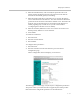
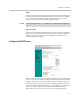
Table Of Contents
- Introduction
- Getting Started
- Configuring the V2IU 4350
- Configuration Guide For IP Centrex Applications
- Configuration Guide For Station Side IP PBX Applications
- Configuration Guide For Trunk Side IP PBX Applications
- Configuration Guide For Hosted Video Applications
- Configuration Guide For Enterprise Video Applications
- System Configuration
- Read-only User
- Subinterfaces
- ToS Byte Setting
- H.323 Configuration
- Forwarding Rules
- Peering Proxy
- Clients List Lock
- H.323 Activity Monitor
- VoIP Configuration
- Data Networking Configuration
- Traffic Management Configuration
- System Diagnostics
- Saving and Restoring the V2IU 4350 Configuration
- Upgrading the V2IU 4350
- Appendix
- Regulatory Notices
Configuring the V2IU 4350
3 - 15
— 802.1 mode: Assign the port to any ONE VLAN.
— 802.1q mode: Assign the port to any number of VLANs
Perform steps 1 through 6 above for each VLAN you wish to create.
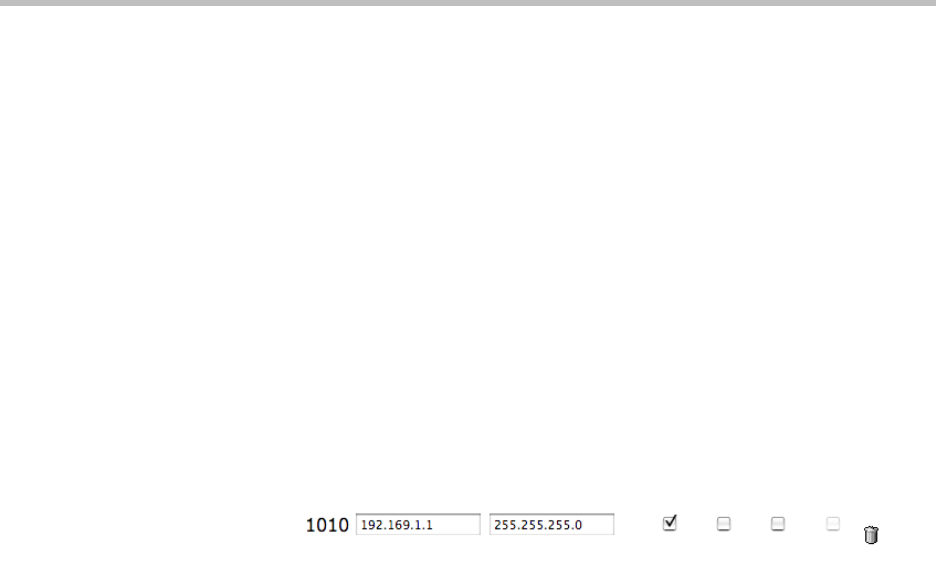
Modify an Existing VLAN Configuration
1. Select the Network link.
2. Select VLAN Settings.
3. Change the desired settings.
4. Press the Modify to modify the VLAN. The Reset button will restore the
input area being modified to its previous value.
Delete an Existing VLAN Configuration
1. Select the Network link.
2. Select VLAN Settings.
3. Press the trash can icon next to the VLAN you wish to delete.