
User's Manual DATA PROJECTOR U4-232, U4-232h


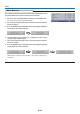
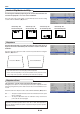
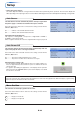
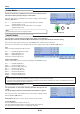
Table Of Contents
- INDEX
- English
- IMPORTANT SAFETY INFORMATION
- Major Features
- Table of Contents
- Checking the Supplied Accessories
- Names of the Main Unit Parts
- Names of the Remote Control Parts
- Preparing the Remote Control
- The Procedure Up to Projecting to the Screen
- Placement Guide
- Connecting Personal Computers and Video Equipment
- Power Cable Connections and Switching the Power On/Off
- Adjustment of the Projection Screen
- General Operation
- Input Selection
- Automatic Adjustment of Analog RGB
- Selection of Aspect Ratio
- Freezing a Moving Picture
- Cancelling Video and Audio Temporarily
- Lamp Mode
- Keystone
- Adjustment of the Volume
- Enlargement of the Image and Video Movement
- Using the Presentation Timer
- Protecting the Projector with the Security Lock
- Using the Quick Menu
- Menu Operation Method
- Image
- Color
- View
- Setup
- Option
- Info.
- When an Indicator is Lit or Blinking
- Troubleshooting
- Cleaning
- Replacing the Lamp Cartridge
- Specifications
- Table of Supported Frequencies
- Cabinet Dimensions
E-50
Setup
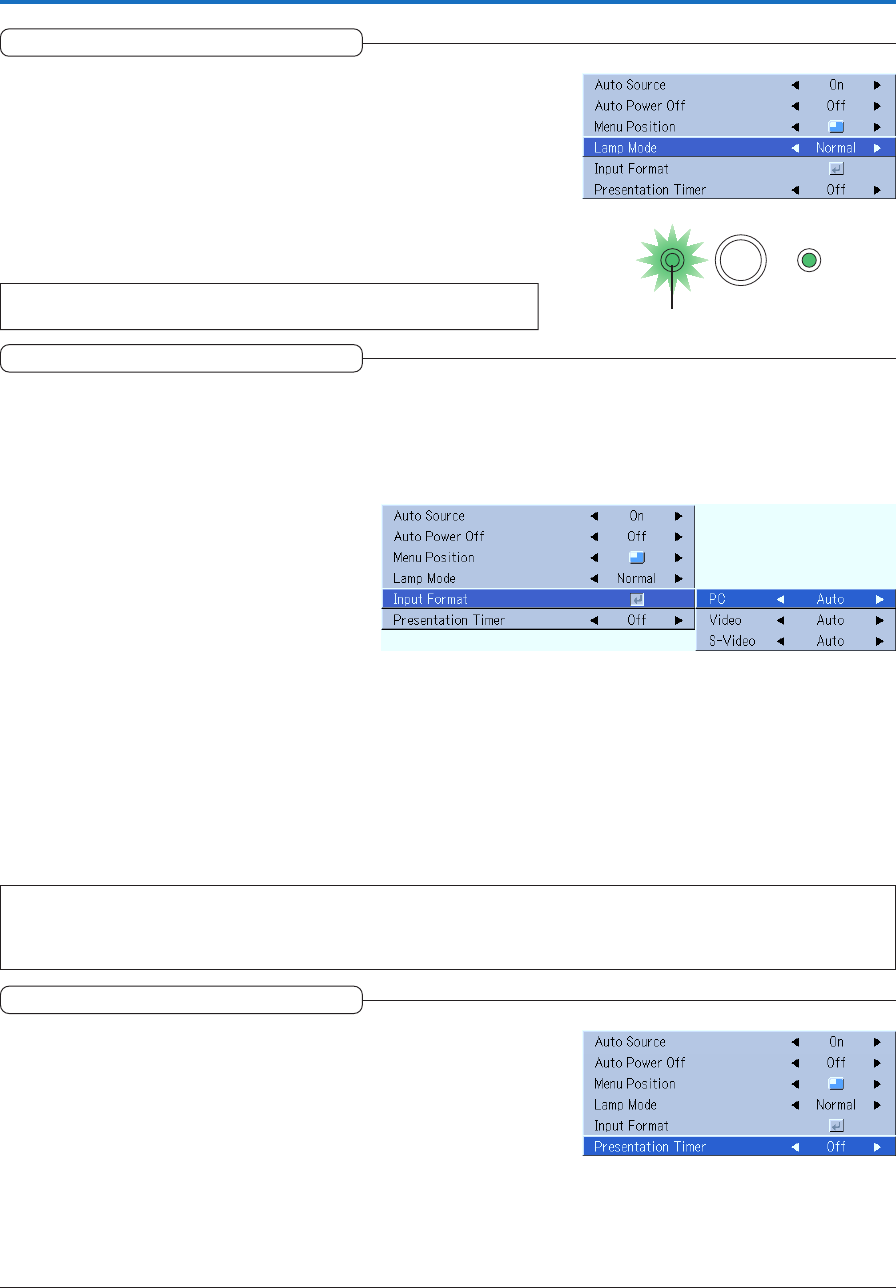
Lamp Mode
Use this if the picture is projected on a small screen and the picture is
too bright or when projecting images in dark rooms.
Select the item name “Lamp Mode” and select the setting contents with the
SELECT (왗왘) buttons.
Eco ............. The lamp brightness is set to 80% and the lamp life is extended.
(STATUS indicator is green)
Normal ....... The lamp brightness is set to 100% and the screen is bright.
(STATUS indicator is off)
Note:
Frequent switching this mode can degrade the lamp.
Presentation Timer
The presentation is given while checking the timer displayed on the
screen.
The gauge display allows the remaining time to be known at a glance.
Select the item name “Presentation Timer” and select the setting contents
with the SELECT (왗왘) buttons.
Setting contents: Off, 10 min., 20 min., 30 min., 40 min. , 50 min., 60 min.
To start the timer...
Press the MENU button and open the menu.
The timer display will appear at the lower right and the timer will start.
See “Using the Presentation Timer” on Page E-31 for details.
Input Format
This function is used in setting the input signals of the input connectors.
Normally, this should be set to Auto. When identification is not possible with Auto, make the setting.
Select the item name “Input Format”, press the ENTER button, and the sub menu will open.
Select the connector that is to be changed, and select the setting contents with the SELECT (왗왘) buttons.
[PC]
This is the signal setting for the DVI connector.
Auto ............ Automatically identifies the signal.
RGB ............ Analog RGB signal is set.
Digital ......... Digital RGB signal is set.
Component . Component signal is set.
[Video] and [S-Video]
[“Video” and “S-Video” are the color format settings for the VIDEO connector.
Auto ............ Automatic identification.
NTSC .......... Fixed to the NTSC system.
NTSC 4.43 .. Fixed to the NTSC 4.43 system.
PAL ............. Fixed to the PAL system.
PAL M ......... Fixed to the PAL M system.
PAL N ......... Fixed to the PAL N system.
PAL 60 ........ Fixed to the PAL 60 system.
SECAM ....... Fixed to the SECAM system.
Note:
* When the input format has been switched, you may be required to reconnect the input signal.
* The picture may be disturbed when the input format is switched or when the mode is set back to auto. This is not a malfunction. The picture
will return to normal when the input is switched, etc.
STATUS STANDBY
STATUS Indicator