
user manual
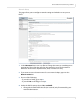
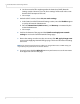
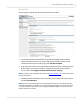
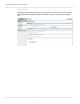
Table Of Contents
- Table of Contents
- Introduction
- Installing a Planar UltraRes Display
- LCD Installation
- Installing the UltraRes Control Software
- Using the UltraRes Control Software
- UltraRes Dimensions
- Display Dimensions - Front and Side Views
- Display Dimensions - Rear View
- Landscape Wall Mounts - Front View
- Landscape Wall Mounts - Sides Views
- Portrait Wall Mounts - Front View
- Portrait Wall Mounts - Sides Views
- Optional Pedestal Mount - Front View
- Optional Pedestal Mount - Top and Bottom Views
- Optional Pedestal Mount - Single and Double Sided
- Planar UltraRes Remote Monitoring Software
- RS232 Communication
- RS232 Commands
- Command Format
- Response Format
- Supported UltraRes 4K Commands
- Specifications
- Troubleshooting During Installation
- Accessing Planar’s Technical Support Website
- Regulatory Information
- Index
Planar UltraRes Remote Monitoring Software
Planar UltraRes User Manual 71
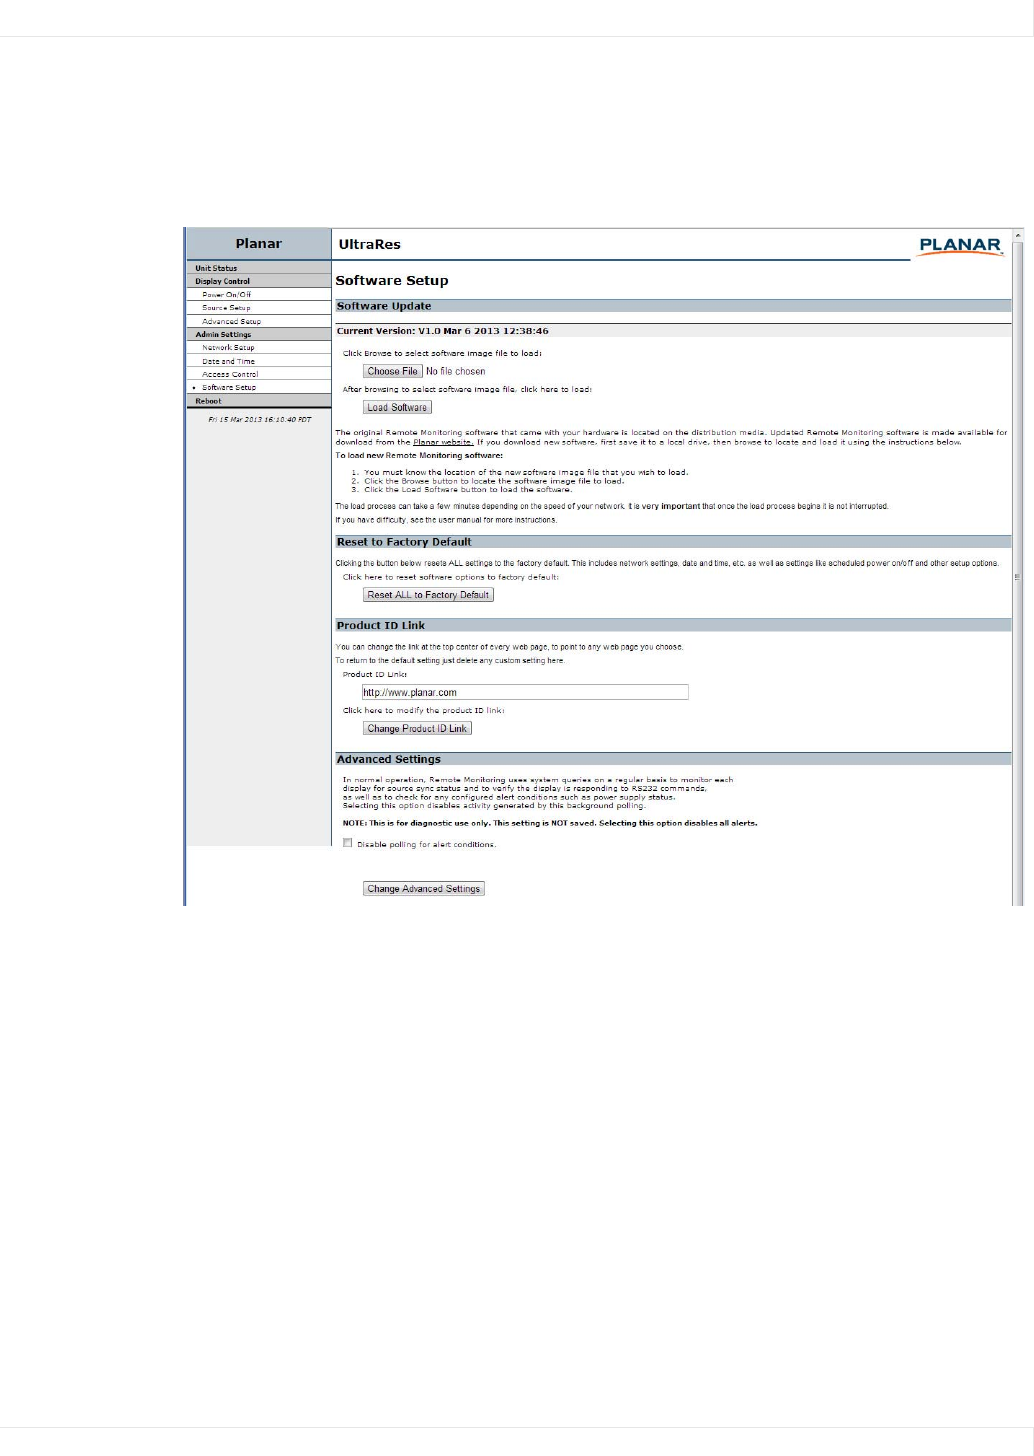
Software Setup (Upgrading Network Firmware)
This page allows you to upload the latest UltraRes Remote Monitoring software. You
can also reset all of your settings to the factory defaults, as well as choose the web
page link that is associated with the Planar logo in the top right corner of the page.
1 Click the Choose File button to locate the latest UltraRes software that you
downloaded from Planar’s website.
Note: Make sure the software is downloaded to a local drive.
2
Click the Load Software button to load the new software. This process can take a
few minutes, depending on the speed of your network. It is very important that
you do not interrupt the load process once it begins.
3 If you want to reset ALL settings to the factory default, click the Reset ALL to
Factory Default button. This includes network settings, date and time, etc., as
well as display settings.
Caution: Using this option will reset all of your configurations and reboot the remote
monitor. Because this includes network settings, be aware that the UltraRes Remote