
user manual
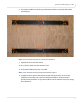
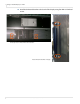
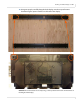
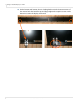
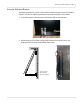
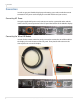
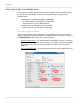
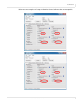
Table Of Contents
- Table of Contents
- Introduction
- Installing a Planar UltraRes Display
- LCD Installation
- Installing the UltraRes Control Software
- Using the UltraRes Control Software
- UltraRes Dimensions
- Display Dimensions - Front and Side Views
- Display Dimensions - Rear View
- Landscape Wall Mounts - Front View
- Landscape Wall Mounts - Sides Views
- Portrait Wall Mounts - Front View
- Portrait Wall Mounts - Sides Views
- Optional Pedestal Mount - Front View
- Optional Pedestal Mount - Top and Bottom Views
- Optional Pedestal Mount - Single and Double Sided
- Planar UltraRes Remote Monitoring Software
- RS232 Communication
- RS232 Commands
- Command Format
- Response Format
- Supported UltraRes 4K Commands
- Specifications
- Troubleshooting During Installation
- Accessing Planar’s Technical Support Website
- Regulatory Information
- Index
Installing an UltraRes Display on a Wall
Planar UltraRes User Manual 25
8 Line up the middle hole of the top wall mount with the screw hole drilled from
the template.
Note: This picture shows mounts for a landscape installation.
9
Tighten the screw into the mount.
10 Use a level to make sure the mount is level.
11 Then install additional screws as needed.
Note: Screws installed near the hooks provide the best support.
12
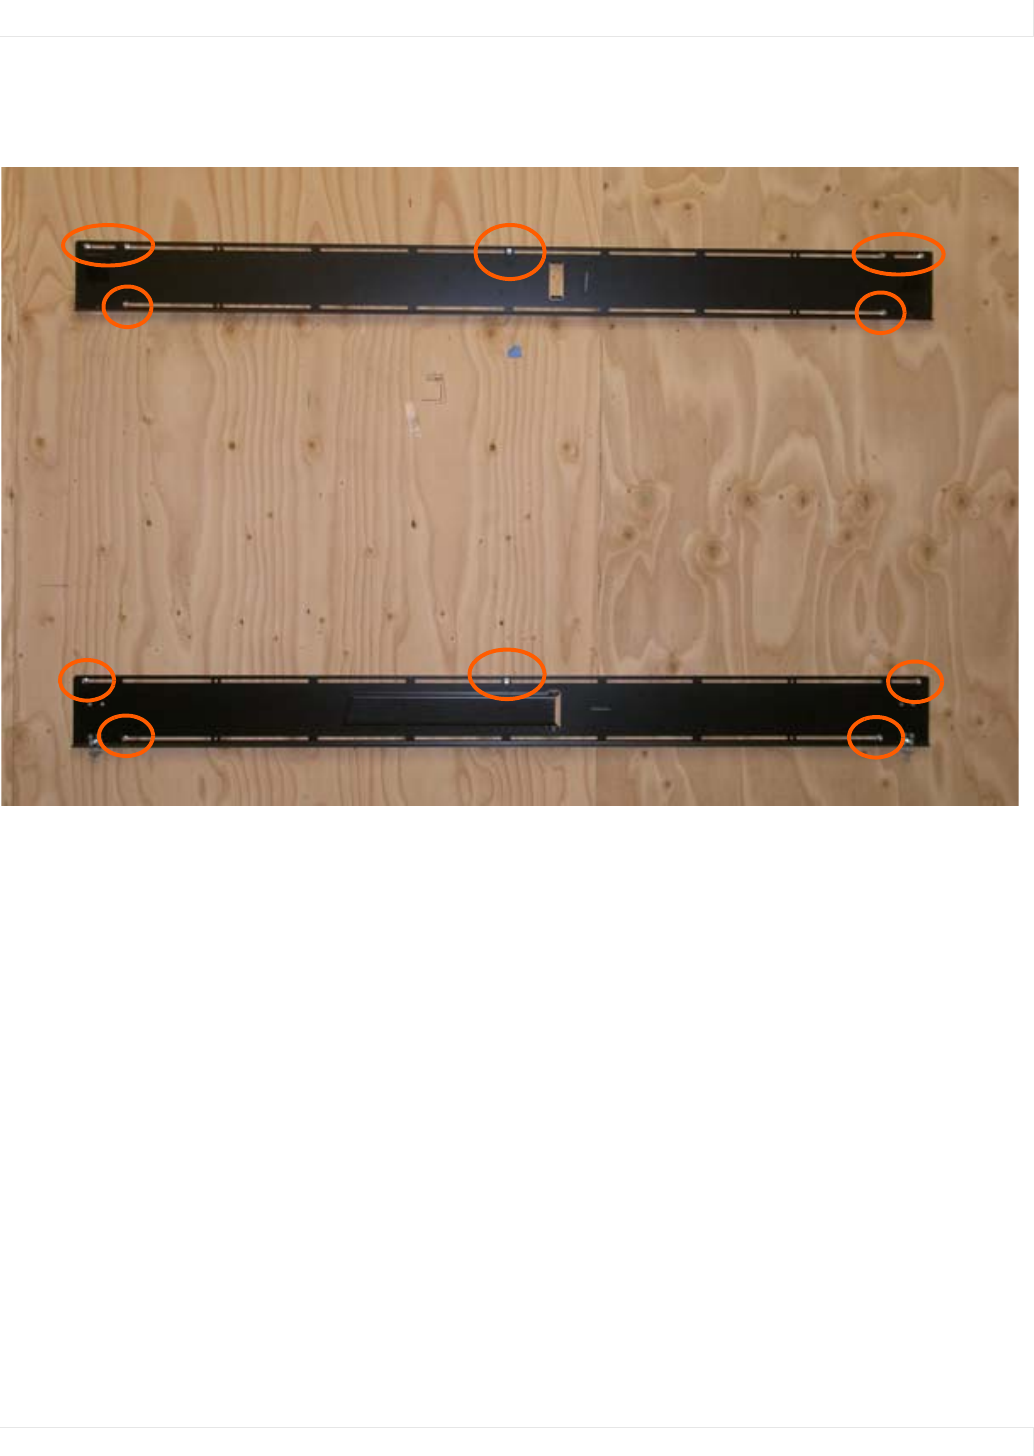
Install the center screw in the bottom mount and repeat steps 10-11 for any
additional screws that you want to install. Note that there are open mount
channels on the brackets. So you can install the screws wherever necessary along
those channels.