
user manual
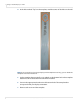
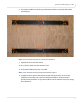
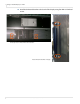
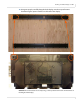
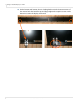
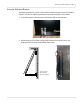
Table Of Contents
- Table of Contents
- Introduction
- Installing a Planar UltraRes Display
- LCD Installation
- Installing the UltraRes Control Software
- Using the UltraRes Control Software
- UltraRes Dimensions
- Display Dimensions - Front and Side Views
- Display Dimensions - Rear View
- Landscape Wall Mounts - Front View
- Landscape Wall Mounts - Sides Views
- Portrait Wall Mounts - Front View
- Portrait Wall Mounts - Sides Views
- Optional Pedestal Mount - Front View
- Optional Pedestal Mount - Top and Bottom Views
- Optional Pedestal Mount - Single and Double Sided
- Planar UltraRes Remote Monitoring Software
- RS232 Communication
- RS232 Commands
- Command Format
- Response Format
- Supported UltraRes 4K Commands
- Specifications
- Troubleshooting During Installation
- Accessing Planar’s Technical Support Website
- Regulatory Information
- Index
Installing an UltraRes Display on a Wall
24 Planar UltraRes User Manual
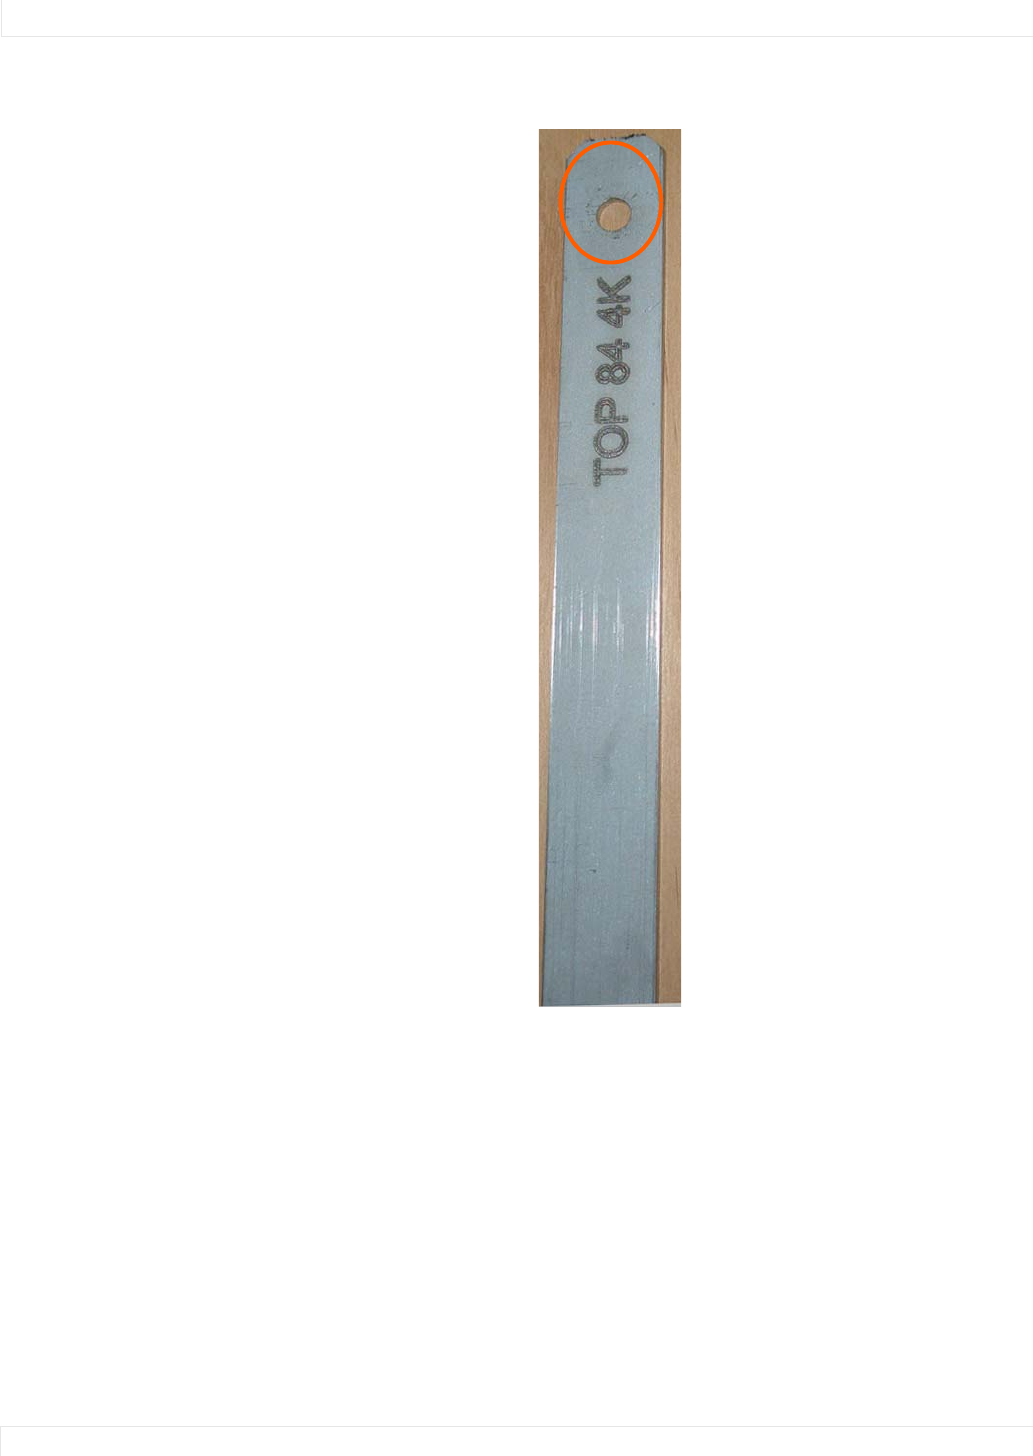
4 In the hole marked “Top” on the template, mark the center of the hole on the wall.
Note: If you are installing a landscape display and the template is too long, you can break the
template at the notch labeled “P.”
5
Let the template hang vertically so it is plumb, as the bottom hole in the template
determines where the bottom mount will be installed.
6 Screw in the appropriate hardware in the bottom hole of the template that
corresponds with your display orientation.
7 Remove each screw and the template.