
Operation Manual


Table Of Contents
- Using Your Camera Safely
- Care to be Taken During Handling
- Contents
- Composition of the Operating Manual
- Camera Features
- 1 Getting Started
- 2 Common Operations
- 3 Taking Pictures
- Taking Still Pictures
- Taking Pictures
- Setting the Shooting Mode
- Using the Face Detection Function
- Taking Pictures Automatically (Auto Picture Mode)
- Taking Pictures in the Custom Settings (Program Mode)
- Taking Pictures in the Basic Mode (Green Mode)
- Using the Zoom
- Taking Pictures of Dark Scenes (Night Scene/Night Scene Portrait/Digital SR/Fireworks/Candlelight Mode)
- Taking Pictures of People (Portrait/Natural Skin Tone Mode)
- Taking Pictures of Children (Kids Mode)
- Taking Pictures of Your Pet (Pet Mode)
- Taking Pictures of Sports and Leisure Activities (Sport/Surf & Snow Mode)
- Framing Your Pictures (Frame Composite Mode)
- Taking Pictures Indoors (Party Mode)
- Taking Pictures of Text (Text Mode)
- Taking Pictures Using the Miniature/HDR Filter
- Using the Camera’s Self-timer
- Taking a Series of Pictures (Continuous Shooting/Burst Shooting Mode)
- Taking Pictures Using the Remote Control Unit (Optional)
- Setting the Shooting Functions
- Selecting the Flash Mode
- Selecting the Focus Mode
- Selecting the Number of Recorded Pixels
- Compensating for Exposure (EV Compensation)
- Correcting the Brightness (D-Range Setting)
- Adjusting the White Balance
- Setting the AE Metering
- Setting the Sensitivity
- Switching the Face Detection Function
- Setting the Shake Reduction Function
- Setting the Instant Review
- Setting the Image Sharpness (Sharpness)
- Setting the Color Saturation (Saturation)
- Setting the Image Contrast (Contrast)
- Setting the Date Imprint Function
- Calling Up a Specific Function
- Recording Movies
- Saving the Settings (Memory)
- Taking Still Pictures
- 4 Playing Back and Deleting Images
- 5 Editing and Printing Images
- 6 Recording and Playing Back Sound
- 7 Settings
- Camera Settings
- Formatting an SD Memory Card
- Changing the Sound Settings
- Changing the Date and Time
- Setting the World Time
- Changing the Display Language
- Changing the Naming System of the Folder
- Changing the Video Output Format
- Adjusting the Brightness of the Display
- Using the Power Saving Function
- Setting the Auto Power Off Function
- Changing the Start-up Screen
- Correcting Defective Pixels in the CCD Sensor (Pixel Mapping)
- Resetting to Default Settings (Reset)
- Camera Settings
- 8 Connecting to a Computer
- 9 Appendix
167
7
Settings
6
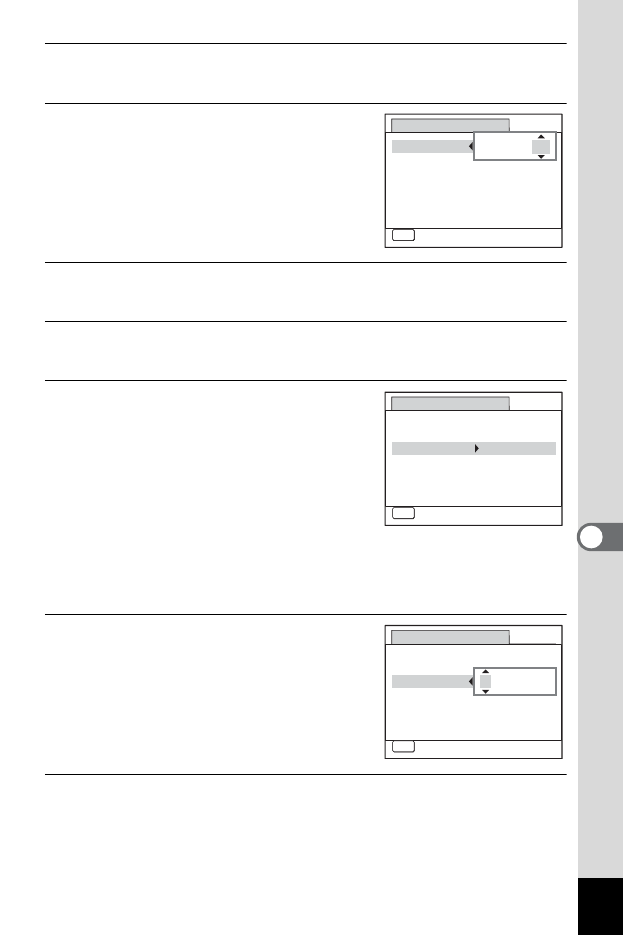
Press the four-way controller (5).
The frame moves to [24h].
7
Use the four-way controller (23)
to select [24h] (24-hour display) or
[12h] (12-hour display).
8
Press the four-way controller (5).
The frame returns to [Date Format].
9
Press the four-way controller (3).
The frame moves to [Date].
10
Press the four-way controller (5).
The frame moves to one of the following
items depending on the date format set in
Step 5.
Month for [mm/dd/yy]
Day for [dd/mm/yy]
Year for [yy/mm/dd]
The following operations and screen use [mm/dd/yy] as an example.
The operations are the same even if another date format has been
selected.
11
Use the four-way controller (23)
to change the month.
12
Press the four-way controller (5).
The frame moves to the day field. Use the four-way controller (23) to
change the day. After changing the day, change the year in the same
manner.
MENUMENU
D ate Ad j u stme nt
C ancel
D ate Format
D
at
e
Tim e
S e tti n gs complete
0 1 /0
1 /20
1
1
00:00
mm dd yy//
24h
MENU
D ate Ad j u stme nt
C ancel
D ate Format
D
at
e
Tim e
S e tti n gs complete
0 1 /0
1 /20
1
1
00:00
mm dd yy// 24h
MENU
D ate Ad j u stme nt
C ancel
D ate Format
D
at
e
Tim e
S e tti n gs complete
00:00
mm dd yy// 24h
0 1 /01 /2011