Operating Manual
Table Of Contents
- FOR YOUR SAFETY
- PRECAUTIONS FOR BATTERY USAGE
- Handling the Camera
- CONTENTS
- Contents of this manual
- 1 Before using your camera
- 2 Getting Started
- 3 Basic Operation
- 4 Shooting Functions
- 5 Playback Functions
- 6 Settings
- Setting Menu List
- How to Operate the Settings Menu
- Camera Settings
- Formatting a CF card
- Setting the Custom Functions
- Setting the Color Saturation
- Setting the Image Sharpness
- Setting the Contrast
- Setting the Instant Review
- Auto Power Off
- Turning the Beep On and Off
- Changing the Date Style and Date / Time
- Setting the World Time
- Setting the Display Language
- Selecting the Video Output Format
- Setting the LCD Monitor Brightness
- Resetting the File Number
- Setting the Slideshow
- Sensor Cleaning
- Resetting to Default Settings
- Custom Function Chart
- List of City Names
- 7 Connecting
- 8 Appendix
- More Details about Capture Functions
- Effect of Aperture and Shutter Speed
- Calculating flash distance from the aperture used (using built-in flash)
- Calculating aperture used from the flash distance (using the built-in flash)
- F, FA and FA J Lenses Compatibility with the Built-in Flash
- Setting the White Balance Manually
- FUNCTIONS AVAILABLE WITH VARIOUS LENS COMBINATIONS
- Optional Accessories
- Cleaning the CCD
- Precautions Regarding Memory Cards
- Error Messages
- Troubleshooting
- Main Specifications
- Glossary
- WARRANTY POLICY
- More Details about Capture Functions

53
Shooting Functions
4
1
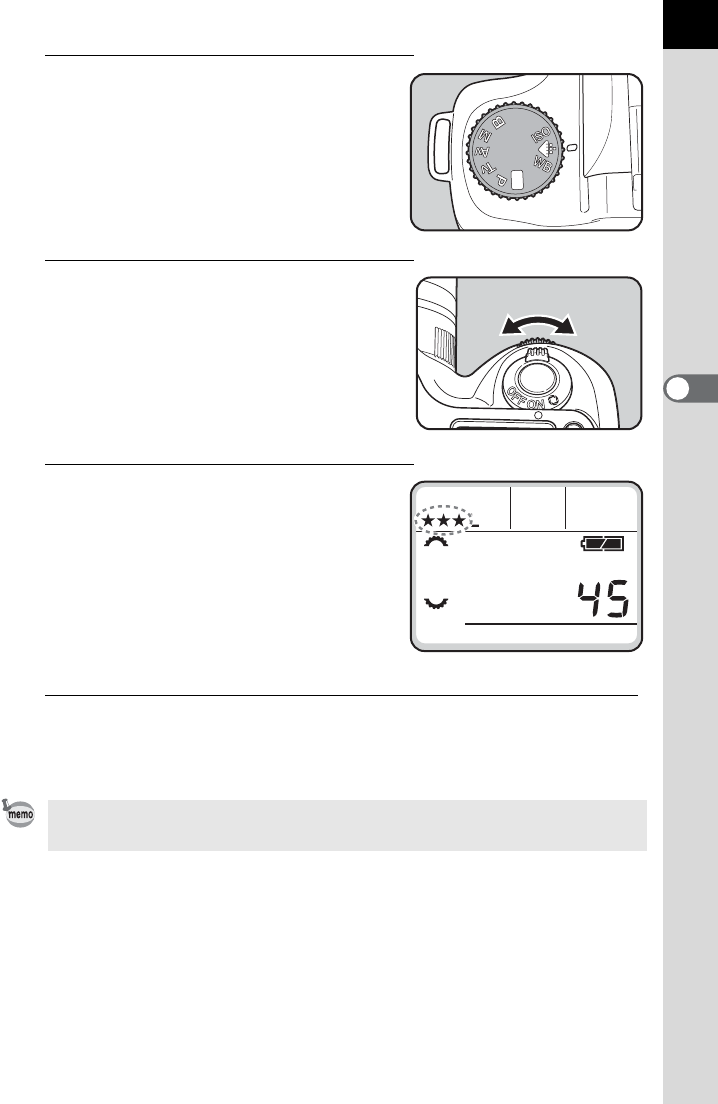
Select the mode dial to 8.
2
Select the quality level with the
b dial.
3
Confirm the quality level on the
LCD panel.
4
Set the mode dial to your desired capture mode.
The camera is ready to take a picture.
Pressing the green button while setting the quality level will make the quality
level revert to the default value (C(Best)).


