
Operating Manual

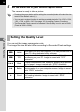
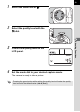
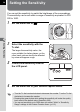

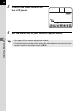


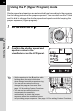
Table Of Contents
- FOR YOUR SAFETY
- PRECAUTIONS FOR BATTERY USAGE
- Handling the Camera
- CONTENTS
- Contents of this manual
- 1 Before using your camera
- 2 Getting Started
- 3 Basic Operation
- 4 Shooting Functions
- 5 Playback Functions
- 6 Settings
- Setting Menu List
- How to Operate the Settings Menu
- Camera Settings
- Formatting a CF card
- Setting the Custom Functions
- Setting the Color Saturation
- Setting the Image Sharpness
- Setting the Contrast
- Setting the Instant Review
- Auto Power Off
- Turning the Beep On and Off
- Changing the Date Style and Date / Time
- Setting the World Time
- Setting the Display Language
- Selecting the Video Output Format
- Setting the LCD Monitor Brightness
- Resetting the File Number
- Setting the Slideshow
- Sensor Cleaning
- Resetting to Default Settings
- Custom Function Chart
- List of City Names
- 7 Connecting
- 8 Appendix
- More Details about Capture Functions
- Effect of Aperture and Shutter Speed
- Calculating flash distance from the aperture used (using built-in flash)
- Calculating aperture used from the flash distance (using the built-in flash)
- F, FA and FA J Lenses Compatibility with the Built-in Flash
- Setting the White Balance Manually
- FUNCTIONS AVAILABLE WITH VARIOUS LENS COMBINATIONS
- Optional Accessories
- Cleaning the CCD
- Precautions Regarding Memory Cards
- Error Messages
- Troubleshooting
- Main Specifications
- Glossary
- WARRANTY POLICY
- More Details about Capture Functions
52
Shooting Functions
4
4
Set the mode dial to your desired capture mode.
The camera is ready to take a picture.
You can set the image compression rate.
The image file size will also differ according to Recorded Pixels settings.
• Pressing the green button while setting the recorded pixels will make the size
revert to the default value (L).
• You can set a custom function to set the recorded pixels for S to 1536 × 1024,
1152 × 768, or 960 × 640. See page 115 for setting Custom Functions.
• The Recorded Pixels cannot be selected if the Quality Level is set to RAW.
(Fixed at 3008 × 2008)
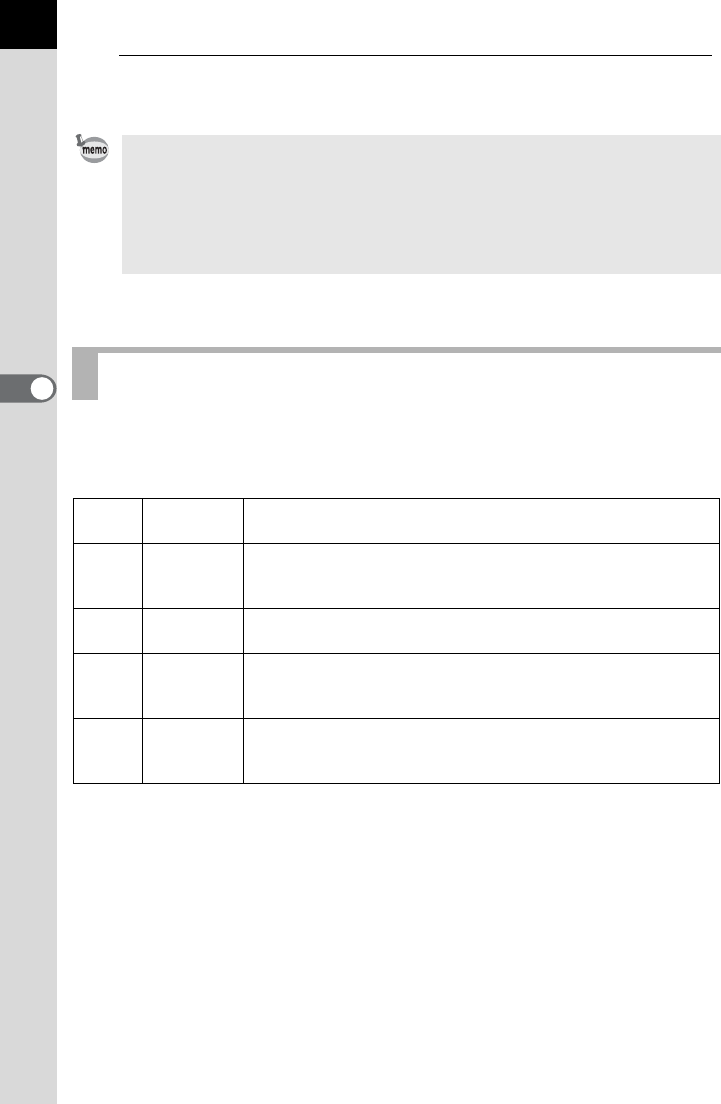
Setting the Quality Level
1 RAW
Raw data, just as it was captured. You can process this on
your PC using dedicated utility software.
2 TIFF
Image is recorded as uncompressed data. Suited for
processing on your PC. Image is saved with “TIFF”
extension.
C Best
Lowest compression rate, suited for printing large pictures
on A4 paper. Image is saved with “JPEG” extension.
D Better
Standard compression rate, suited for viewing as standard
photographs or on your computer screen. Image is saved
with “JPEG” extension.
E Good
Highest compression rate, suited for attaching to e-mail, or
for creating websites. Image is saved with “JPEG”
extension.