
Operating Manual

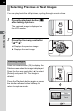

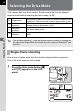


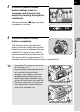


Table Of Contents
- FOR YOUR SAFETY
- PRECAUTIONS FOR BATTERY USAGE
- Handling the Camera
- CONTENTS
- Contents of this manual
- 1 Before using your camera
- 2 Getting Started
- 3 Basic Operation
- 4 Shooting Functions
- 5 Playback Functions
- 6 Settings
- Setting Menu List
- How to Operate the Settings Menu
- Camera Settings
- Formatting a CF card
- Setting the Custom Functions
- Setting the Color Saturation
- Setting the Image Sharpness
- Setting the Contrast
- Setting the Instant Review
- Auto Power Off
- Turning the Beep On and Off
- Changing the Date Style and Date / Time
- Setting the World Time
- Setting the Display Language
- Selecting the Video Output Format
- Setting the LCD Monitor Brightness
- Resetting the File Number
- Setting the Slideshow
- Sensor Cleaning
- Resetting to Default Settings
- Custom Function Chart
- List of City Names
- 7 Connecting
- 8 Appendix
- More Details about Capture Functions
- Effect of Aperture and Shutter Speed
- Calculating flash distance from the aperture used (using built-in flash)
- Calculating aperture used from the flash distance (using the built-in flash)
- F, FA and FA J Lenses Compatibility with the Built-in Flash
- Setting the White Balance Manually
- FUNCTIONS AVAILABLE WITH VARIOUS LENS COMBINATIONS
- Optional Accessories
- Cleaning the CCD
- Precautions Regarding Memory Cards
- Error Messages
- Troubleshooting
- Main Specifications
- Glossary
- WARRANTY POLICY
- More Details about Capture Functions
49
Shooting Functions
4
The shutter can be released with the remote control unit (optional). The
shutter will be released 3 seconds after the shutter release button on the
remote control unit is pressed.
1
Mount the camera to a tripod.
2
Press the drive mode button [g]
until [h] appears on the LCD
panel.
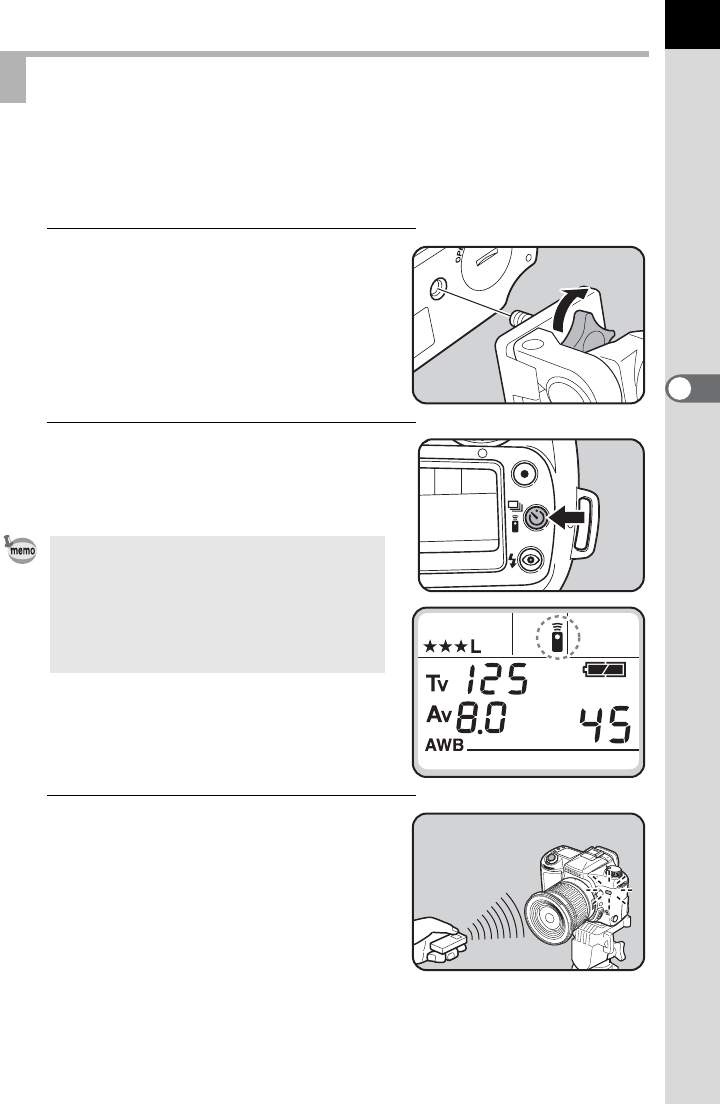
3
Press the shutter release
button on the remote control
towards the camera.
The shutter will be released 3 seconds
after the shutter release button on the
remote control unit is pressed. When
the picture is taken, the self-timer lamp
lights for 2 seconds and will then
resume blinking. Press the drive mode button after the picture is taken.
The drive mode returns to single-frame drive mode.
Remote Control Shooting
• The camera is not focused by operating
the remote control. Focus on the subject
first before operating the remote control.
• The self-timer lamp will blink letting you
know the camera is in remote control wait
status when you display h.