
Operating Manual

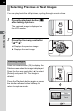

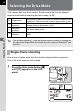


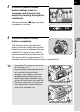


Table Of Contents
- FOR YOUR SAFETY
- PRECAUTIONS FOR BATTERY USAGE
- Handling the Camera
- CONTENTS
- Contents of this manual
- 1 Before using your camera
- 2 Getting Started
- 3 Basic Operation
- 4 Shooting Functions
- 5 Playback Functions
- 6 Settings
- Setting Menu List
- How to Operate the Settings Menu
- Camera Settings
- Formatting a CF card
- Setting the Custom Functions
- Setting the Color Saturation
- Setting the Image Sharpness
- Setting the Contrast
- Setting the Instant Review
- Auto Power Off
- Turning the Beep On and Off
- Changing the Date Style and Date / Time
- Setting the World Time
- Setting the Display Language
- Selecting the Video Output Format
- Setting the LCD Monitor Brightness
- Resetting the File Number
- Setting the Slideshow
- Sensor Cleaning
- Resetting to Default Settings
- Custom Function Chart
- List of City Names
- 7 Connecting
- 8 Appendix
- More Details about Capture Functions
- Effect of Aperture and Shutter Speed
- Calculating flash distance from the aperture used (using built-in flash)
- Calculating aperture used from the flash distance (using the built-in flash)
- F, FA and FA J Lenses Compatibility with the Built-in Flash
- Setting the White Balance Manually
- FUNCTIONS AVAILABLE WITH VARIOUS LENS COMBINATIONS
- Optional Accessories
- Cleaning the CCD
- Precautions Regarding Memory Cards
- Error Messages
- Troubleshooting
- Main Specifications
- Glossary
- WARRANTY POLICY
- More Details about Capture Functions
47
Shooting Functions
4
3
Press the shutter release
button halfway down to
compose and focus on the
subject by looking through the
viewfinder.
The focus indicator []] lights up when
the subject is in focus.
4
Press the shutter release
button completely.
The self-timer lamp starts blinking
slowly and blinks rapidly two seconds
before the shutter is released. Also the
audible PCV signal is heard and the
rate increases for the last two seconds.
The shutter will be released about 12
seconds after the shutter release button is pressed fully.
• The audible PCV signal can be turned
off. See page 119.
• Exposure may be affected if light enters
the viewfinder during self-timer
operation in any capture mode other
than a (metered manual exposure).
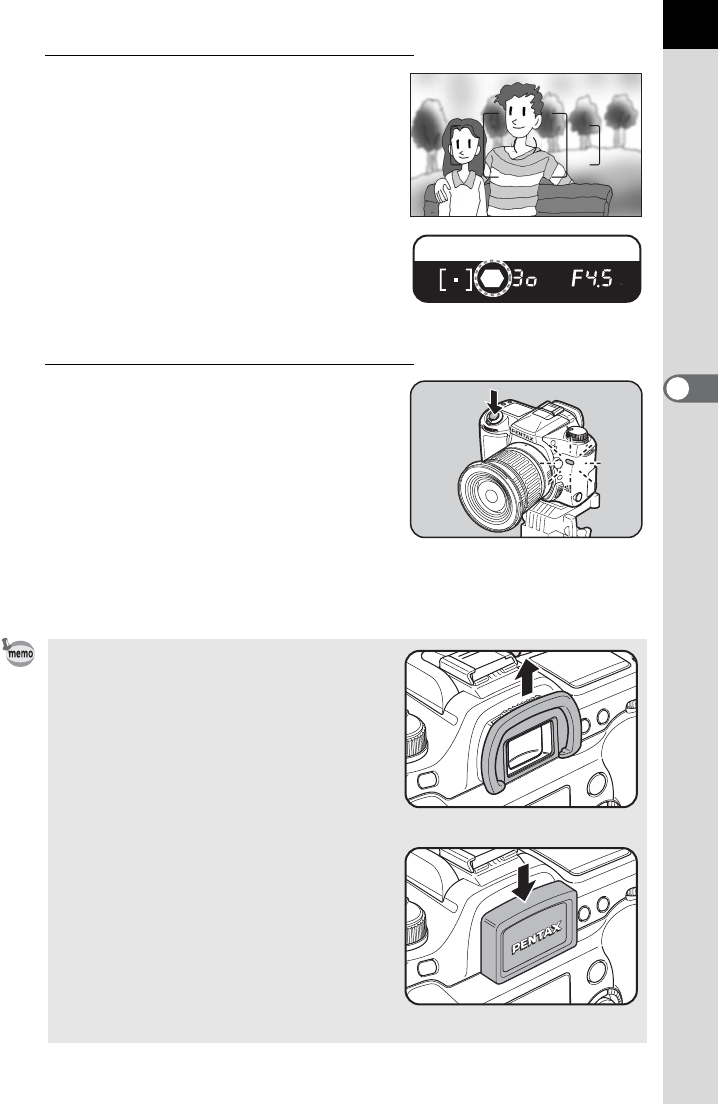
Attach the provided viewfinder cap or
use the AE lock function (see page 69).
• Remove the Eyecup F
L by pulling one
side upward when using accessories
such as the viewfinder cap.
Removing the Eyecup
Attaching the viewfinder cap