
K-50 Digital Camera Manual


Table Of Contents
- For Using Your Camera Safely
- Care to be Taken During Handling
- Contents
- Composition of the Operating Manual
- 1 Before Using Your Camera
- 2 Getting Started
- 3 Basic Operations
- 4 Shooting Functions
- 5 Shooting Settings
- 6 Playback Functions and Image Editing
- 7 Changing Additional Settings
- 8 Connecting to a Computer
- 9 Using the Flash
- 10 Appendix
150
Shooting Settings
5
Correcting Images
The camera and lens properties can be automatically modified for when
taking pictures.
Expands the dynamic range and enables a wider range of tones
expression by the CMOS sensor and reduces the occurrence of
overexposed and underexposed areas.
1
Press the M button in standby mode.
The control panel appears.
2
Use the four-way controller (
2345
) to select [Highlight
Correction] or [Shadow Correction], and press the
4
button.
The [Highlight Correction] or [Shadow Correction] screen appears.
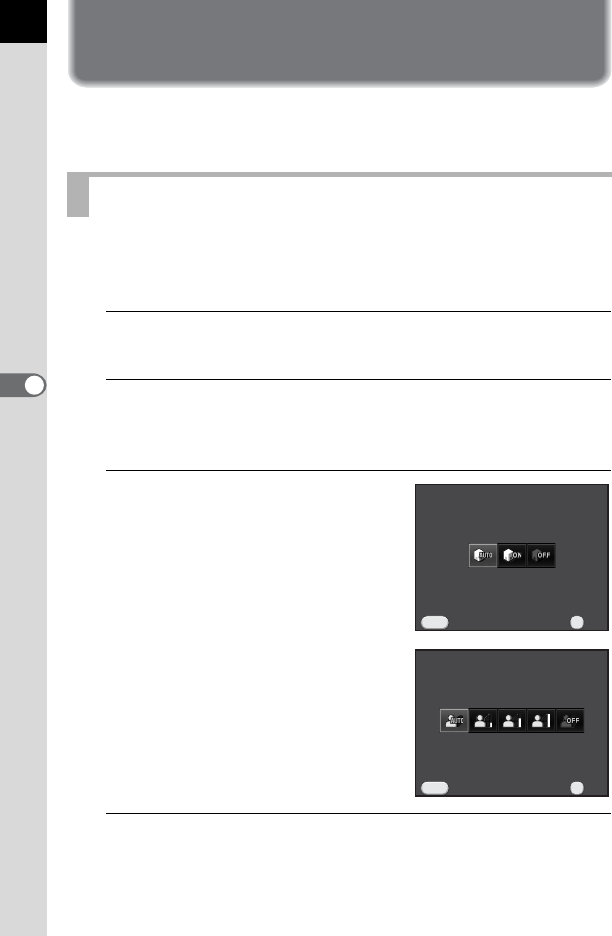
3
Use the four-way controller (45)
to change the settings.
For Highlight Correction, select from
[Auto] (default setting), [On] or [Off].
For Shadow Correction, select from
[Auto] (default setting), [Low], [Medium],
[High] or [Off].
4
Press the 4 button.
The camera returns to the control panel.
Brightness Adjustment
Highlight CorrectionHighlight Correction
AutoAuto
OKOK
OK
CancelCancel
MENU
Shadow Correction
Shadow Correction
Auto
Auto
OK
OK
OK
Cancel
Cancel
MENU