
User's Manual


Table Of Contents
- For Using Your Camera Safely
- Care to be Taken During Handling
- Contents
- Composition of the Operating Manual
- 1 Before Using Your Camera
- 2 Getting Started
- 3 Basic Operations
- 4 Shooting Functions
- 5 Shooting Settings
- 6 Playback Functions and Image Editing
- 7 Changing Additional Settings
- 8 Connecting to a Computer
- 9 Using the Flash
- 10 Appendix
146
Shooting Settings
5
1
Press the four-way controller (3) in standby mode.
The White Balance setting screen appears.
The last image taken is displayed in the background.
2
Use the four-way controller (45)
to select the white balance.
When J is selected, press the four-way
controller (3) and use the four-way
controller (45) to select D, N, W, or L.
Proceed to Step 6 if you do not need to
change the parameters.
Available operations
3
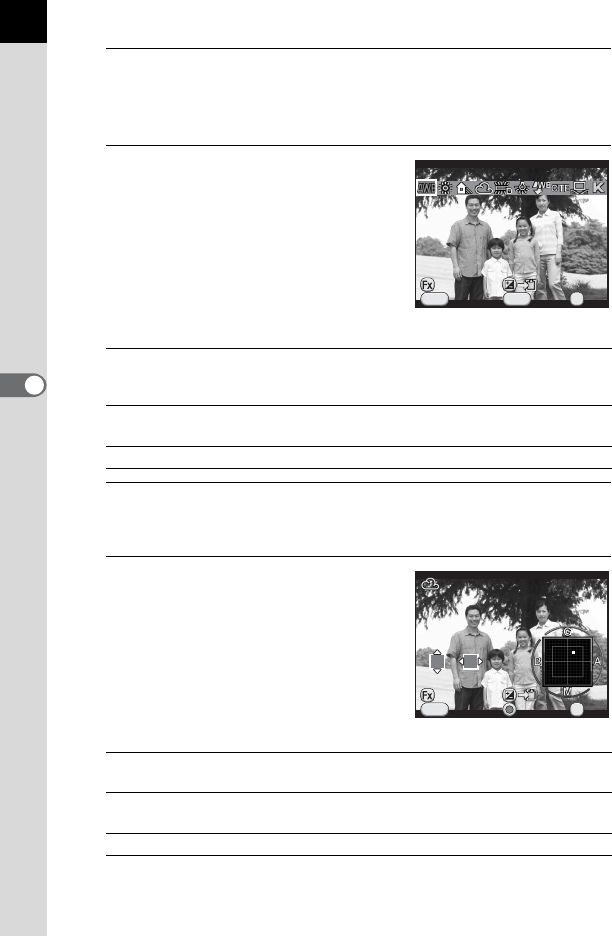
Press the M button.
The fine-tuning screen appears.
4
Fine-tune the white balance.
Available operations
V/Y button
Uses Digital Preview to preview the background image with
the white balance effect applied (
only
when shooting with
the viewfinder).
m button Saves the background image (only when the data is
available).
M button Displays the fine-tuning screen.
Four-way controller
(23)
Adjusts the tone of the colors between green (G) and
magenta (M).
Four-way controller
(45)
Adjusts the tone of the colors between blue (B) and
amber (A).
d button Resets the adjustment value to the default setting.
CancelCancel
WB
±
WB
±
MENU
INFO
Auto White BalanceAuto White Balance
OKOK
OK
CheckCheck
CancelCancel
MENU
OKOK
OK
±0±0
G3G3 A2A2
CheckCheck