
Installation Instructions


190218
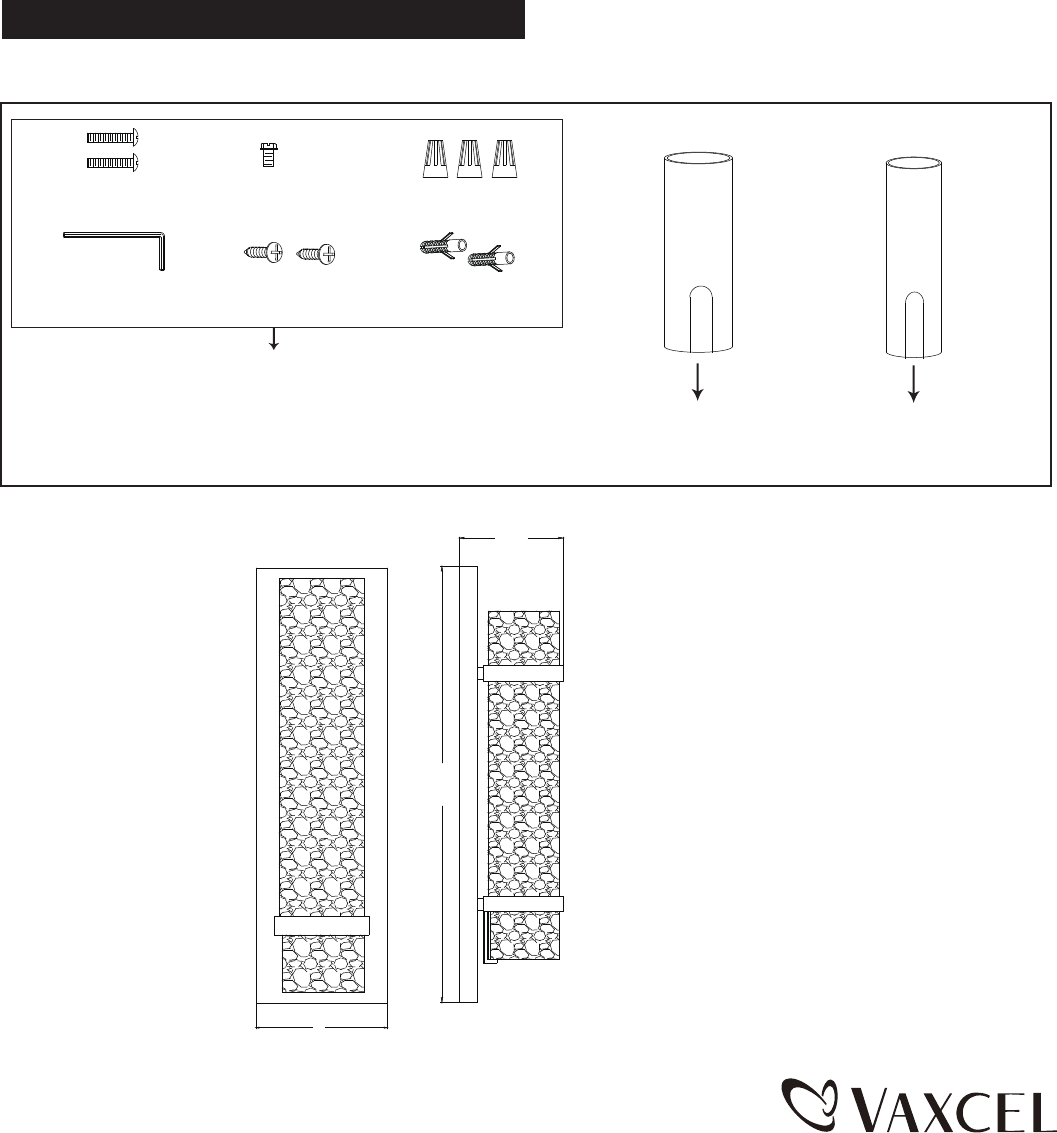
A: 4"
B: 18-1/2
"
C: 4-1/2"
A
B
2. Pull out the source wires from the outlet box. Make wire connections using wire connectors as follows:
---Connect the black (hot) wire from the fixture to the black (hot) wire from the power source.
---Connect the white (neutral) wire from the fixture to the white (neutral) wire from the power source.
---Attach the fixture grounding wire to the mounting plate with the green grounding screw. Then connect it to the
house grounding wire with a wire connector. If your outlet box does not have a house grounding wire, then
wrap the fixture grounding wire around the green grounding screw.
Carefully put the wires back into the outlet box.
3. Attach the back plate to the mounting plate, secure the headless screws from the bottom hole of the back plate onto
the the bottom side of the mounting plate, using supplied “ L ” Screwdriver.
4. Install bulb (not included). See relamping label at socket area or packaging for maximum allowed wattage.
5. Press the socket spring, place the interior glass shade into the glass bracket, adjust the slot of the interior glass
shade to locate into the arm of the fixture, then place the exterior glass shade into the glass bracket, adjust the
exterior glass shade to locate into the slot of the fixture. (See Fig. 1)
C
Page 2
Assembly Kit
(4595MM For W0048)
(5098MM For W0124)
(5963MM For W0310)
(1 SET)
The following parts are available for re-order if damaged or missing.
Turn on the power at the main fuse or circuit breaker box.
Exterior
Glass Shade (G)
(9380CW)
(1 PC)
Interior Glass Shade (H)
(9381FO)
(1 PC)
Mounting Screw (A) Green Grounding Screw (B)
“ L ” Screwdriver (D)
Wire Connector (C)
Anchor (F)
Dry Wall Screw (E)