
Operating Instructions


Table Of Contents
- Preface
- Before using this product
- Use an SD memory card
- Operation window
- Basic operation
- Login operation at startup
- Monitor live images
- Record images
- Play recorded images
- Play images from a designated point
- Search and play
- Play back copied images
- Event function
- Copy recorded images
- About the face matching function
- Operate the camera
- Configure the network settings
- Network security of the recorder
- Display the operation window
- About the operation window
- Monitor live images from cameras
- Play recorded images
- Play image recorded at a designated date & time
- Search and play recording events (REC event search)
- Motion detection search and playback (VMD search)
- Check a list of copied recorded images
- Event function
- Copy recorded images
- Download recorded images currently being played
- Play the copied/downloaded recorded images
- Operate the camera
- Setup
- Notification by e-mail
- Troubleshooting
- Glossary
54
55
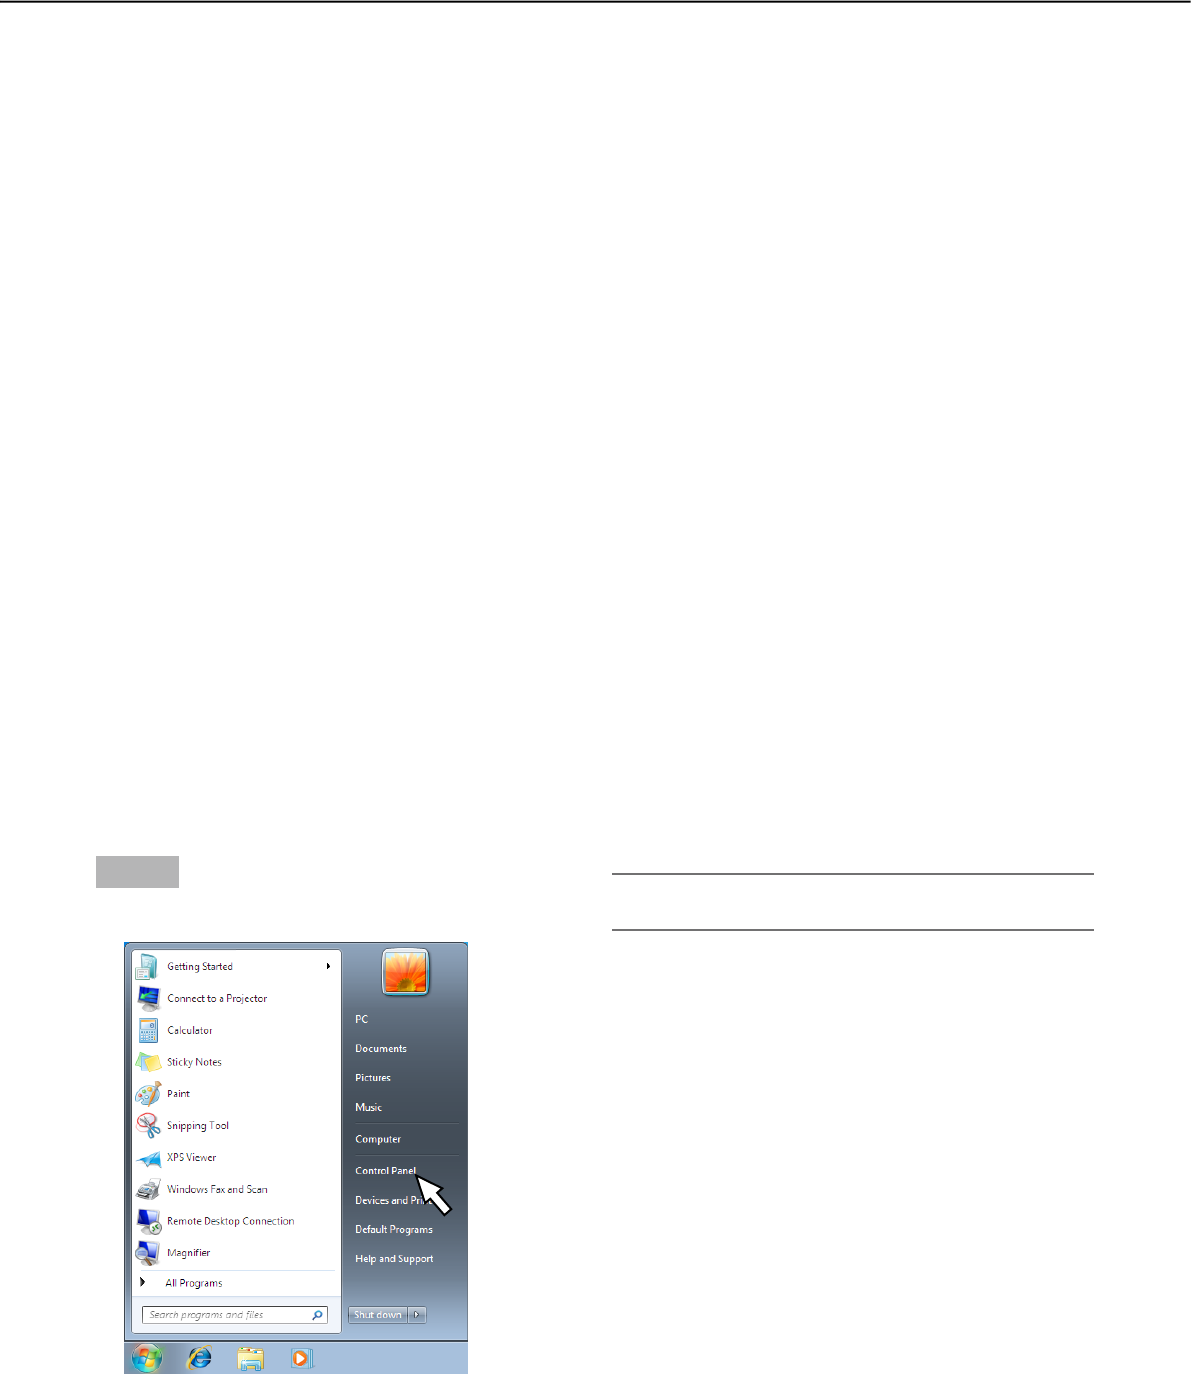
Step 1
Click "Control Panel" on the start menu.
→ "Control panel" will be displayed.
Configure the network settings
The recorder can be operated using a mouse connected to the front of the unit or from a web browser on a PC
(excluding certain functions and settings). On the following pages, operation from a web browser, setting up the
PC and related matters will be described.
When operating the recorder using a web browser, it is necessary in advance to configure the network settings
of the recorder and a PC.
When the network settings of the PC are as follows, it is unnecessary to configure the settings. It is possible to
configure the settings and operate the recorder using a web browser after completing the connection.
IP address: 192.168.0.2 - 192.168.0.249, 192.168.0.251 - 192.168.0.254
Subnet mask: 255.255.255.0
Default gateway: 192.168.0.1
When the settings are configured differently from the above, configure the network settings of the recorder or a
PC.
Configure the network settings of the recorder
The network settings of the recorder can be configured on the "Network" page - the [Basic] tab of the setup
menu.
Refer to the chapter relating to the [Basic] tab of "Network" of the setup menu for how to operate (☞ Installation
Guide).
Configure the network settings of the PC
The TCP/IP setting of the PC shall be changed to conform to the settings of the recorder. When using the
recorder with the default (IP address:192.168.0.250), set the IP address of the PC to "192.168.0.xxx (a number
from 2 to 254 except 250 (this recorder))".
The settings described in these operating instructions are based on the standard settings for Windows 7. Refer
to the operating instructions of the respective OS for further information.
Important:
• LogintothePCasanadministrator.