
Owner's Manual

EN EN
-
15
-
EN EN
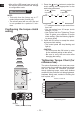
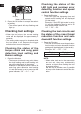
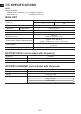
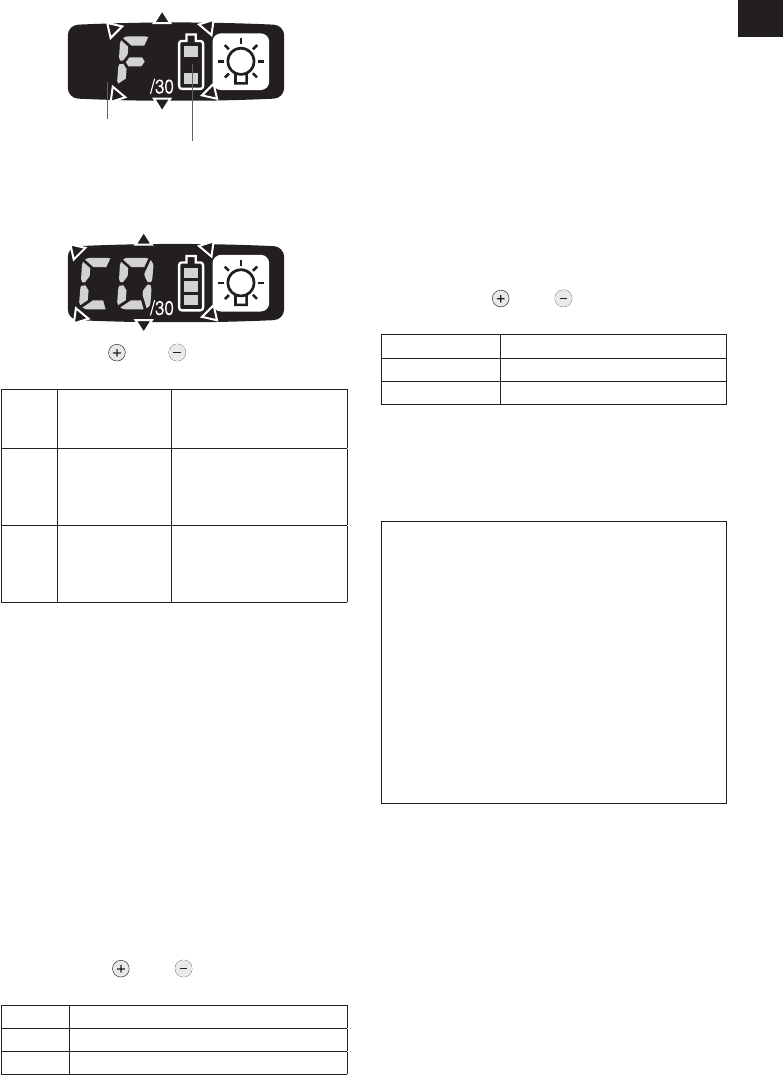
Display
Battery indication lamp
3. Press the C button again.
• Radio signal range limitation function
on/off setting value will be displayed.
4. Press the and buttons to set radio
signal range limitation function on/off.
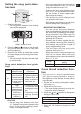
Display
Radio signal
range limitation
function mode
Status
C0 OFF
Tool is operational in the
absence of communica-
tions with the Assembly
Qualier.
C1 ON
Tool is not operational
in the absence of com-
munications with the As-
sembly Qualier.
Factory settings
• Radio signal range limitation function
setting: C0 (OFF)
NOTE:
• For more information about how to reg
-
ister the tool and Assembly Qualifier,
see the Assembly Qualifier instruction
manual.
LED light setting
• You can select from two LED light modes.
1. Set the tool to setting configuration mode.
(See page 11.)
2. Press the B button once.
• The current setting value will be dis
-
played.
3. Press the
and buttons to set the
desired value.
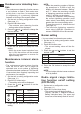
Display Function
d1 Linked to LED light button
d2
Linked to trigger switch operation
4. Press the OK button to accept the new
setting.
NOTE:
• The tool ships with the LED light mode
set to d1 by default.
Speed control function
• The speed (RPM) can be changed with the
amount of depression of the trigger.
1. Set the tool to setting configuration mode.
(See page 11.)
2. Press the B button three times.
• The setting value will be displayed.
3. Press the
and buttons to set the
desired value.
Operation Function
P0 Speed control ON
P1 Speed control OFF
4.
Press the OK button to accept the new set-
ting.
Initializing all settings
Factory settings
• Torque clutch setting: “F” (torque con
-
trol function off)
• Snug point detection level → L1
• Cross thread reduction function → R0
• Rundown error detecting function → 0
• Maintenance interval alarm function
→ 0
• Radio signal range limitation function
→ C0
• Buzzer setting → b0
• LED light setting → d1
• Speed control setting → P0
• This section explains how to revert all tool
settings to their default values at the time of
shipment from the factory.
• The error display will be turned off.
1. Set the tool to the setting configuration
mode.
(See page 11.)
2. Press the C button.
• The control panel will begin flashing.
Display: The letter “F” ashes on and off.
Battery indication lamp: The upper and
lower bars of the battery ash on and off.