
Printer/Fax/Scanner/Copier Operating Instructions
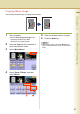
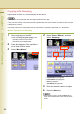

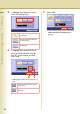
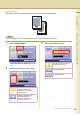
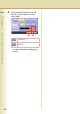
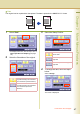
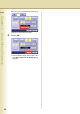


Table Of Contents
- Operating Instructions
- Conventions
- Table of Contents
- Basic Menu Features
- Basic Operation Procedure
- Selecting the Color Mode
- Selecting Original Type and Adjusting the Density
- Registering Quality Preset
- Using Quality Preset
- Quality Adjusting
- Proof Copying
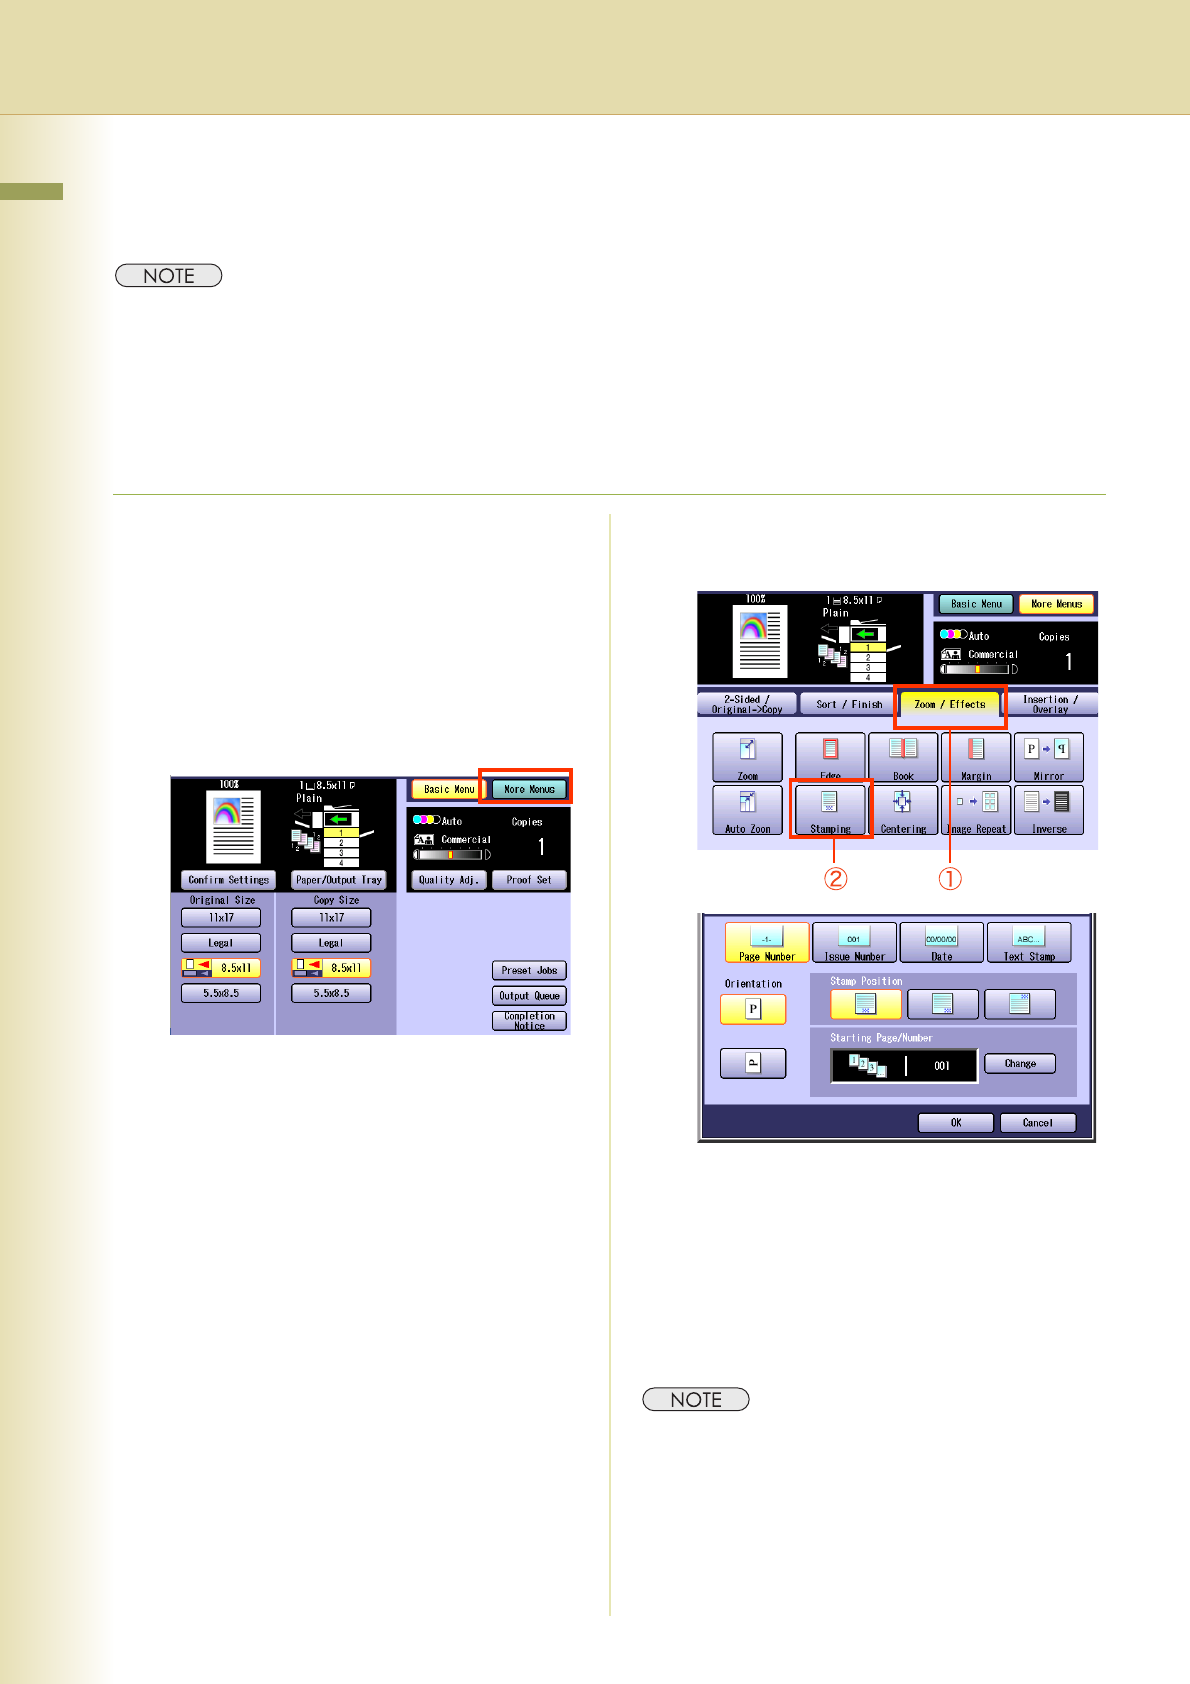
- Confirming/Editing the Selected Copy Features
- Storing a Job in Memory
- Recalling a Preset Job Stored in Memory
- Checking the Waiting to Copy Job
- Completion Notice
- More Menus Features
- 2-Sided Copy Mode
- Basic Operation for the 2-Sided Copy Mode
- Copying 2-Sided Original(s) onto Two Separate Sheets
- Copying Facing Page Original to Two Separate Sheets
- From 1-Sided Originals to 2-Sided Copies Using Saddle Stitch (Booklet)
- Copying Mixed Size Originals from the ADF
- Copying Special Originals (Thin Paper, etc.) from the ADF
- Sort Mode
- Zoom Mode
- Effect Modes
- Insertion Modes
- Overlay Modes
- 2-Sided Copy Mode
- Other Features
- Appendix
62
Chapter 2 More Menus Features
Copying with Stamping
Page Number or Date, etc. can be stamped on each sheet.
z This function can be selected when the original is placed on the ADF.
z Only one kind of stamp can be selected from Page Number, Date, Issue Number, and Text for each scan job.
z Stamped only in black.
z No stamp is printed on a blank page when an odd number of originals is copied with “1 -> 2” selected.
Basic Operation for Stamping
1
Place original(s) on the ADF.
z Refer to Placing Originals (Copy) in the
Operating Instructions (For Basic
Operations) of provided booklet.
2
Press the Copy key if the machine is
set to other function mode.
3
Select “More Menus”.
4
Select “Zoom / Effects”, and then
select “Stamping”.
• Page Number (see page 63)
• Issue Number (see page 65)
• Date (see page 67)
• Text Stamp (see page 69)
5
Enter the desired number of copies.
6
Press the Start key.
z After finishing copying, press the Reset key to
return to the initial screen of the currently active
mode.