
Printer/Fax/Scanner/Copier Operating Instructions

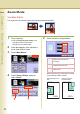
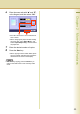
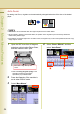
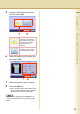
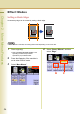
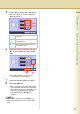
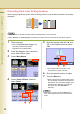
Table Of Contents
- Operating Instructions
- Conventions
- Table of Contents
- Basic Menu Features
- Basic Operation Procedure
- Selecting the Color Mode
- Selecting Original Type and Adjusting the Density
- Registering Quality Preset
- Using Quality Preset
- Quality Adjusting
- Proof Copying
- Confirming/Editing the Selected Copy Features
- Storing a Job in Memory
- Recalling a Preset Job Stored in Memory
- Checking the Waiting to Copy Job
- Completion Notice
- More Menus Features
- 2-Sided Copy Mode
- Basic Operation for the 2-Sided Copy Mode
- Copying 2-Sided Original(s) onto Two Separate Sheets
- Copying Facing Page Original to Two Separate Sheets
- From 1-Sided Originals to 2-Sided Copies Using Saddle Stitch (Booklet)
- Copying Mixed Size Originals from the ADF
- Copying Special Originals (Thin Paper, etc.) from the ADF
- Sort Mode
- Zoom Mode
- Effect Modes
- Insertion Modes
- Overlay Modes
- 2-Sided Copy Mode
- Other Features
- Appendix
57
Chapter 2 More Menus Features
5
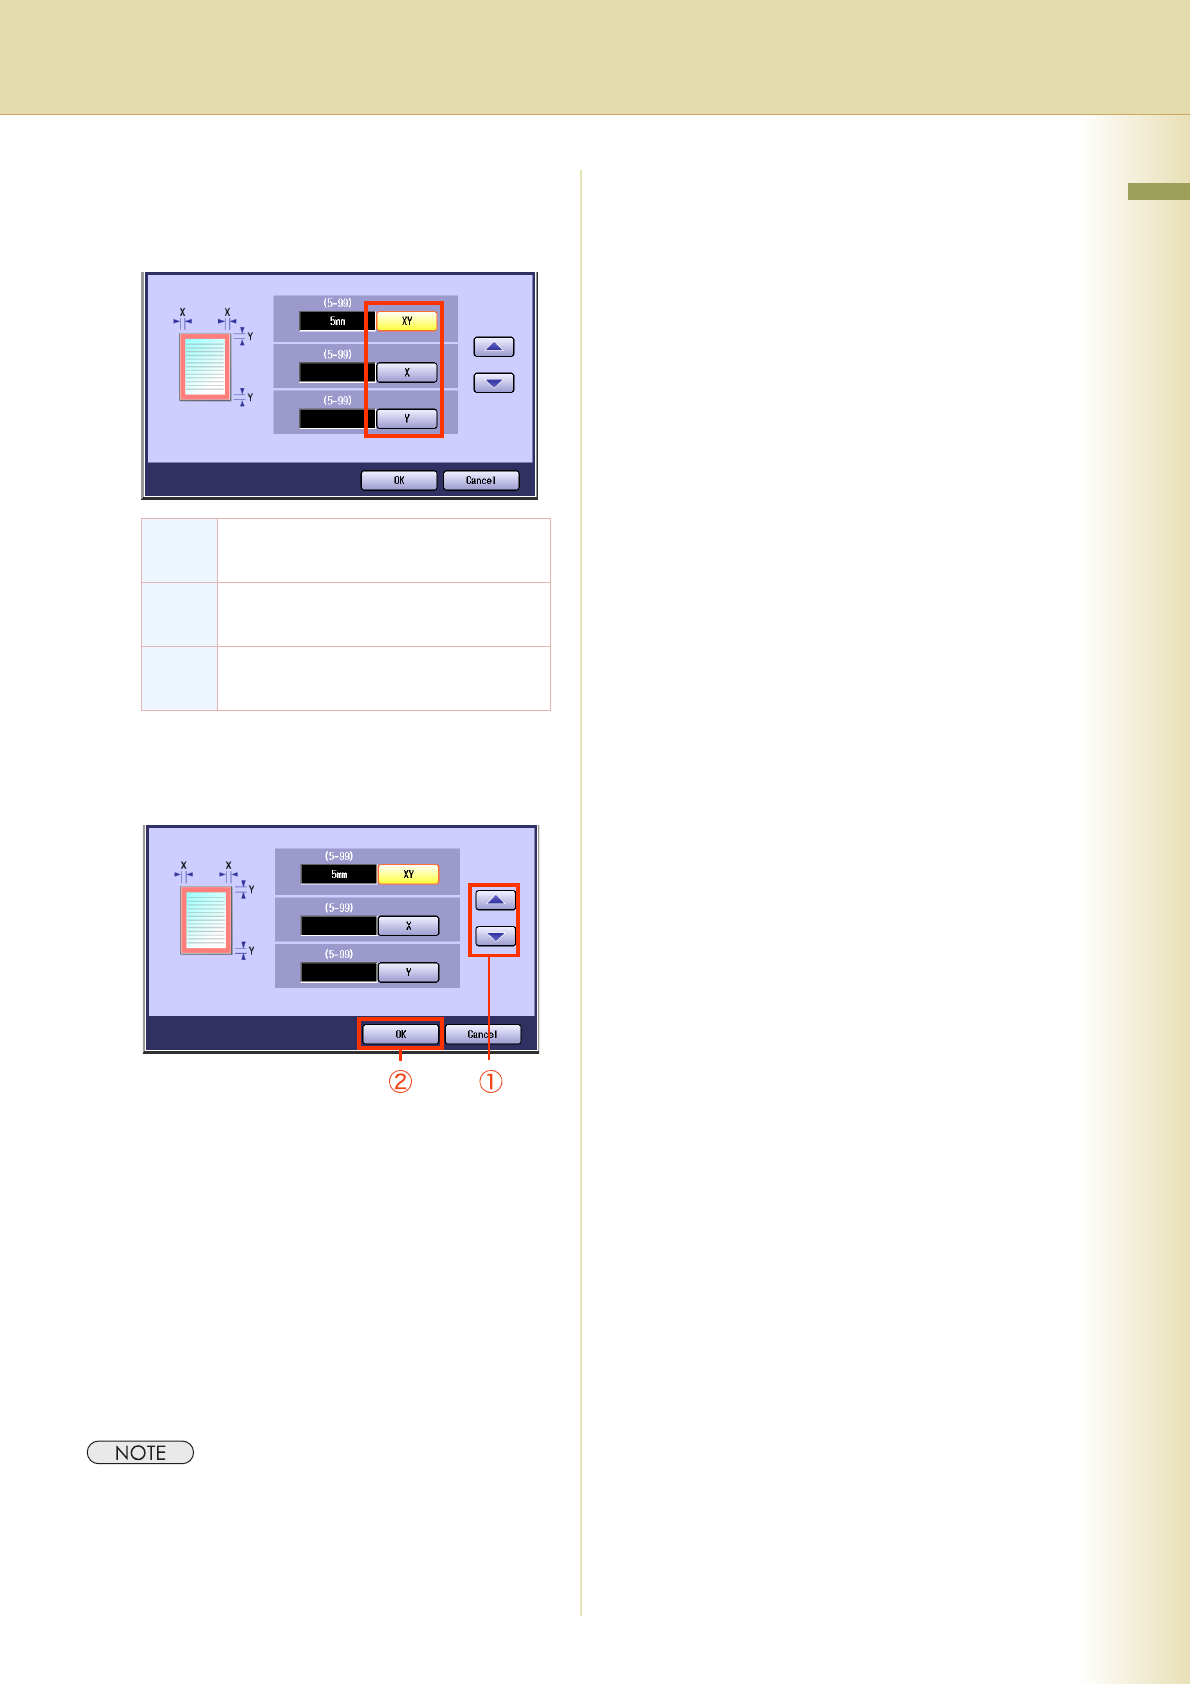
Select “XY” to set the same value for X
and Y, or “X” or “Y” to set a different
value for X and Y.
6
Enter the erasing width with “S” and
“T”, or the Keypad, and then select
“OK”.
z The erasing width can be set in 1 mm
increments from 5 mm to 99 mm.
7
Enter the desired number of copies.
8
Press the Start key.
z When copying from the Platen Glass, place
the next original, and follow the instructions
described on the Touch Panel Display. (The
instructions are displayed only when the
Sort mode other than “Non Sort” is
selected.)
z After finishing copying, press the Reset key to
return to the initial screen of the currently active
mode.
XY Select to set the same erasing width
for all sides.
X Select to set the erasing width for the
right and left sides.
Y Select to set the erasing width for the
top and bottom sides.