
Digital Colour Imaging Systems Operating Instructions
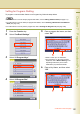
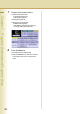
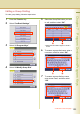
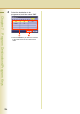

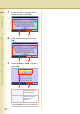
Table Of Contents
- Operating Instructions
- Conventions
- Table of Contents
- Getting To Know Your Machine
- Basic Fax Transmission
- Fax Transmission Procedure
- Entering a Destination
- Transmission with Destination Monitoring
- Talking to the Remote Party Before Transmission
- Setting Original Quality
- Setting the Original Size
- Transmitting 2-Sided Originals
- Verification Stamp
- Transmitting a Document Stored in Memory
- Job Build and SADF
- Direct Transmission
- Verifying Communication Status
- Rotated Transmission
- Batch Transmission
- Getting an Outside Line Using PIN Code Access
- Using Program Keys
- Cancelling a Communication
- Dial Prefix
- Convenient Fax Features
- Fax Reception
- Internet Fax
- What is Internet Fax?
- What Internet Fax Can Do
- Tips for Internet Fax
- Preparing to Use Internet Fax
- Sending an Email Procedure
- Entering an Email Address
- Using Cc, Bcc and From
- Setting a File Type and a File Name
- Emailing an A3-Sized Document
- Setting Message Delivery Notice (MDN)
- When Email Transmission Fails
- Using a Completion Notice
- Receiving an Email
- Receiving an Email on a Computer
- Inbound Routing
- Using the Relay Feature
- Relayed Transmission from Internet Fax
- Relayed Transmission from PC
- Result of Relayed Transmission
- Useful Terms to Remember
- Handling Communication Reservation Files
- Program Destinations/Program Keys
- Reading Reports/Lists
- Solving Problems
- Appendix
190
Chapter 7 Program Destinations/Program Keys
7
Enter a Key Name (program button
name), and then select “OK”.
8
Enter the password, and then select
“OK”.
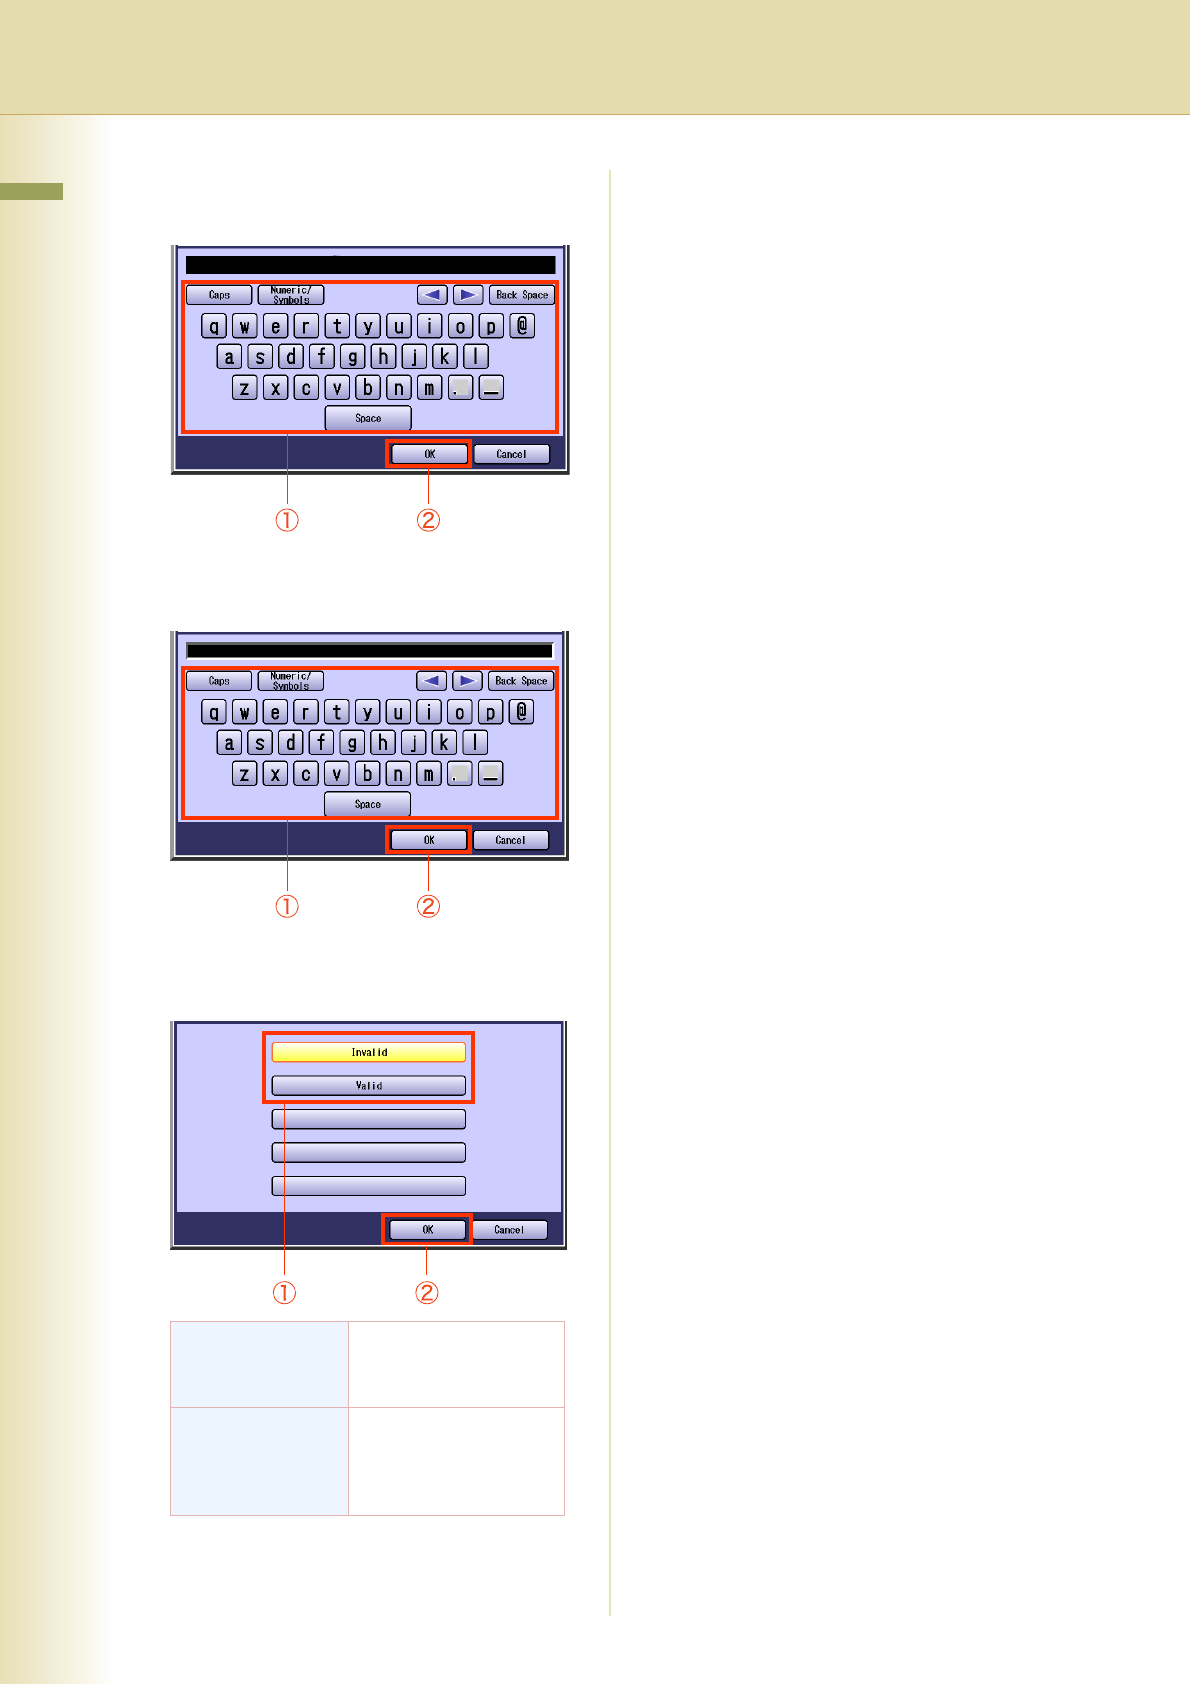
9
Select “Invalid” or “Valid”, and then
select “OK”.
The POP Reception feature is programmed.
z
Press the
Reset
key to return the machine to
the initial screen of the current active mode.
Invalid Select to leave Email on
the POP server after it
has been received.
Valid Select to delete Email
from the POP server
after it has been
received.