
Digital Colour Imaging Systems Operating Instructions
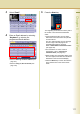
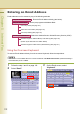
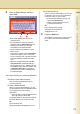

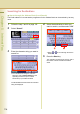
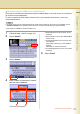
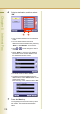
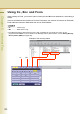
Table Of Contents
- Operating Instructions
- Conventions
- Table of Contents
- Getting To Know Your Machine
- Basic Fax Transmission
- Fax Transmission Procedure
- Entering a Destination
- Transmission with Destination Monitoring
- Talking to the Remote Party Before Transmission
- Setting Original Quality
- Setting the Original Size
- Transmitting 2-Sided Originals
- Verification Stamp
- Transmitting a Document Stored in Memory
- Job Build and SADF
- Direct Transmission
- Verifying Communication Status
- Rotated Transmission
- Batch Transmission
- Getting an Outside Line Using PIN Code Access
- Using Program Keys
- Cancelling a Communication
- Dial Prefix
- Convenient Fax Features
- Fax Reception
- Internet Fax
- What is Internet Fax?
- What Internet Fax Can Do
- Tips for Internet Fax
- Preparing to Use Internet Fax
- Sending an Email Procedure
- Entering an Email Address
- Using Cc, Bcc and From
- Setting a File Type and a File Name
- Emailing an A3-Sized Document
- Setting Message Delivery Notice (MDN)
- When Email Transmission Fails
- Using a Completion Notice
- Receiving an Email
- Receiving an Email on a Computer
- Inbound Routing
- Using the Relay Feature
- Relayed Transmission from Internet Fax
- Relayed Transmission from PC
- Result of Relayed Transmission
- Useful Terms to Remember
- Handling Communication Reservation Files
- Program Destinations/Program Keys
- Reading Reports/Lists
- Solving Problems
- Appendix
118
Chapter 5 Internet Fax
6
Select a destination, and then select
“OK”.
z Only one Email address can be selected at
a time.
z You can switch between the Email
Addresses and Fax Number list by selecting
“Email” or “Fax Number” on the screen.
z Select or to scroll through the search
results.
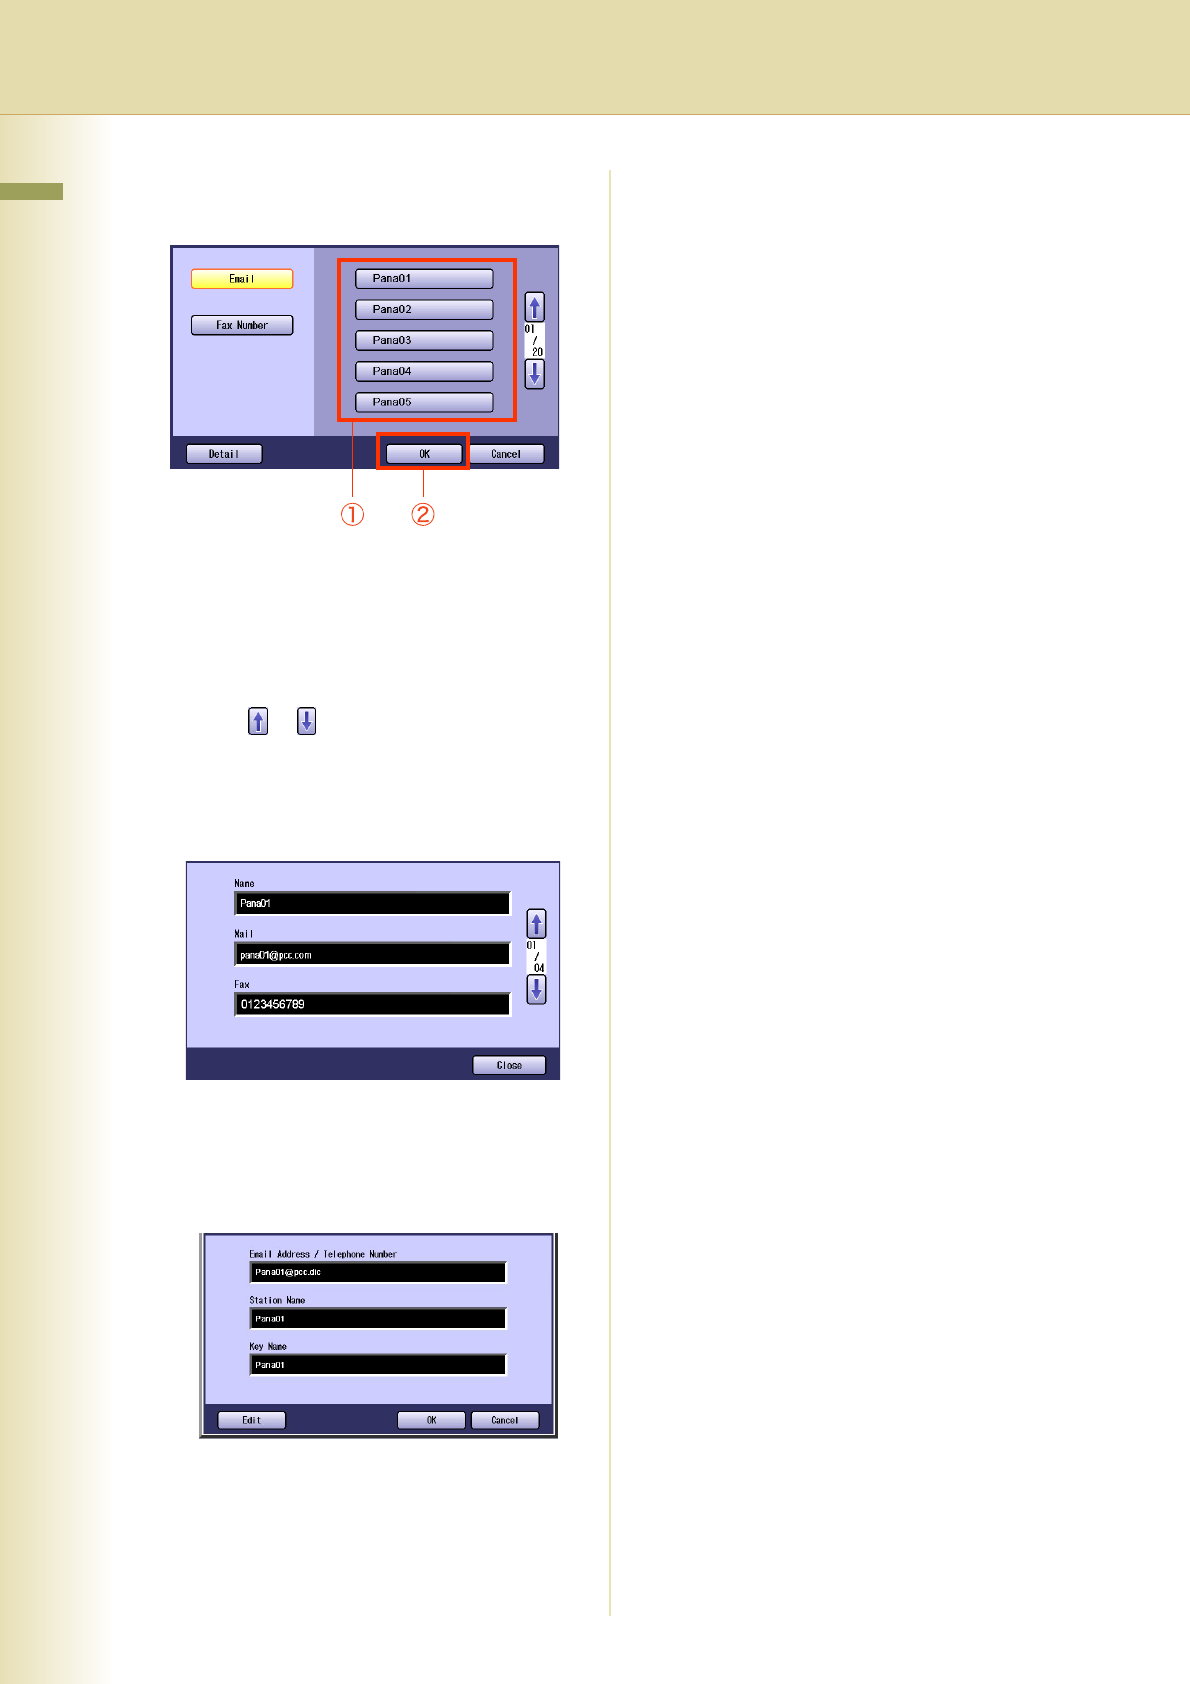
z Select “Detail” to open the more detailed
information screen. Select “Close” to exit
the detailed information screen.
z To cancel a search, select “Cancel”.
z To add the found Email address into the
Address Book, select “Add to Local” on the
LDAP search screen.
Enter the entry name, and then select “OK”.
7
Press the Start key.
The original(s) are stored into memory with a
file number. Then the Email transmission
starts.