
User manual
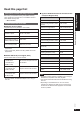
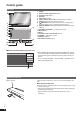
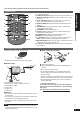
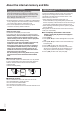
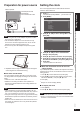
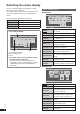
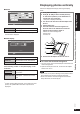

Table Of Contents
- TABLE OF CONTENTS
- Read this page first
- Control guide
- About the internal memory and SDs
- Preparation for power source
- Setting the clock
- Switching the screen display
- Displaying photos vertically
- Selecting photos to view
- Editing photos
- Photo playback settings
- Connecting/Recharging an iPod/iPhone
- Playing back photos, etc. stored on the iPod/iPhone
- Playing music on an iPod/iPhone
- Playing video on an iPod/iPhone
- Audio playback settings
- Using the timer
- Power saving use
- Using the setup menu
- Using with your PC
- Using in a wall-mounted state
- Product Service
- Maintenance
- Troubleshooting guide
- Limited Warranty
- Specifications
9
VQT2Z87
Getting started
Switching the screen display / Displaying photos vertically
Clock
Select Item
Display Mode
OK
Clock1
Slideshow Single View Clock iPod Display
Clock 1 to 7 Displaying the clock
Calendar 1 to 7 Displaying the calendar
To view a calendar of different month, press [w, q] while
the calendar is displayed.
iPod Display
Select Item
Display Mode
OK
Track List
Slideshow Single View Clock iPod Display
Track List Displaying track list
Album Artwork +
Track List
Displaying album artwork (an image
attached with a track) and track list
Album Artwork Displaying album artwork
When selecting “Videos” or “All (iPod display)” in the
iPod menu
iPod Normal
Displaying the iPod/iPhone screen in
normal size
iPod Full Screen
Displaying the iPod/iPhone screen
with approx. 1.33 times the normal
size
¼
If photo shooting date information is not present for some
photos, the updated date information of photo fi les is
displayed.
•
Photos are displayed vertically by switching the display
mode.
1. Press [DISPLAY MODE].
2. Press [e, r, w, q] to select “Normal (Vertical)”
or “Full Screen (Vertical)” in the “Slideshow” or
“Single View” and press [OK].
The photo is displayed vertically.•
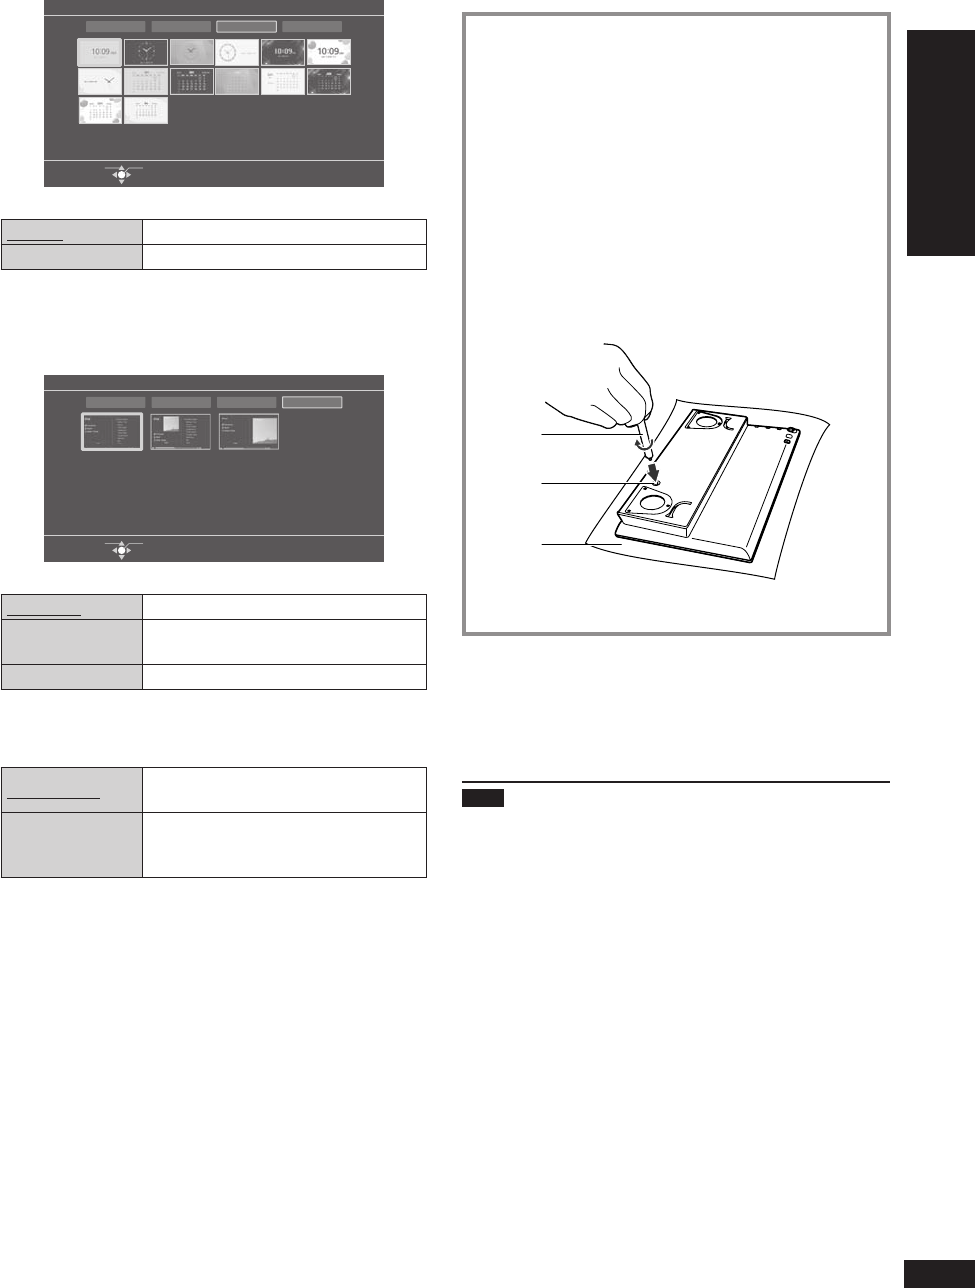
3. Turn the unit off and remove the AC adaptor from
the unit.
4. Fold the stand part.
5. Insert the stand for vertical arrangement to
the screw hole on the bottom face of this unit.
Tighten the screw fi rmly to attach it.
D Stand for vertical arrangement
E Screw hole
F Cloths, etc.
D
E
F
6. Connect the AC adaptor and turn the unit on.
To restore the horizontal arrangement
1. Turn the unit off, remove the AC adaptor and the stand for
vertical arrangement.
2. Open the stand part of the unit, connect the AC adaptor
and turn the unit on.
Note
Use a cloth, etc. to prevent damage of the product or fl oor
when attaching the stand for vertical arrangement.
Check if the stand for vertical arrangement is screwed
fi rmly. Otherwise, the stand may fall.
•
•
Displaying photos vertically