T H U N D E R B A Y Assembly Manual & User Guide ® 4
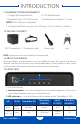
TABLE OF CONTENTS INTRODUCTION................................................................................................1 1.1 MINIMUM SYSTEM REQUIREMENTS 1.1.1 Apple Mac Requirements 1.1.2 PC Requirements 1.1.3 Supported Drives: up to four 3.5” SATA drives (1.5Gb/s, 3.0Gb/s, or 6.0Gb/s) NOTE: Boot Camp not supported 1.2 PACKAGE CONTENTS 1.3 ABOUT THIS MANUAL 1.4 FRONT VIEW 1.4.1 Front Features 1.5 REAR VIEW 1.5.1 Rear Features DEVICE SETUP..............................................................
INTRODUCTION 1.1 MINIMUM SYSTEM REQUIREMENTS 1.1.1 Apple Mac Requirements 1.1.2 PC Requirements • Thunderbolt™ port: OS X 10.9.3 or later • Thunderbolt port: Windows® 7 or later NOTE: Boot Camp not supported 1.1.3 Supported Drives: up to four 3.5” SATA drives (1.5Gb/s, 3.0Gb/s, or 6.0Gb/s) 1.2 PACKAGE CONTENTS OWC ThunderBay® 4 Keys Power cable Thunderbolt cable NOTE: Hard drive screws are included, but not pictured. 1.
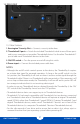
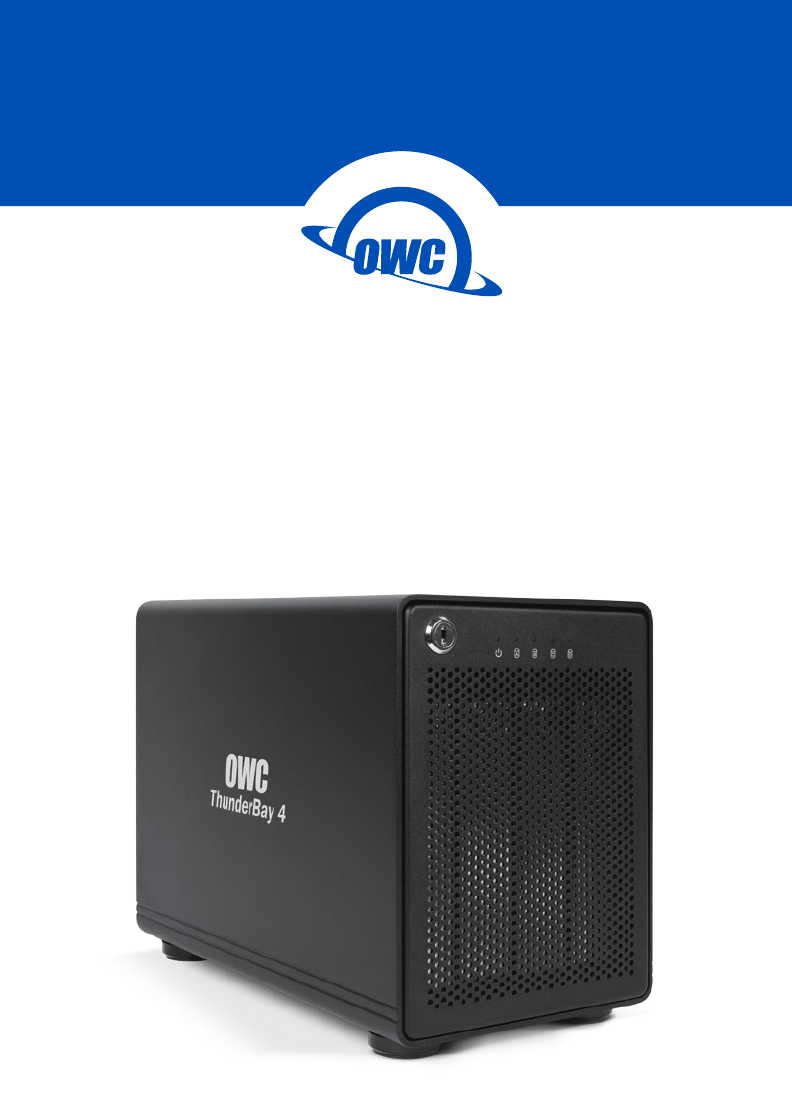
1.5 REAR VIEW 1 3 2 4 1.5.1 Rear Features 1. Kensington® Security Slot — Connect a security tether here. 2. Thunderbolt 2 ports — Attach the included Thunderbolt cable to one of these ports and to your computer, or to another Thunderbolt device. Use the other Thunderbolt 2 port to add more Thunderbolt devices to the chain. 3. ON/OFF switch — Turn the power on and off using this switch. 4. Power input — Connect the included power cable here.
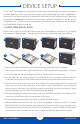
DEVICE SETUP If your OWC ThunderBay 4 was purchased with drives included, the four drives have been installed into their drive trays and have been packed separately from the ThunderBay 4 enclosure. If you purchased the ThunderBay 4 enclosure by itself without drives, follow the instructions in Section 2.1 to install your own drives into the ThunderBay 4. The drive trays are labeled A, B, C, and D, but the arrangement of the drive trays when they are installed in the ThunderBay 4 does not matter. 2.
2.2 QUICK START 1. Install hard drives into the ThunderBay 4 according to the instructions in Section 2.1. 2. Connect the power cable to the back of the ThunderBay 4 and a power outlet, then make sure the ON/OFF switch is set to the ‘ON’ position. 2. Connect a Thunderbolt cable between the ThunderBay 4 and a computer. When you do this, the ThunderBay 4 will turn on and the drives will be available for use on the computer. 3.
SUPPORT RESOURCES 3.1 TROUBLESHOOTING Begin your troubleshooting by verifying that the power cable is connected to the OWC ThunderBay 4 and to a power source. If the power cable is connected to a power strip, make sure that the power switch on the strip is turned on. Then, verify that both ends of your cables are properly plugged into the computer and the ThunderBay 4. If the ThunderBay 4 is still not working properly, try connecting to another computer or using another Thunderbolt cable.
Changes: The material in this document is for information purposes only and subject to change without notice. While reasonable efforts have been made in the preparation of this document to assure its accuracy, OWC and its officers and employees assume no liability resulting from errors or omissions in this document, or from the use of the information contained herein.