
User`s manual


Table Of Contents
- Copyright and Trademark Notice
- About This Manual
- Limited Warranty
- Safety Warnings
- Table of Contents
- Chapter 1: Introduction
- Chapter 2: Hardware Installation
- Chapter 3: First Time Setup
- Chapter 4: System Administration
- Overview
- Web Administration Interface
- Language Selection
- System Information
- System Management
- System Network
- FTP
- Media Server
- HTTP/ Web Disk
- UPnP
- Nsync Target
- Bonjour Setting
- Storage Management
- User and Group Authentication
- Application Server
- iTunes® Server
- Module Management
- Module Installation
- System Module
- User Module
- Backup
- Chapter 5: Using the N7700SAS
- Chapter 6: Tips and Tricks
- Chapter 7: Troubleshooting
- Chapter 8: Revision updated (FW 3.00.03 to 3.00.04)
- Chapter 9: Revision updated up to FW 3.00.08
- Chapter 10: Version 3.01.00 Firmware Updates
- Appendix A: Product Specifications
- Appendix B: Customer Support
- Appendix C: RAID Basics
- Appendix D: Active Directory Basics
- Appendix E: Licensing Information
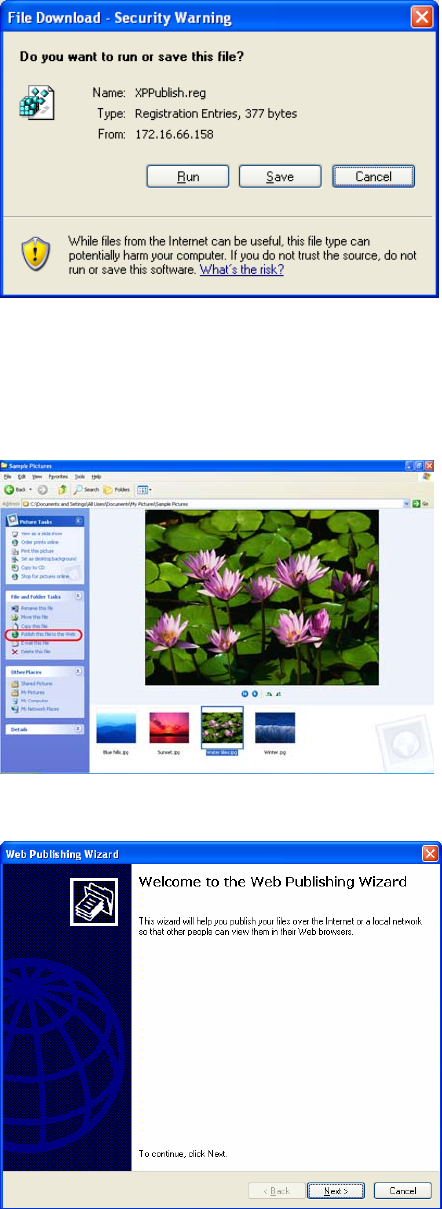
4. Once the register file is installed, use the Windows file manager to browse
the folder that contains the picture you want to publish. On the left pane,
there will be an icon labeled “Publish this folder to the Web”.
5. Click on this icon and Web Publishing Wizard will start.
6. Select the pictures you want to publish to the Photo Web Server by placing a
check mark on the top left hand corner of the picture. Click Next.
103