
user manual
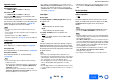
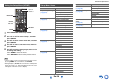
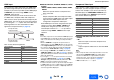
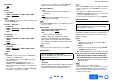
Table Of Contents
- Safety Information and Introduction
- Connections
- Turning On & Basic Operations
- Playback
- Playback
- Controlling Contents of USB or Network Devices
- Understanding Icons on the Display
- Playing an Audio from Bluetooth-enabled Device
- Playing a USB Device
- Listening to TuneIn
- Registering Other Internet Radio
- Changing the Icon Layout on the Network Service Screen
- Playing Music Files on a Server (DLNA)
- Playing Music Files on a Shared Folder
- Remote Playback
- Listening to AM/FM Radio
- Playing Audio and Video from Separate Sources
- Using the Listening Modes
- Displaying Source Information
- Using the Sleep Timer
- Setting the Display Brightness
- Changing the Input Display
- Muting the AV Receiver
- Using the Whole House Mode
- Using the Home Menu
- Playback
- Advanced Operations
- Controlling Other Components
- Controlling Other Components
- Preprogrammed Remote Control Codes
- Looking up for Remote Control Codes
- Entering Remote Control Codes
- Remapping Colored Buttons
- Remote Control Codes for Onkyo Components Connected via RI
- Resetting the REMOTE MODE Buttons
- Resetting the Remote Controller
- Controlling Other Components
- Using the Onkyo Dock
- Controlling Your iPod/iPhone
- Controlling Other Components
- Appendix
- Internet Radio Guide
- Remote Control Codes
Advanced Operations
En-57
Operating
procedure
(➔ page 56)
Explanatory Notes
a Main Menu
b Sub Menu
c Setting target
d Setting options (default setting underlined)
Monitor Out
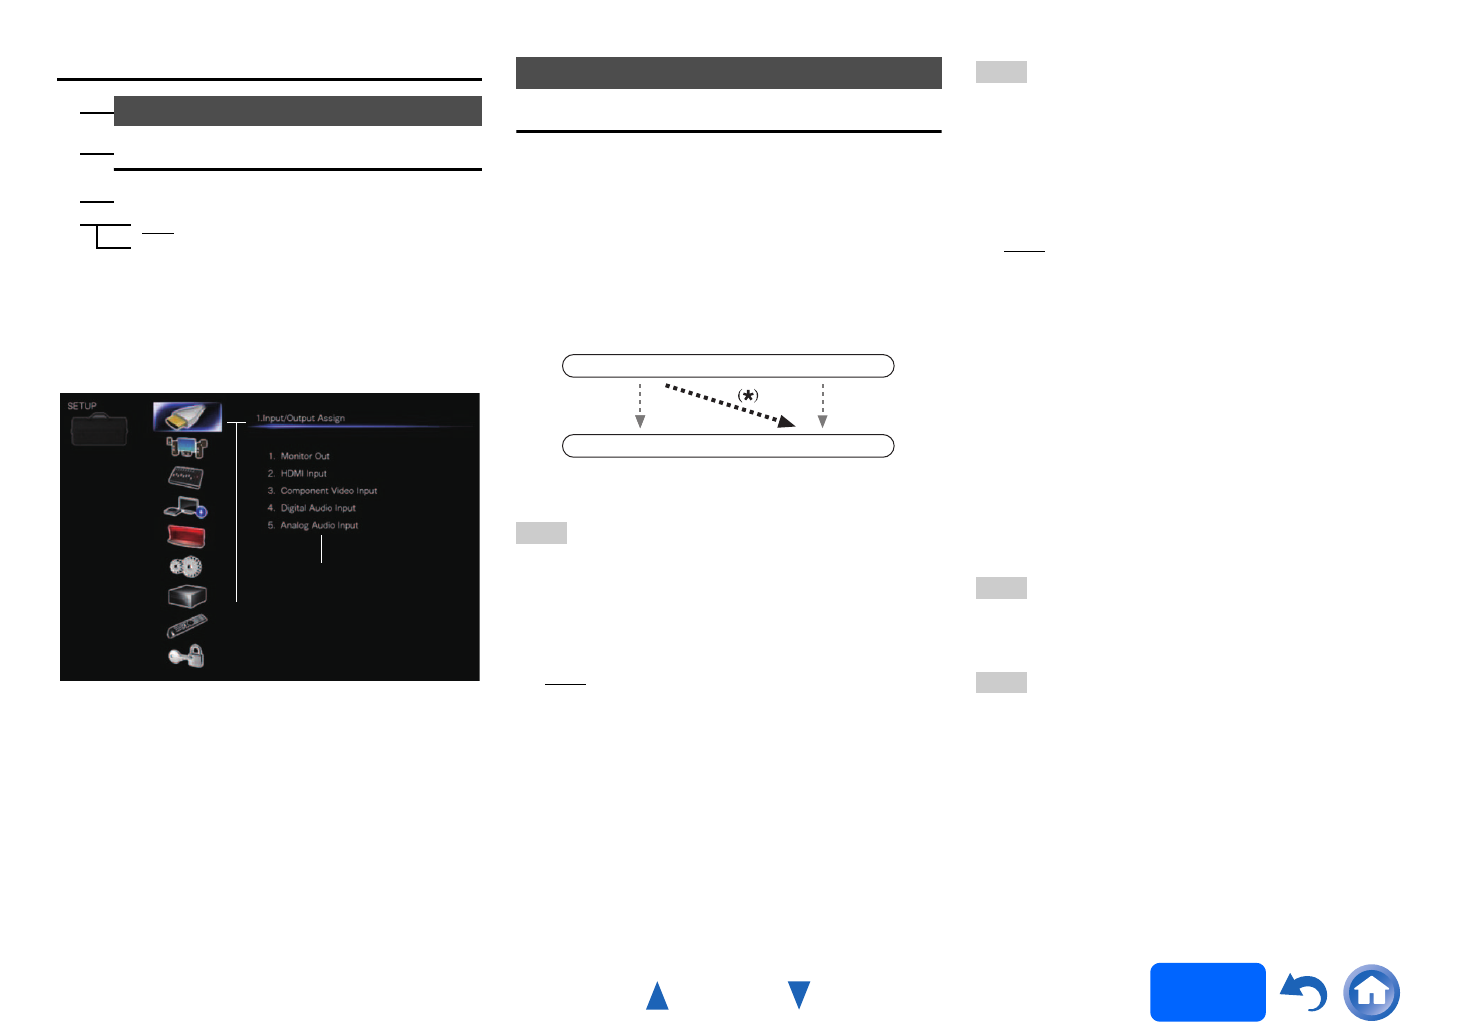
On the “Monitor Out” settings, you can select
whether or not to have the video sources’ images
output through the HDMI output.
If you connect your TV to HDMI output, “Monitor Out”
setting is automatically set and composite video and
component video sources are upconverted
*
and
output.
Note
• See “The video and audio signal flow” (➔ page 17) for
charts showing how the “Monitor Out” and “Resolution”
settings affect the video signal flow through the AV
receiver.
■ Monitor Out
` Main
:
Select this if your TV is connected to HDMI OUT
MAIN.
` Sub:
Select this if your TV is connected to HDMI OUT
SUB.
` Both:
Select this if your TVs are connected to HDMI
OUT MAIN and HDMI OUT SUB. Video signals
are output from both HDMI outputs at the
resolution supported by both TVs.
Note
• The “HDMI Through” setting is only available for the HDMI
OUT MAIN jack (➔ page 70).
■ Resolution
` Through:
Select this to pass video through the AV receiver
at the same resolution and with no conversion.
` Auto
:
Select this to have the AV receiver automatically
convert video at resolutions supported by your
TV.
` 480p (480p/576p), 720p, 1080i, 1080p
*1
:
Select the desired output resolution.
` 4K:
Select this for an output resolution four times
that of 1080p. Depending on the resolution
supported by your TV, it will result in either 3840
× 2160 or 4096 × 2160 pixels.
You can specify the output resolution for HDMI OUT
MAIN and have the AV receiver upconvert the picture
resolution as necessary to match the resolution
supported by your TV.
Tip
• You can see the picture by pressing ENTER to check the
“Resolution” setting for HDMI OUT MAIN (excluding NET,
USB and BLUETOOTH input source).
Note
• With some TVs, video signals are processed in the same
way as “Through” when this setting is set to “4K”.
• If the “Monitor Out” setting is set to “Sub”, this setting is
fixed to “Through”.
• If the “Monitor Out” setting is set to “Both”, this setting is
fixed to “Auto”.
• For optimum video performance, THX recommends using
the HDMI output and setting the video resolution to
“Through”.
*1
When signal is 1080p input at 24 frames per second, it
will be 1080p output at 24 frames per second.
Speaker Configuration
■ Subwoofer
` Yes
` No
2. Speaker Setup
a
b
d
c
Main Menu
Sub Menu
1. Input/Output Assign
IN
OUT
Composite video,
component video
HDMI
HDMI
Composite video,
component video