
user manual

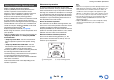
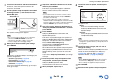
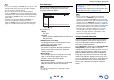
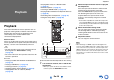
Table Of Contents
- Safety Information and Introduction
- Connections
- Turning On & Basic Operations
- Playback
- Playback
- Controlling Contents of USB or Network Devices
- Understanding Icons on the Display
- Playing an Audio from Bluetooth-enabled Device
- Playing a USB Device
- Listening to TuneIn
- Registering Other Internet Radio
- Changing the Icon Layout on the Network Service Screen
- Playing Music Files on a Server (DLNA)
- Playing Music Files on a Shared Folder
- Remote Playback
- Listening to AM/FM Radio
- Playing Audio and Video from Separate Sources
- Using the Listening Modes
- Displaying Source Information
- Using the Sleep Timer
- Setting the Display Brightness
- Changing the Input Display
- Muting the AV Receiver
- Using the Whole House Mode
- Using the Home Menu
- Playback
- Advanced Operations
- Controlling Other Components
- Controlling Other Components
- Preprogrammed Remote Control Codes
- Looking up for Remote Control Codes
- Entering Remote Control Codes
- Remapping Colored Buttons
- Remote Control Codes for Onkyo Components Connected via RI
- Resetting the REMOTE MODE Buttons
- Resetting the Remote Controller
- Controlling Other Components
- Using the Onkyo Dock
- Controlling Your iPod/iPhone
- Controlling Other Components
- Appendix
- Internet Radio Guide
- Remote Control Codes
En-29
Playback
Playback
This section describes the basic operation such as
playback, listening mode, and other useful functions.
Reading this manual from the beginning to this
section helps you to understand the basic
connection/setup/operation.
■ Screen Saver
If there is no video signal on the current input source
and no operation for a specific time (three minutes by
default), a screen saver automatically comes on.
Tip
• The time until the screen saver activates itself can
be changed in the “Screen Saver” setting
(➔ page 69).
• The screen will return to its previous state if the AV
receiver is operated.
See also:
• “Playing an Audio from Bluetooth-enabled Device”
(➔ page 31)
• “Playing a USB Device” (➔ page 32)
• “Listening to TuneIn” (➔ page 32)
• “Registering Other Internet Radio” (➔ page 34)
• “Playing Music Files on a Server (DLNA)”
(➔ page 34)
• “Playing Music Files on a Shared Folder”
(➔ page 36)
• “Remote Playback” (➔ page 37)
• “Listening to AM/FM Radio” (➔ page 38)
• “Playing Audio and Video from Separate Sources”
(➔ page 40)
• “Controlling Other Components” (➔ page 76)
• “Using the Onkyo Dock” (➔ page 80)
(Actual location of buttons depends on the country.)
Tip
• When listening to an HDMI component through the AV
receiver, set the HDMI component so that its video can be
seen on the TV screen (on the TV, select the input of the
HDMI component connected to the AV receiver). If the TV
power is off or the TV is set to another input source, this
may result in no sound from the AV receiver or the sound
may be cut off.
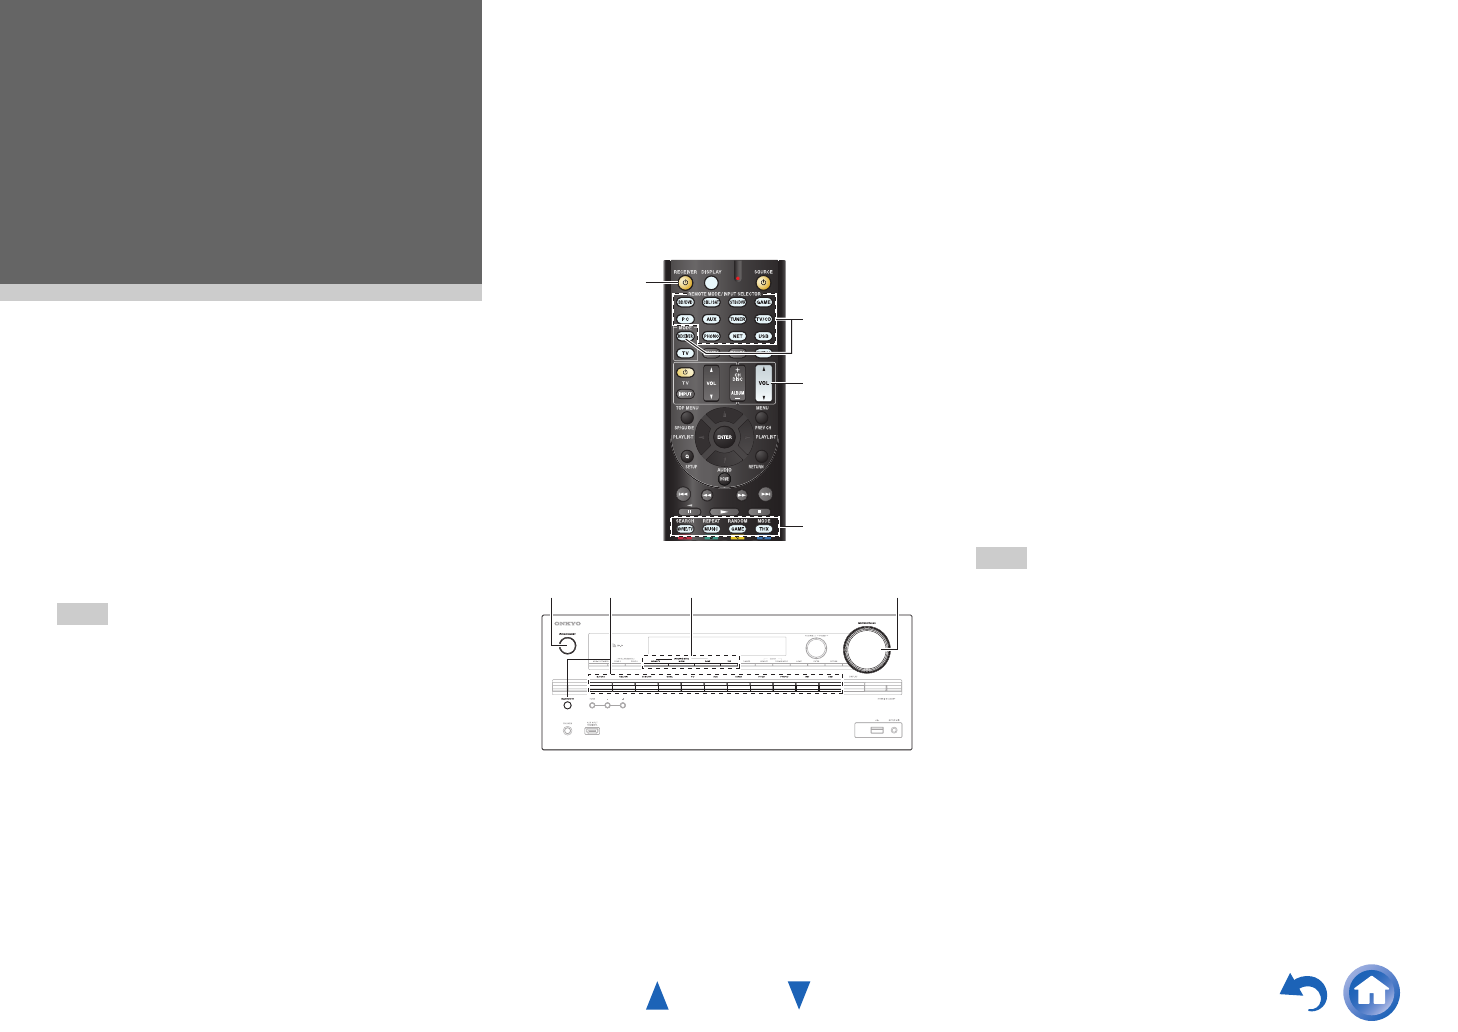
Playback
1
Turn on the AV receiver, the TV and the AV
components.
* When you operate the AV receiver with the remote
controller, press the RECEIVER button first.
4
3
2
1
1 324
2
Select the input on the AV receiver to play the
AV components.
Press the input selector button to which the AV
components to be played is connected.
Press the TV/CD button to play the audio of the
TV. Switching the input on the TV is also
required. Select the input to which the AV
receiver is connected by using the TV remote
controller.
* For the CEC compatible TV and the AV components
connected with HDMI connections, switching the input
is automatically performed. Switch the input manually
for other AV components.
3
Select the desired listening mode.
You can enjoy various types of listening mode.
The listening mode is switched by pressing
Listening mode button on the AV receiver or the
remote controller.
4
Adjust the volume.
You can enjoy the surround sound.