
Instruction Manual
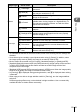
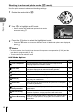
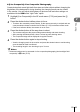
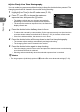


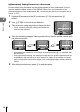
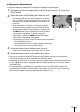
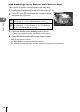
Table Of Contents
Shooting
2
39
EN
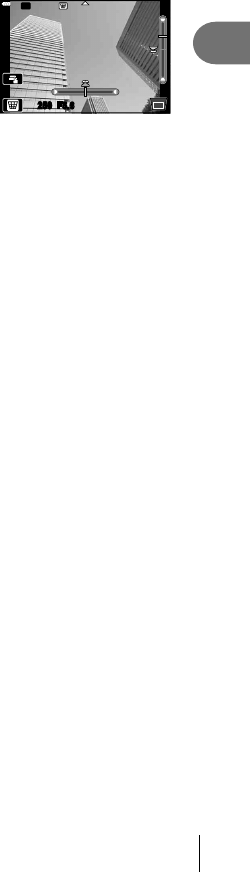
n [ Keystone Compensation]
Correct the effects of perspective in photos of buildings or landscapes.
1
Highlight [Keystone Compensation] in the AP mode menu (P. 32) and press
the Q button.
2
Adjust the effect in the display and frame the shot.
• Use the front dial and rear dial for keystone correction.
• Use FGHI to choose the area to be recorded. The
area cannot be changed depending on the amount of
correction.
• Press and hold the Q button to cancel any changes.
• To adjust exposure compensation and other shooting
options while keystone compensation is in effect, press
the INFO button to view a display other than keystone
compensation adjustment. To resume keystone
compensation, press the INFO button until keystone
compensation adjustment is displayed.
Wi-Fi
250250 F5.6
• The following may occur as the correction amount increases.
- The image will be coarse.
- The magnifi cation ratio for image cropping will be large.
- The crop position will not be able to move.
3
Press the shutter button halfway down to focus.
• If the focus indicator blinks, the camera is not in focus.
4
Press the shutter button all the way down to shoot.
• Photos are recorded in RAW+JPEG format when [RAW] is selected for image quality.
• The desired results may not be obtained with converter lenses.
• Depending on the amount of correction, some AF targets may be outside the display area.
An icon (g, h, i or j) is displayed when the camera focuses on an AF target outside
the display area.
• If a focus distance is selected for [Image Stabilizer], the correction will be adjusted for
the selected focus distance. Except when using a Micro Four Thirds or Four Thirds lens,
choose a focal length using the [Image Stabilizer] option (P. 78).