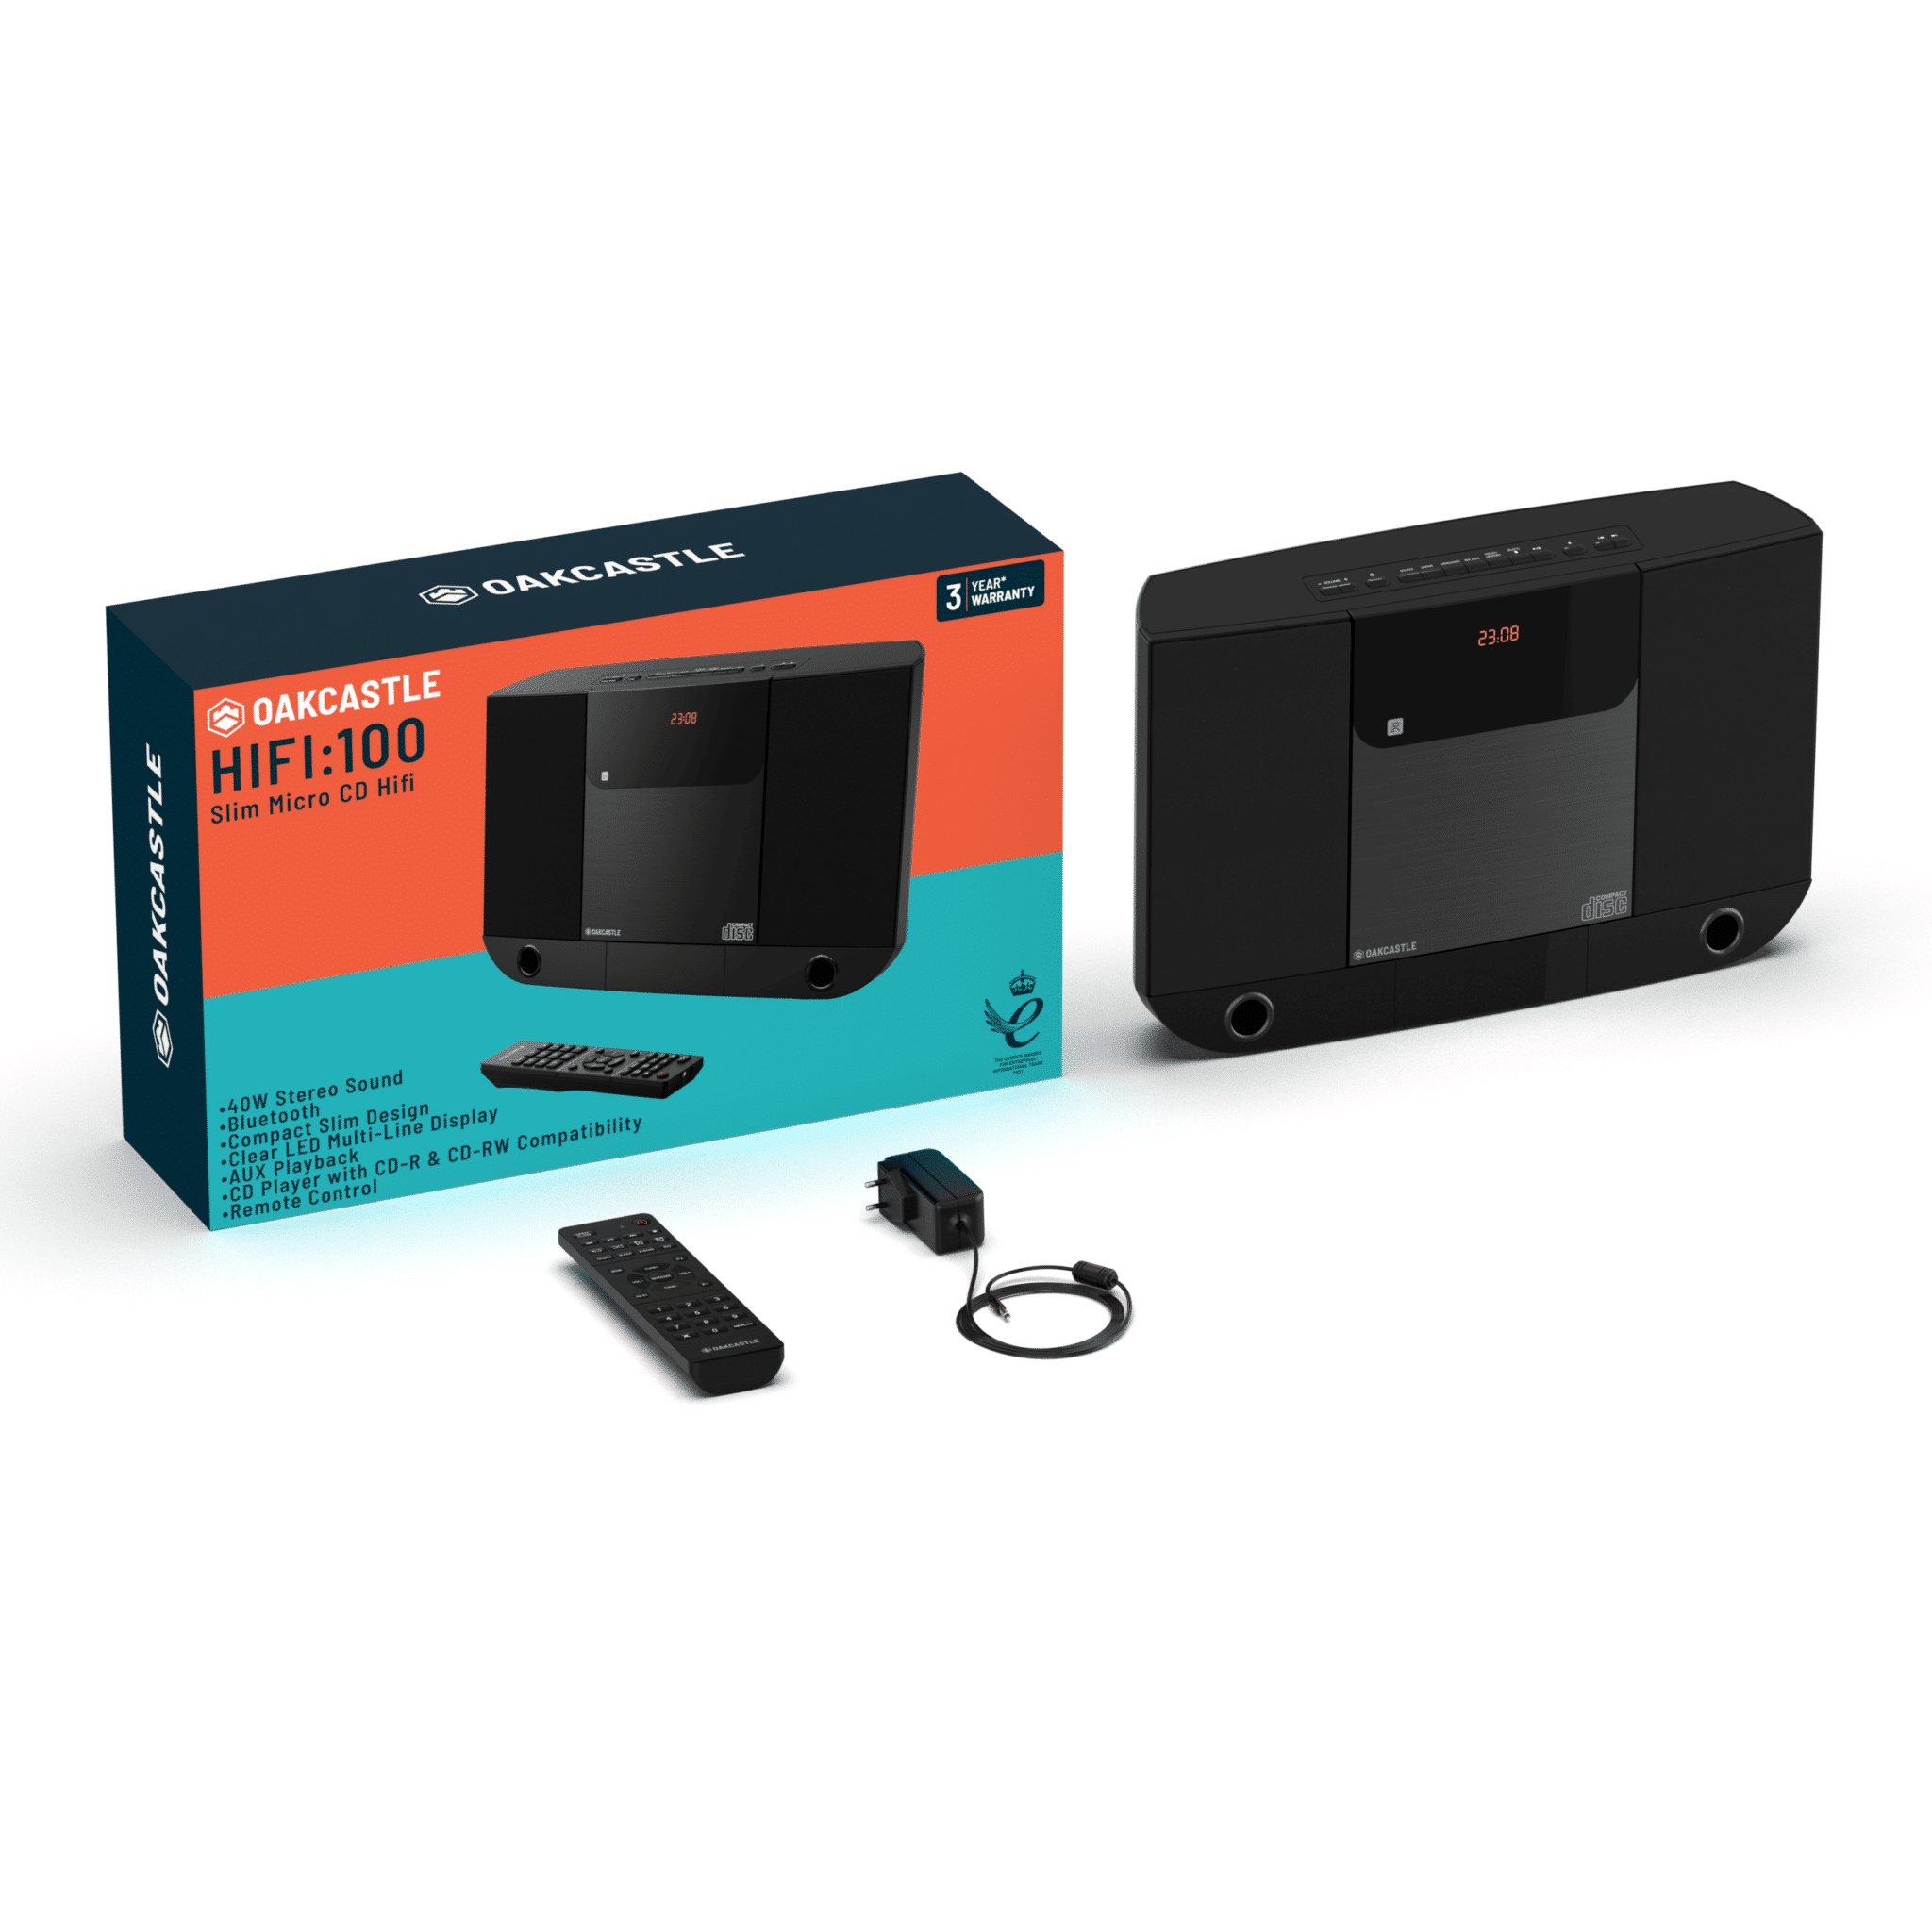
Box Contents 1. 1x HiFi100 2. 1x Remote Control 3. 1x Mains Power Cable (https://www.majority.co.uk/wp-content/uploads/2022/11/HIFI100-Giftbox-EU.png) Controls and Functions Top View/Control Buttons (https://www.majority.co.uk/wp-content/uploads/2022/11/Hi -100-Top.jpg) 1. Volume down (-) button 2. Volume UP (-) button 3. Power/Standby button 4. Mode button 5. Clock button . Sleep button 7. CD Repeat/ Random button FM/Mono/Stereo button . Memory button/ FM preset button 9.
Front View/Control Buttons (https://www.majority.co.uk/wp-content/uploads/2022/11/Hi 100-Front.jpg) 17. Right/Left Speakers 18. Remote Sensor 19.
Remote Control (https://www.majority.co.uk/wp-content/uploads/2022/11/Hi 100-remote.jpg) 1. CD Open/Close button 2. CD/Bluetooth skip previous 3. Play/Pause button 4. CD repeat button 5. CD random button . Clock button 7. Sleep button . Mode button 9. Snooze button 10. Volume down (-) button 11. FM mono/ Stereo button 12. CD track direct access button 13. Mute button 14. Power/Standby button 15. CD/Bluetooth skip next button 1 . CD stop button 17. Alarm button 1 . Bluetooth pair button 19. EQ button 20.
Instructions Guide Standby Mode Standby Mode is when the unit is rst plugged into an AC power source (display ashes and shows 00:00) or after all the settings have been made and the time is showing on the display. Standby mode is also enabled when the Button is pressed and all functions (Bluetooth/Radio/CD/AUX) are off, no buttons are pressed and no alarms are sounding. Turning ON/OFF the unit The LED DISPLAY will ash 00:00 when the unit is plugged in for the rst time. The unit is now in standby mode.
Alarm Operation SETTING THE ALARM CLOCK This feature allows the system to turn on automatically and wake you using a beeping alarm, the CD or the RADIO. 1. In standby mode, press and hold the ALARM Button in on remote control, Hour digits of alarm clock start ashing. You can also tap the ALARM Button in to direct enter alarm time setting mode without waiting. 2. Press the 1• / 1 Button to set the hour and then press the ALARM Button in again to con rm, Minute digits will be ashing.
scan and then release the button. The tuner will stop scanning when it receives the next broadcasting station of adequate signal strength. 5. Press the volume control VOLUME+/- Button on main unit or remote control to adjust the volume to the desired level. FM & FM-Stereo reception – When listening to the FM radio, press the FM ST. Button on remote control or main unit to switch between stereo mode and mono mode. The FM stereo icon “ST” will appear on the display if unit is in stereo mode.
PLAY/PAUSE ►11 Button again. 9. indicate the correct track number selected. 10. To locate a particular section within a track, press and hold the 1•or 1 Button until the section is found. Release the button to continue playing your selection 11. To stop playing, press the STOP Button. SKIP AND SEARCH MODE Button to go to the next track or go back to the beginning of the current track. 2. 2.
CD Playback Programming This function allows the tracks to be played in a programmed sequence. Program can only be set in STOP mode. 1. Tap the PRESET/MEMORY Button on main unit or MEMORY Button on remote control, display will show program track number “P0l” and memory icon “PROG” will be ashing in the LED display. 2. Use the ior •1 Button on main unit or remote control to select the desired track. The track number will be shown in display. 3.
Auxiliary Operation This unit features an auxiliary audio signal input jack for connecting external audio devices like MP3 players, Digital Audio Device and listen to them through the speakers of this unit. 1. Use an audio cable (not included) with one 3.5 mm stereo plug on each end of the cable. 2. Plug one end into the AUDIO IN JACK on main unit and the other end of the cable into the Line-out Jack or Headphone Jack of your external audio device. 3. Turn on the unit and external audio 4.
Warranty Register your Majority product (https://www.majority.co.uk/register/) within 30 days of purchase to activate your extended 3 Year Warranty. Gain access to all the bene ts and lifetime technical support (see our Extended Warranty (https://www.majority.co.uk/returns-warranty/) details for more info). Speci cations Model 1000002841 Output Connections 3.
Addition Warnings The apparatus shall not be exposed to dripping or splashing and no objects lled with liquid, such as vases, shall be places on the apparatus. Main plug is used to disconnect device and it should remain readily operable during intended use. In order to disconnect the apparatus from the main power completely, the power plug should be disconnected from the main socket outlet completely. Battery shall not be exposed to excessive heat such as sunshine, re or the like.


