
Installation guide
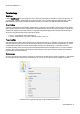
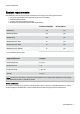
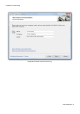
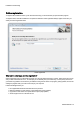
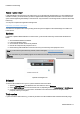
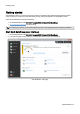
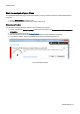
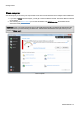
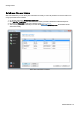
Table Of Contents
- About O&O SafeErase 5
- Features at a glance
- New and enhanced functions
- SafeErase files and folders
- SafeErase hard disks and partitions
- SafeErase free disk space
- SafeErasing the entire computer
- SafeErase system drives
- Use O&O SafeErase via right-clicking
- Method of deletion
- Securely move files and folders
- SafeErase data from the Windows Recycle bin
- Start from the command line
- Manage individual deletion lists
- SafeErase temporary Windows and program files
- SafeErase temporary Internet files
- Reports
- Supports multi core processors
- Important note before program use
- Basics on data deletion
- The differences between the Editions
- Terminology
- Features at a glance
- System requirements
- Installation and licensing
- Getting started
- Start O&O SafeErase (user interface)
- Start the analysis of your drives
- Clean computer
- SafeErase files and folders
- SafeErase hard disks and partitions
- SafeErase free disk space
- SafeErase temporary Windows and program files
- SafeErase data from the Windows Recycle bin
- SafeErase temporary Internet files
- Cancel deletion
- Securely move files and folders
- SafeErase data from Solid State Drives (SSDs)
- Reports
- Method of deletion
- Manage individual deletion lists
- Settings
- SafeErasing the entire computer
- Use O&O SafeErase via right-clicking
- Start from the command line
- Frequently asked questions
- Support and Contact
- End user license agreement 3.2 (EULA)
- Bookmarks
Getting started
O&O SafeErase - 13
Start the analysis of your drives
On the O&O SafeErase start page you have the possibility to scan your entire computer for unsafe deleted and tem-
porary files.
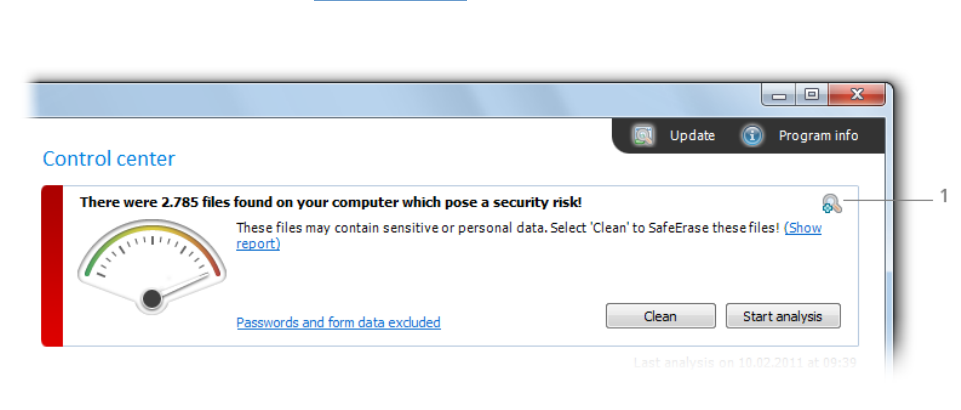
1. Click on Start analysis, to start the scan.
2. You will then receive an overview of the number of files found.
Setup scope of analysis
You can select, that some file types should not be considered in the analysis.
1. For this, click the Icon Analysis settings before the actual analysis or on Passwords and form data exclud-
ed/included.
2. You will then receive a list of the Scope of analysis.
3. Now you can place a check next to the file types, which you want to SafeErase individually.
4. If you start the analysis, only the selected file types will be considered during the scan.
1. Access analysis settings