
7.0
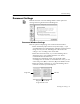
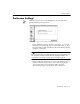
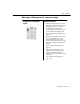
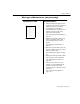

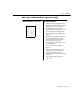
Table Of Contents
- Introduction to OmniPage Pro
- Installation and Setup
- Processing Documents
- Basic Steps of OmniPage Pro OCR
- Selecting Process Commands
- Automatic Processing
- Bringing Document Images into OmniPage Pro
- Creating Zones on a Page
- Converting Images to Text
- Scheduling OCR
- Direct Input: Pasting Text into Other Applications...
- Working With Documents
- Exporting Documents
- OmniPage Pro Settings
- Customizing OCR
- Technical Information
- Glossary

Settings Guidelines
OmniPage Pro Settings - 87
Spreadsheet or table Recommendations:
Select the appropriate page size and
orientation in the Scanner section of the
Settings Panel if you are scanning.
Let OmniPage Pro create zones
automatically. Select Single Column or
Table or One Zone as the zoning
method in the Settings Panel.
See Creating Zones Automatically on
page 32.
Modify zones manually if auto zoning
does not successfully create zones
around all page areas you want to
process.
See Drawing Zones Manually on
page 34.
Make sure an entire table is within one
Text zone. Identify graphics you want to
retain as Graphic zones.
See Specifying Zone Types on page
32.
Identify zones that only contain numbers
with the Numeric zone contents file.
See Specifying Zone Contents on
page 108.
Save the current zones as a zone
template if you are satisfied with the
recognition results and you often
process documents with similar content
and layout.
See Creating Zone Templates on
page 110.
What type of document are you processing?