OPERATION MANUAL NIGHT VISION SCOPE NZT1-M2 (Camera Adaptable) NEWCON INC. 1996 Printed in Canada In USA : 3310 Prospect Ave. Cleveland, OH 44115 In Canada : 1183 Finch Ave. W., Suite 302, Toronto, ON. M3J 2G2 Canada Tel: (416) 663-6963 Fax: (416) 663-9065 Email: NEWCON@MCIMAIL.
CONTENTS 1- Important Information 2- Overview i) Application and Advantages of NZT1-M2 ii) Warning iii) Precautions 3- Components 4- Specifications 5- Construction 6- Operating Instructions 6.1 Pre-starting procedures 6.2 Testing of operation 6.3 Operation at night 7- Using the NZT1-M2 with Camera 8- Troubleshooting 9- Warranty 10- Customer support 11- Acceptance Certificate 1. IMPORTANT INFORMATION Read prior to activation You have just purchased a complicated electronic device.
11. ACCEPTANCE CERTIFICATE • NEVER disassemble the unit. This device contains high voltage, which may be hazardous to your health! • NEVER expose the opened objective lens of an active NIGHT VISION DEVICE Serial Number _______________________________ Model _NZT-1M2_____________________________ corresponds to technical conditions ADSH 3.807.020 TU and is admitted for use. Date of production -____________________ Place for seal Quality inspector ____________________ unit in daylight.
• • ALWAYS keep the objective lenses covered when not in use ALWAYS store in a warm dry place when not in use THANK YOU FOR PURCHASING THE NIGHT VISION SCOPE NZT1-M2. PLEASE DEMAND TO CHECK THE DEVICE FOR PROPER OPERATION WHEN BUYING IT. PLEASE READ ALL THE INSTRUCTIONS CAREFULLY BEFORE USING. 2. OVERVIEW The night vision scope NZT1-M2 is an observational optico-electronic monocular device intended for examining distant objects and orientation at nighttime conditions.
original purchase, to your NEWCON Dealer. NEWCON will, repair (or at its option replace), the product or part thereof, which, on inspection by NEWCON, is found to be defective in materials or workmanship.
Precautions NZT1-M2 is a sophisticated precision optical instrument equipped with electronics. Therefore, it should be handled with due care. • Keep your device away from direct sunlight, impacts, dust, moisture, and sudden changes of temperatures. • Do not touch the optical surfaces with fingers. Doing so may damage the anti-reflection coating. • Cleaning of optical surfaces is possible only with professional camera lens cleaning supplies. • To clean the exterior of the device, use only a soft clean cloth.
Photography When using the NZT1-M2 for photography, you are not supposed to obtain the same quality of pictures as taken in the daytime. But you will have the possibility to get an image of the object that normally could not be seen in the dark by the naked eye. The user has a wide range of possibilities for experiments in the photography field by selecting different photo materials and changing of optics.
4. SPECIFICATIONS OF NZT1-M2 Magnification, X Field of View, angl.., degrees, not less Lens aperture Dyoptric correction Operating illumination Power supply; Scope AP-7 I/R Illuminator Battery life, hours Dimensions, mm Weight, kg 2.4 15° 1.5 ±5 from moon light to star’s light 9V 3V 2AA 10 100×120×260 1.1 NOTE: As the design is being continuously improved some descriptions may differ from those given above. optional byonet adapter 8 Pic.
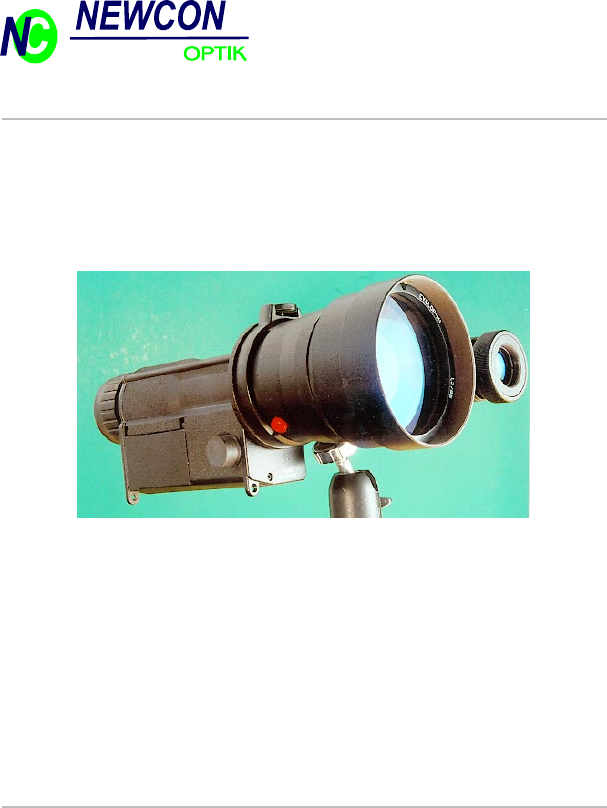
5. Adjustable Angle 2. On/off Switch 4. Mount Screw 5. CONSTRUCTION Locking Ring 2. Locking Screw 3. Lens 1. Body 9. Eye-piece Focusing Ring 6. Lens Focusing Ring 1. Body 3. Battery House Cover 4. IR Illuminator Pic. 2 1. 2. 3. 4. 5. 6. Body On/Off Switch Battery House Cover Mount Screw Adjustable Angle Locking Ring Lens Focusing Ring 7. USING THE NZT1-M2 WITH CAMERA To use a camera with the NZT1-M2, use a camera with Pentax Screw type thread.
6. OPERATION INSTRUCTIONS WARNING! NEVER OPERATE YOUR NIGHT VISION DEVICE IN DAYLIGHT AREAS WITHOUT THE LENS COVER ON! NEVER DIRECT THE LENS IN THE DIRECTION OF BRIGHT LIGHT! 6.1 Pre-starting procedures. 1. Unpack the device. In order to install the battery, open battery house cover (8), and install the battery. Check the functioning of the device by switching it on (click switch 7) and looking through eye-piece (9). If power supply and the batteries are O.K., you will see greenish lit screen.