
Quick Reference Guide


Table Of Contents
- ProSafe Wireless-N Access Point WNAP210 Reference Manual
- Contents
- Chapter 1 Introduction
- Chapter 2 Installation and Configuration
- Wireless Equipment Placement and Range Guidelines
- Understanding WNAP210 Wireless Security Options
- Installing the WNAP210 Wireless Access Point
- Deploying the Access Point
- Mounting the Access Point Using the Wall Mount Kit (Optional)
- Setting Basic IP Options
- Wireless Settings
- Setting Up and Testing Basic Wireless Connectivity
- Understanding Security Profiles
- Chapter 3 Management
- Remote Management
- Remote Console
- Upgrading the Wireless Access Point Software
- Managing the Configuration File
- Restoring the WNAP210 to the Factory Default Settings
- Changing the Administrator Password
- Enabling the Syslog Server
- Using Activity Log Information
- Viewing General Summary Information
- Viewing Network Traffic Statistics
- Viewing Available Wireless Station Statistics
- Enabling Rogue AP Detection
- Viewing and Saving AP Lists
- Chapter 4 Advanced Configuration
- Chapter 5 Troubleshooting and Debugging
- No lights are lit on the wireless access point.
- The Wireless LAN LED does not light up.
- The Ethernet LAN LED is not lit.
- I cannot access the Internet or the LAN with a wireless- capable computer.
- I cannot connect to the WNAP210 to configure it.
- When I enter a URL or IP address, I get a time-out error.
- Using the Restore Factory Settings Button to Restore Default Settings
- Appendix A Default Settings and Technical Specifications
- Appendix B Related Documents
- Appendix C Command Line Reference
- Index
3-1
v1.0 March 2009
Chapter 3
Management
This chapter describes how to use the management and monitoring features of your ProSafe
Wireless-N Access Point. To access these features, connect to the WNAP210 access point as
described in “Logging In Using the Default IP Address” on page 2-11. Then select the
Maintenance or Monitoring in the
main menu of the browser interface.
Remote Management
Both the SNMP and Remote Console are enabled by default, which allows for remote
management of the WNAP210 from a client running SNMP management software, as well as
from a secure Telnet console.
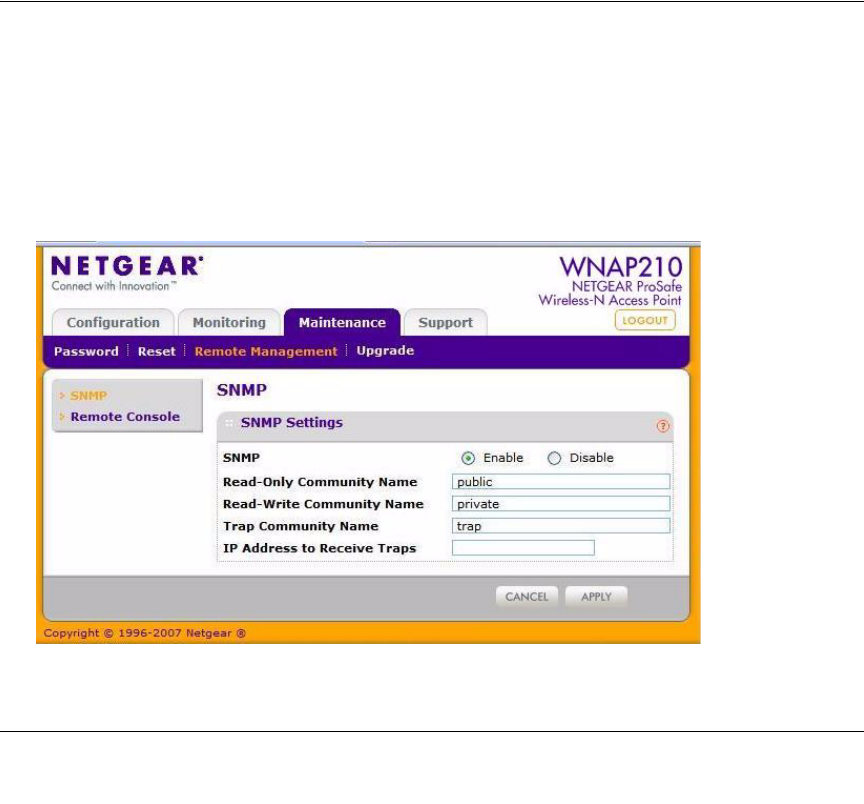
To set up an SNMP management interface:
1. Select Maintenance > Remote
Management > SNMP. The SNMP screen displays, as shown
in Figure 3-1.
Figure 3-1