
Quick Reference Guide


Table Of Contents
- ProSafe Wireless-N Access Point WNAP210 Reference Manual
- Contents
- Chapter 1 Introduction
- Chapter 2 Installation and Configuration
- Wireless Equipment Placement and Range Guidelines
- Understanding WNAP210 Wireless Security Options
- Installing the WNAP210 Wireless Access Point
- Deploying the Access Point
- Mounting the Access Point Using the Wall Mount Kit (Optional)
- Setting Basic IP Options
- Wireless Settings
- Setting Up and Testing Basic Wireless Connectivity
- Understanding Security Profiles
- Chapter 3 Management
- Remote Management
- Remote Console
- Upgrading the Wireless Access Point Software
- Managing the Configuration File
- Restoring the WNAP210 to the Factory Default Settings
- Changing the Administrator Password
- Enabling the Syslog Server
- Using Activity Log Information
- Viewing General Summary Information
- Viewing Network Traffic Statistics
- Viewing Available Wireless Station Statistics
- Enabling Rogue AP Detection
- Viewing and Saving AP Lists
- Chapter 4 Advanced Configuration
- Chapter 5 Troubleshooting and Debugging
- No lights are lit on the wireless access point.
- The Wireless LAN LED does not light up.
- The Ethernet LAN LED is not lit.
- I cannot access the Internet or the LAN with a wireless- capable computer.
- I cannot connect to the WNAP210 to configure it.
- When I enter a URL or IP address, I get a time-out error.
- Using the Restore Factory Settings Button to Restore Default Settings
- Appendix A Default Settings and Technical Specifications
- Appendix B Related Documents
- Appendix C Command Line Reference
- Index
ProSafe Wireless-N Access Point WNAP210 Reference Manual
Installation and Configuration 2-13
v1.0 March 2009
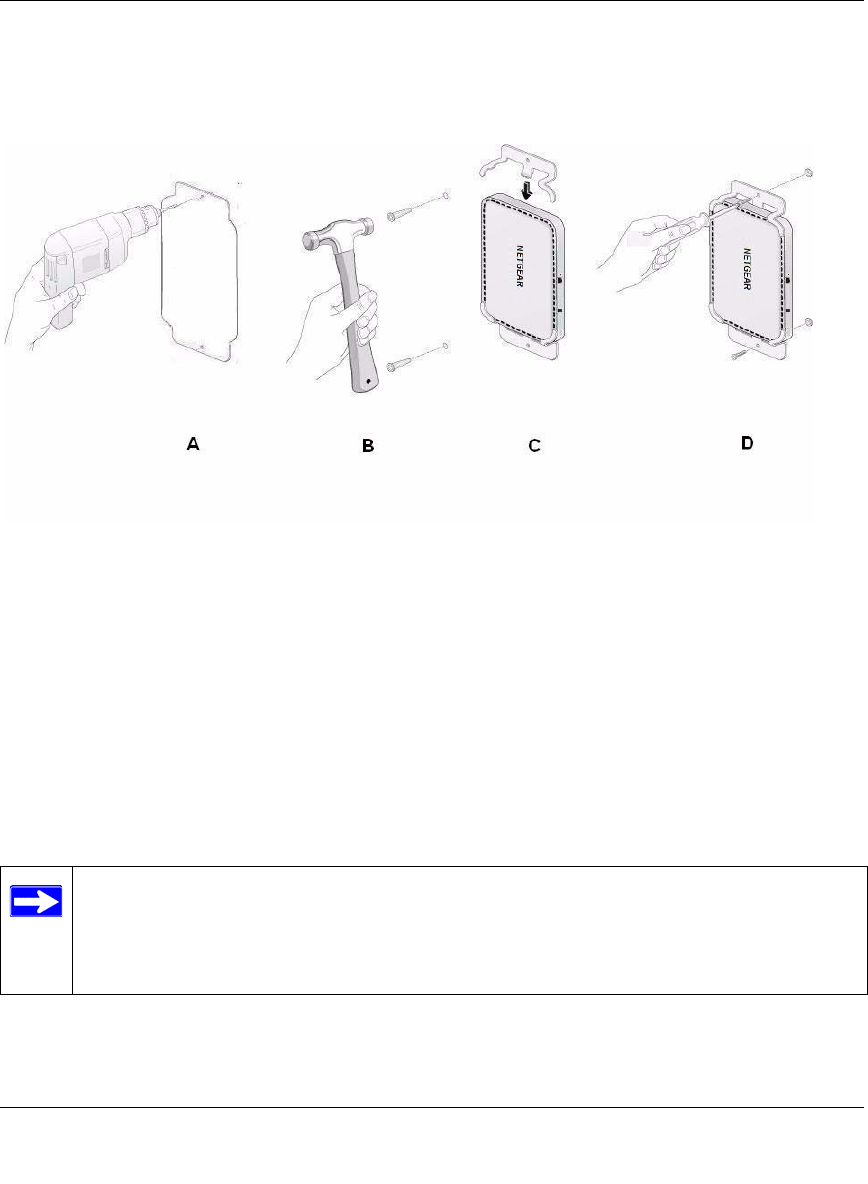
4. Attach the brackets to the anchors using the screws from the mounting kit as shown in (D).
Figure 2-7
5. Connect an Ethernet cable from your access point to a LAN port on your router, switch, or
hub. If power is not provided by PoE, connect the power adapter to the wireless access point
and plug the power adapter into a power outlet. The Power, LAN, and Wireless LAN LEDs
should light up.
Configuring and Testing Your PCs for Wireless Connectivity
Program the wireless adapter of your PCs to have the same SSID and channel that you configured
in the Wireless Settings for the access point. Check that they have a wireless link and are able to
obtain an IP address by DHCP from the access point.
Note: If you are configuring the access point from a wireless computer and you change
the SSID, channel, or security profile settings, you will lose your wireless
connection when you click Apply. You must then change the wireless settings of
your computer to match the new settings.
Once your PCs have basic wireless connectivity to the ac
cess point, you can deploy the apoint and
configure the advanced wireless security functions.