
Quick Reference Guide


Table Of Contents
- ProSafe Wireless-N Access Point WNAP210 Reference Manual
- Contents
- Chapter 1 Introduction
- Chapter 2 Installation and Configuration
- Wireless Equipment Placement and Range Guidelines
- Understanding WNAP210 Wireless Security Options
- Installing the WNAP210 Wireless Access Point
- Deploying the Access Point
- Mounting the Access Point Using the Wall Mount Kit (Optional)
- Setting Basic IP Options
- Wireless Settings
- Setting Up and Testing Basic Wireless Connectivity
- Understanding Security Profiles
- Chapter 3 Management
- Remote Management
- Remote Console
- Upgrading the Wireless Access Point Software
- Managing the Configuration File
- Restoring the WNAP210 to the Factory Default Settings
- Changing the Administrator Password
- Enabling the Syslog Server
- Using Activity Log Information
- Viewing General Summary Information
- Viewing Network Traffic Statistics
- Viewing Available Wireless Station Statistics
- Enabling Rogue AP Detection
- Viewing and Saving AP Lists
- Chapter 4 Advanced Configuration
- Chapter 5 Troubleshooting and Debugging
- No lights are lit on the wireless access point.
- The Wireless LAN LED does not light up.
- The Ethernet LAN LED is not lit.
- I cannot access the Internet or the LAN with a wireless- capable computer.
- I cannot connect to the WNAP210 to configure it.
- When I enter a URL or IP address, I get a time-out error.
- Using the Restore Factory Settings Button to Restore Default Settings
- Appendix A Default Settings and Technical Specifications
- Appendix B Related Documents
- Appendix C Command Line Reference
- Index
ProSafe Wireless-N Access Point WNAP210 Reference Manual
2-6 Installation and Configuration
v1.0 March 2009
This unique name is the access point NetBIOS name. The access point name is printed on the
rear label of the access point. The default is netgearxxxxxx, where xxxxxxx represents the last
6 digits of the access point MAC address. You can replace the default name with a unique
name up to 15 characters long.
5. From the Countr
y/Region drop-down menu, select the region where the access point will be
used (the Country/Region is not Configurable in the United States; but is configurable in the
rest of the world). Click Apply.
Note: If your country or region is not listed, please check with NETGEAR Support.
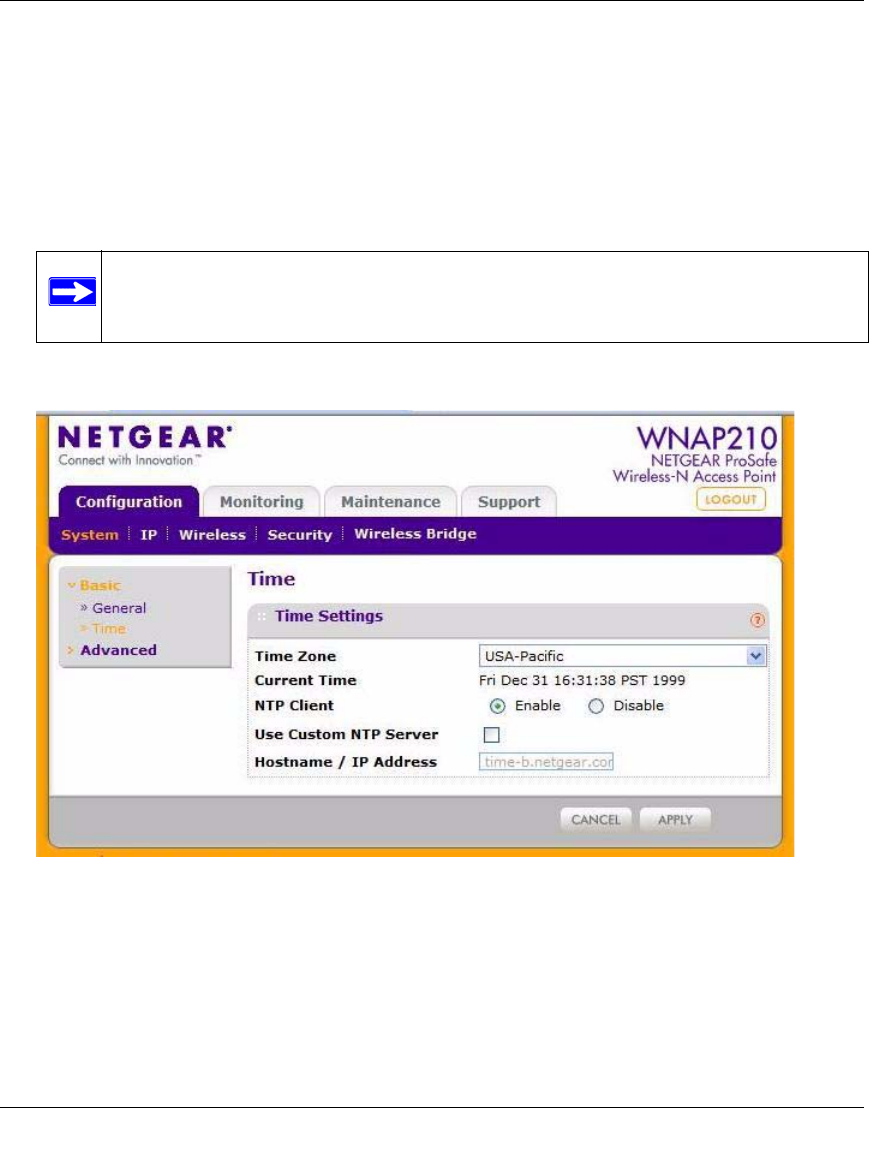
6. Select System > Basic > Time.
Figure 2-4
• Time Zone. From the drop-down list, select the local time zone for your wireless access
point from a list of all available time zones. The default is USA-Pacific. The wireless
access point will get the current time from the connecting PC.