
Owner's Manual
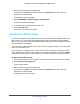
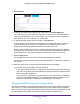
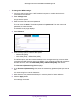
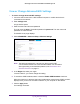
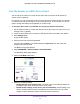
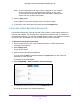

Table Of Contents
- User Manual
- Table of Contents
- Overview
- Connect to the Network and Access the Router
- Specify Your Internet Settings
- Use the Internet Setup Wizard
- Manually Set Up the Internet Connection
- Specify IPv6 Internet Connections
- Requirements for Entering IPv6 Addresses
- Use Auto Detect for an IPv6 Internet Connection
- Use Auto Config for an IPV6 Internet Connection
- Set Up an IPv6 6rd Tunnel Internet Connection
- Set Up an IPv6 6to4 Tunnel Internet Connection
- Set Up an IPv6 Pass Through Internet Connection
- Set Up an IPv6 Fixed Internet Connection
- Set Up an IPv6 DHCP Internet Connection
- Set Up an IPv6 PPPoE Internet Connection
- Change the MTU Size
- Control Access to the Internet
- Optimize Performance
- Specify Network Settings
- View or Change WAN Settings
- Dynamic DNS
- Set Up a Default DMZ Server
- Change the Router’s Device Name
- Change the LAN TCP/IP Settings
- Specify the IP Addresses That the Router Assigns
- Disable the DHCP Server Feature in the Router
- Manage Reserved LAN IP Addresses
- Custom Static Routes
- Specify Basic WiFi Settings
- Set Up a Guest WiFi Network
- View or Change Advanced WiFi Settings
- Use the Router as a WiFi Access Point
- Generate a New Backhaul Password
- Manage Your Network
- Customize Internet Traffic Rules for Ports
- Use VPN to Access Your Network
- Troubleshooting
- Supplemental Information
- Specs
- Quick Start Guide
- Spec Sheet
Specify Network Settings
73
Orbi High-Performance AC3000 Tri-band WiFi System
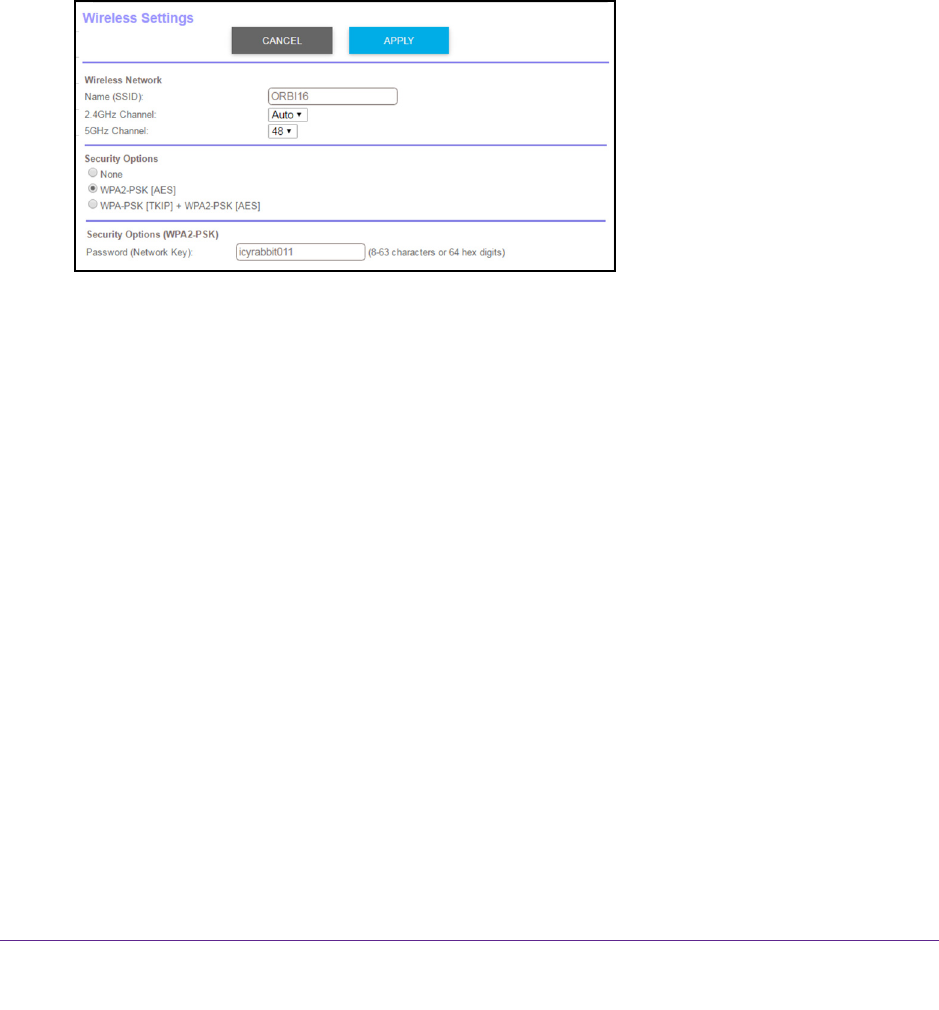
To change the WPA settings:
1. Launch a web browser from a WiFi-enabled computer or mobile device that is
connected to the network.
2. Enter orbilogin.com.
A login window opens.
3. Enter the router user name and password.
The user name is admin.
The default password is password. The user name and
password are case-sensitive.
The BASIC Home page displays.
4. Select W
ireless.
5. Under Security Options, select a WPA option:
• WP
A2-PSK [AES]
• WP
A-PSK [TKIP] + WPA2-PSK [AES]
The WPA2 option uses the newest standard for the strongest security, but some older
computers and WiFi devices cannot use WP
A2. If your network includes old computers
and WiFi devices, select the WPA-PSK [TKIP] + WPA2-PSK [AES] radio button.
The Password (Network Key) field displays.
6. In the Password (Network Key) field, enter the network key (password) that you want to
use.
It is a text string from 8 to 63 characters.
7. W
rite down the new password and keep it in a secure place for future reference.
8. Click the Apply button.
Your settings are saved.