
Owner's Manual
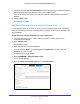


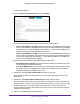
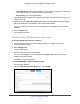
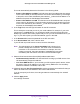
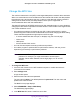
Table Of Contents
- User Manual
- Table of Contents
- Overview
- Connect to the Network and Access the Router
- Specify Your Internet Settings
- Use the Internet Setup Wizard
- Manually Set Up the Internet Connection
- Specify IPv6 Internet Connections
- Requirements for Entering IPv6 Addresses
- Use Auto Detect for an IPv6 Internet Connection
- Use Auto Config for an IPV6 Internet Connection
- Set Up an IPv6 6rd Tunnel Internet Connection
- Set Up an IPv6 6to4 Tunnel Internet Connection
- Set Up an IPv6 Pass Through Internet Connection
- Set Up an IPv6 Fixed Internet Connection
- Set Up an IPv6 DHCP Internet Connection
- Set Up an IPv6 PPPoE Internet Connection
- Change the MTU Size
- Control Access to the Internet
- Optimize Performance
- Specify Network Settings
- View or Change WAN Settings
- Dynamic DNS
- Set Up a Default DMZ Server
- Change the Router’s Device Name
- Change the LAN TCP/IP Settings
- Specify the IP Addresses That the Router Assigns
- Disable the DHCP Server Feature in the Router
- Manage Reserved LAN IP Addresses
- Custom Static Routes
- Specify Basic WiFi Settings
- Set Up a Guest WiFi Network
- View or Change Advanced WiFi Settings
- Use the Router as a WiFi Access Point
- Generate a New Backhaul Password
- Manage Your Network
- Customize Internet Traffic Rules for Ports
- Use VPN to Access Your Network
- Troubleshooting
- Supplemental Information
- Specs
- Quick Start Guide
- Spec Sheet
Specify Your Internet Settings
35
Orbi High-Performance AC3000 Tri-band WiFi System
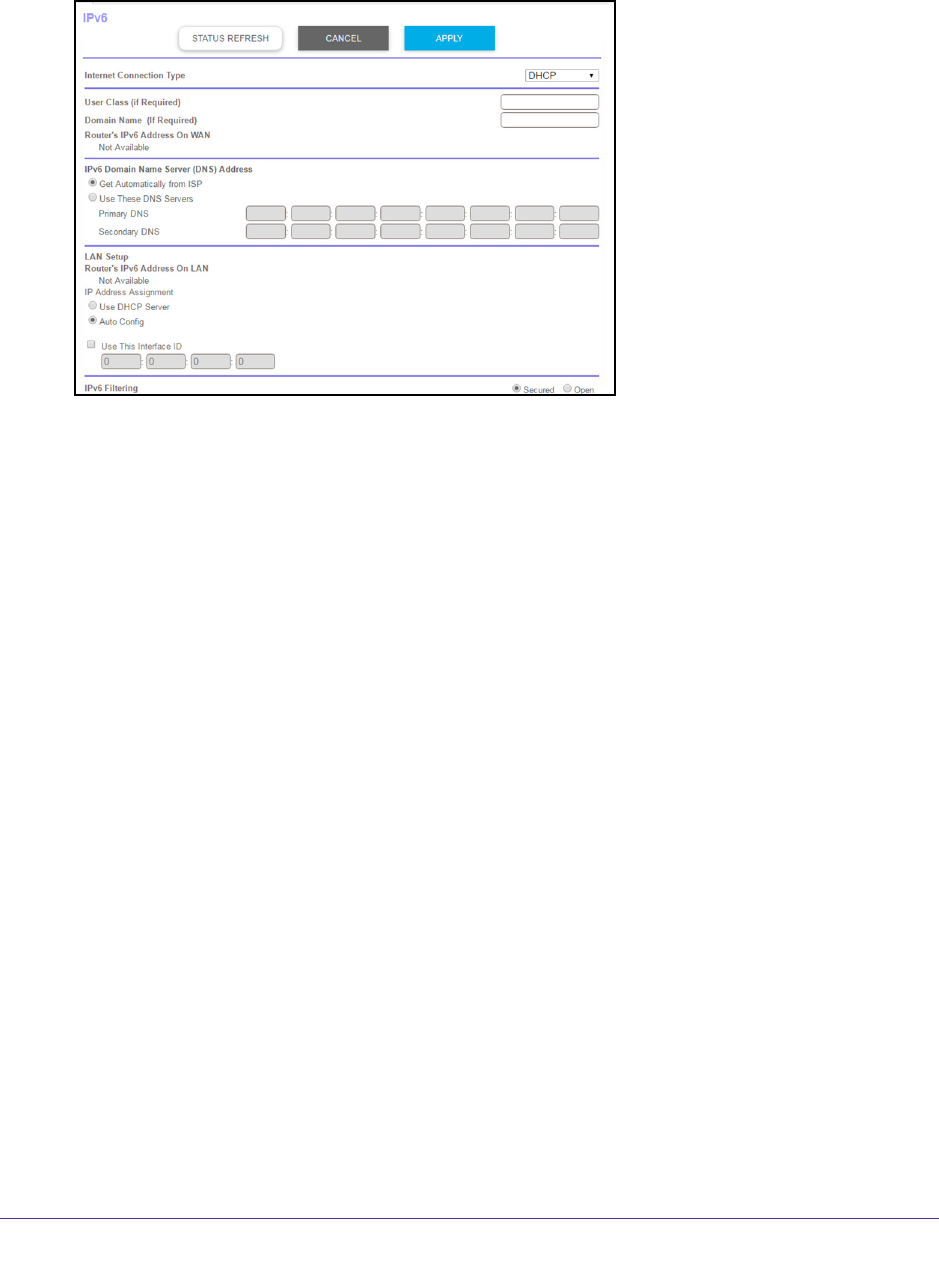
The IPv6 page displays.
5. From the Internet Connection T
ype menu, select DHCP.
The router automatically detects the information in the following fields:
• Router
’s IPv6 Address on WAN. This field shows the IPv6 address that is acquired
for the router’s WAN (or Internet) interface. The number after the slash (/) is the length
of the prefix, which is also indicated by the underline (_) under the IPv6 address. If no
address is acquired, the field displays Not Available.
• Router
’s IPv6 Address on LAN. This field shows the IPv6 address that is acquired
for the router’s LAN interface. The number after the slash (/) is the length of the prefix,
which is also indicated by the underline (_) under the IPv6 address. If no address is
acquired, the field displays Not Available.
6. Select an IPv6 Domain Name Server (DNS)
Address radio button:
• Get Automatically
from ISP. Your ISP uses DHCP to assign your DNS servers. Your
ISP automatically assigns this address.
• Use These DNS Servers. If you know that your ISP requires specific servers, select
this option. Enter the IP address of your ISP’
s primary DNS server. If a secondary
DNS server address is available, enter it also.
7. (Optional) In the User Class (If Required) field, enter a host name.
Most people can leave this field blank, but if your ISP gave you a specific host name,
enter it here.
8. (Optional) In the Domain Name (If Required) field, enter a domain name.
You can type the domain name of your IPv6 ISP. Do not enter the domain name for the
IPv4 ISP here. For example, if your ISP’
s mail server is mail.xxx.yyy.zzz, type xxx.yyy.zzz
as the domain name. If your ISP provided a domain name, type it in this field. For
example, Earthlink Cable might require a host name of home, and Comcast sometimes
supplies a domain name.
9. Select
an IP Address Assignment radio button: