
User's Manual


Table Of Contents
- ProSecure Web/Email Security Threat Management (STM) Appliance Reference Manual
- Contents
- About This Manual
- Chapter 1 Introduction
- Chapter 2 Using the Setup Wizard to Provision the STM in Your Network
- Choosing a Deployment Scenario
- Understanding the Steps for Initial Connection
- Logging In to the STM
- Using the Setup Wizard to Perform the Initial Configuration
- Setup Wizard Step 1 of 10: Introduction
- Setup Wizard Step 2 of 11: Networking Settings
- Setup Wizard Step 3 of 11: Time Zone
- Setup Wizard Step 4 of 11: Email Security
- Setup Wizard Step 5 of 11: Web Security
- Setup Wizard Step 6 of 11: Email Notification Server Settings
- Setup Wizard Step 7 of 11: Update Settings
- Setup Wizard Step 8 of 11: HTTP Proxy Settings
- Setup Wizard Step 9 of 11: Web Categories
- Setup Wizard Step 10 of 11: Configuration Summary
- Setup Wizard Step 11 of 11: Restarting the System
- Verifying Proper Installation
- Registering the STM with NETGEAR
- What to Do Next
- Chapter 3 Performing Network and System Management
- Configuring Network Settings
- Configuring Session Limits and Timeouts
- Configuring the HTTP Proxy Settings
- About Users with Administrative and Guest Privileges
- Configuring Remote Management Access
- Using an SNMP Manager
- Managing the Configuration File
- Updating the Software
- Configuring Date and Time Service
- Managing Digital Certificates
- Managing the Quarantine Settings
- Performance Management
- Chapter 4 Content Filtering and Optimizing Scans
- About Content Filtering and Scans
- Configuring E-mail Protection
- Configuring Web and Services Protection
- Configuring Application Control
- Setting Scanning Exclusions and Web Access Exceptions
- Chapter 5 Managing Users, Groups, and Authentication
- About Users, Groups, and Domains
- Configuring Groups
- Configuring User Accounts
- Configuring Authentication
- Global User Settings
- Viewing and Logging Out Active Users
- Chapter 6 Monitoring System Access and Performance
- Chapter 7 Troubleshooting and Using Online Support
- Appendix A Default Settings and Technical Specifications
- Appendix B Related Documents
- Index
ProSecure Web/Email Security Threat Management (STM) Appliance Reference Manual
Content Filtering and Optimizing Scans 4-21
v1.0, September 2009
4. Click Apply to save your settings. The Distributed Spam Analysis section and the Send
Quarantine Spam Report section each have their own Apply and Reset buttons to enable you
to make changes to these sections separately.
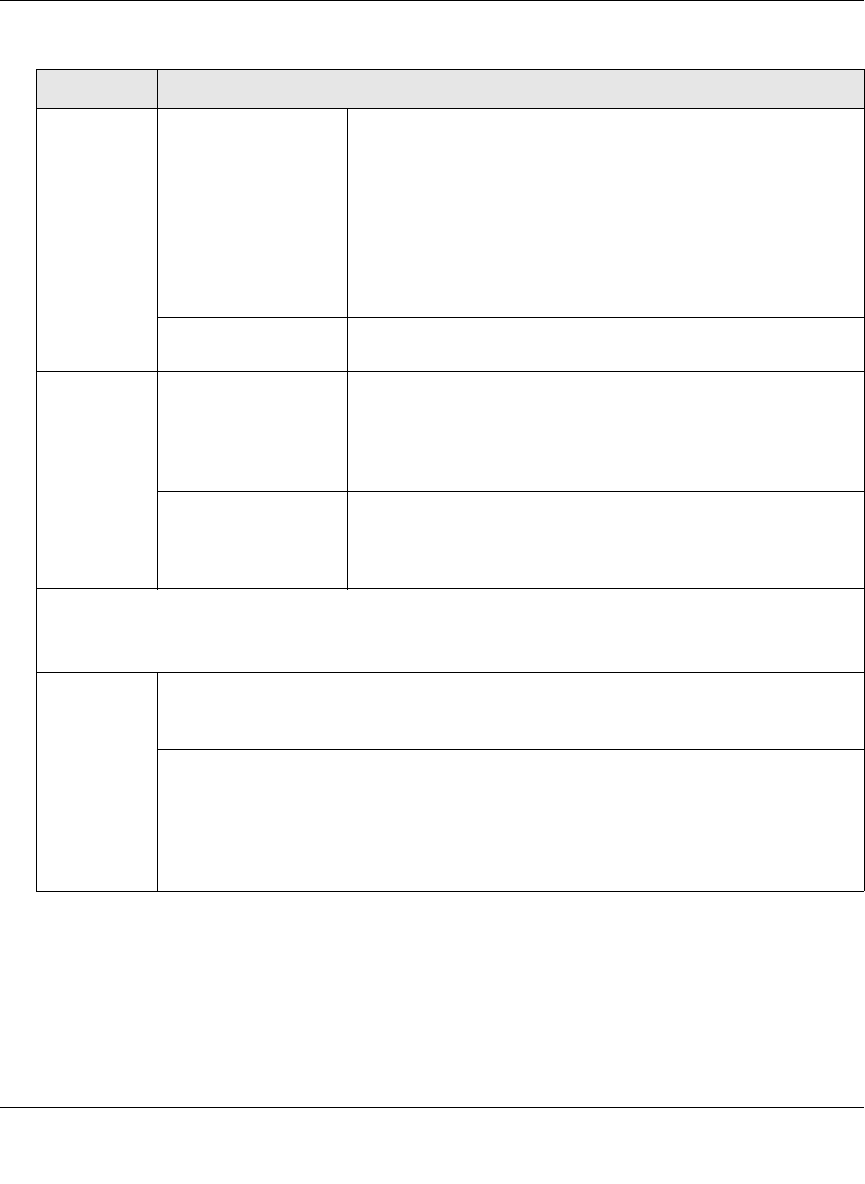
Action SMTP From the SMTP pull-down menu, select the action that are
taken when spam is detected by the anti-spam engine:
• Tag spam email. This is the default setting. The e-mail is
tagged as spam, and a spam log entry is created.
• Block spam email. The e-mail is blocked, and a spam log
entry is created.
• Quarantine spam email. The e-mail is quarantined, a spam
log entry is created, and a spam quarantine log entry is
created.
POP3 The only option is to tag spam e-mail. A spam log entry is also
created.
Tag Add tag to mail
subject
When the option “Tag spam email” is selected from the Action
pull-down menu (see above), select this checkbox to add a tag
to the e-mail subject line. The default tag is “[SPAM]” but you
can customize this tag. The default setting is to add the default
tag to the subject line.
Add tag X-NETGEAR-
SPAM to mail header
When the option “Tag spam email” is selected from the Action
pull-down menu (see above), select this checkbox to add the
“X-NETGEAR-SPAM” tag to the e-mail header. The default
setting is to add the default tag to the e-mail header.
Send Quarantine Spam Report
Note: Ensure that the Email Notification Server (see “Configuring the E-mail Notification Server” on
page 6-2) is configured before you specify the quarantine spam report settings.
Enable Select this checkbox to enable the STM to send a quarantine spam report to the
recipient that you have specified on the Email Notification Server screen (see
“Configuring the E-mail Notification Server” on page 6-2).
Select one of the following radio buttons to specify the frequency with which the report is
sent:
• Weekly. Reports are sent weekly at the day and time that you specify from the pull-
down menus (weekday, hours, and minutes).
• Daily. Reports are sent daily at the time that you specify from the pull-down menus
(hours and minutes).
Table 4-8. Distributed Spam Analysis Settings (continued)
Setting Description (or Subfield and Description)