
ProSafe Network Management System Reference Manual


Table Of Contents
- Contents
- Chapter 1 Introduction
- Chapter 2 Installation and Startup
- Chapter 3 Data and Statistics
- Chapter 4 Polling and Emailing
- Chapter 5 Troubleshooting and Advanced Configuration
- Troubleshooting Network Discovery
- Duration of Network Discovery
- Normal Discovery Map Layout
- Failure Symptoms and Solutions
- Discovery Agent Fails to Connect to the Server
- Incorrect or Missing Community Names
- SNMP Device Access Control List
- Firewalls Block SNMP Operations
- Not Enough Seeds
- Broadcast Packet Losses
- Limiting the Scope of Discovery
- Setting Up New Filters
- Stopping Discovery Auto-Layout
- Troubleshooting Network Discovery
- Appendix A
- Glossary
- Index
Reference Manual for the ProSafe Network Management System NMS100
3-4 Data and Statistics
September 2004 202-10058-01
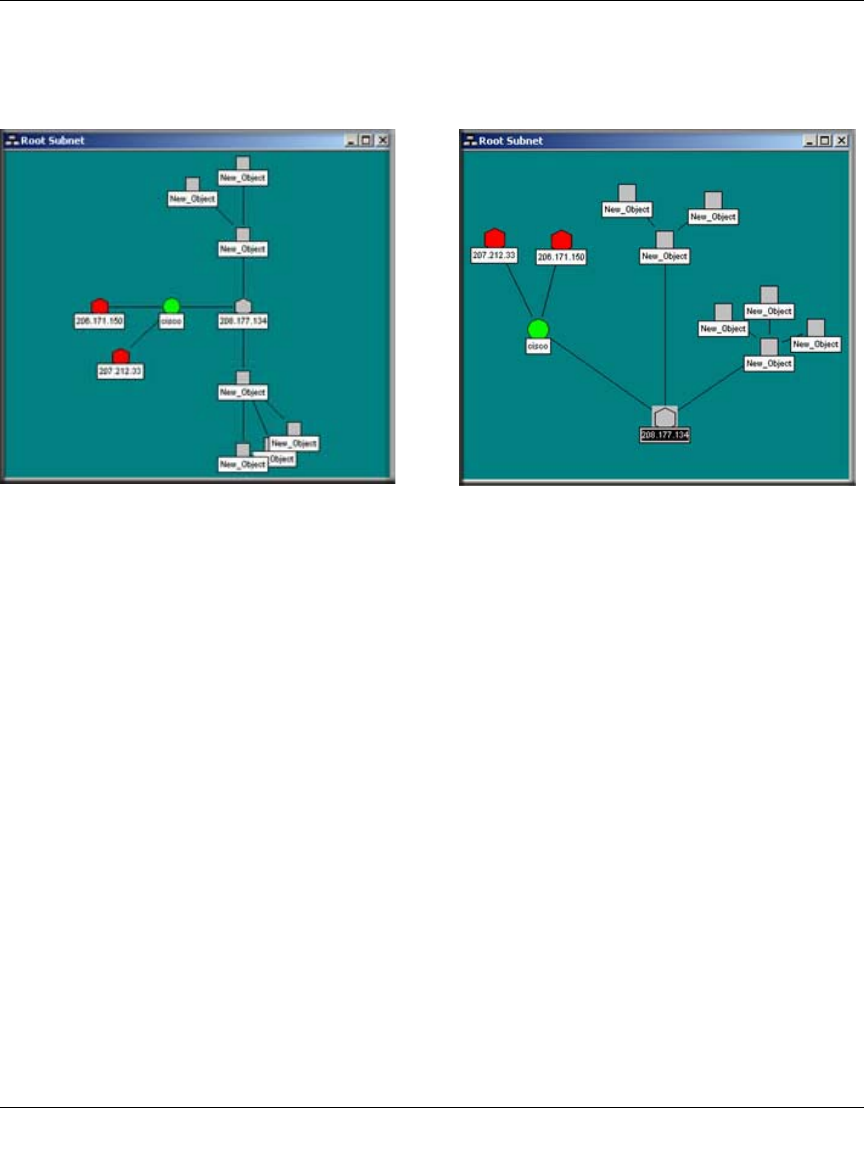
To move objects at the top level, select one or more objects in a Map view and drag the mouse. The
selected objects are moved to the new mouse location. The following illustration shows an
automatically (left) and manually (right) arranged Root Submap level.
Figure 3-1: Automatically arranged and manually arranged submap levels
Moving Objects Inside Subnet Levels
Single port devices are added to the second map layer, below top-level subnet icons. Each subnet
layer also includes a Bus Network that all devices are attached to. You can move devices around
the Bus Network by selecting them and dragging them to the new position. However, the Bus
Network is automatically arranged and the object will only be approximately placed where you
drag it.
If you need to positively rearrange the lower levels then it is best to change the network from a Bus
to a regular Network. This network will not be automatically arranged and you can move icons
anywhere in the view, as well as change the network shape with junction points. You can click and
drag any junction point or network segment. To add or remove junction points, double-click on the
network.