
ProSafe Network Management System Reference Manual


Table Of Contents
- Contents
- Chapter 1 Introduction
- Chapter 2 Installation and Startup
- Chapter 3 Data and Statistics
- Chapter 4 Polling and Emailing
- Chapter 5 Troubleshooting and Advanced Configuration
- Troubleshooting Network Discovery
- Duration of Network Discovery
- Normal Discovery Map Layout
- Failure Symptoms and Solutions
- Discovery Agent Fails to Connect to the Server
- Incorrect or Missing Community Names
- SNMP Device Access Control List
- Firewalls Block SNMP Operations
- Not Enough Seeds
- Broadcast Packet Losses
- Limiting the Scope of Discovery
- Setting Up New Filters
- Stopping Discovery Auto-Layout
- Troubleshooting Network Discovery
- Appendix A
- Glossary
- Index
Data and Statistics 3-1
September 2004 202-10058-01
Chapter 3
Data and Statistics
Working with the Map Database
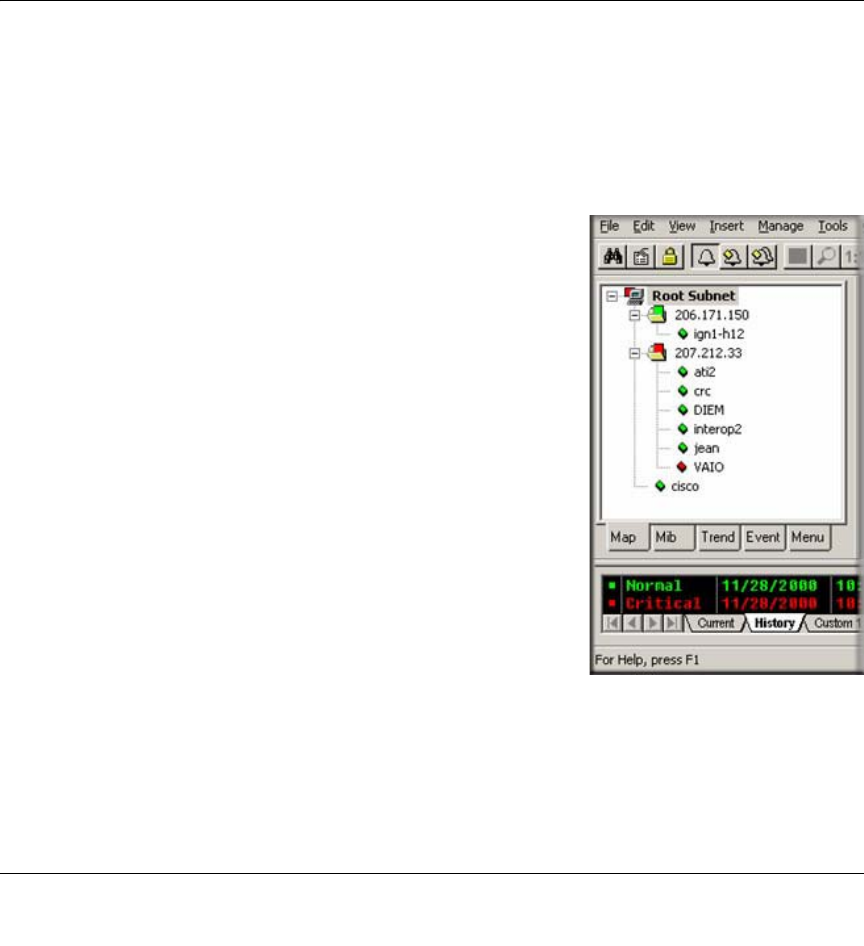
The Map Selection Tree
Locate the Selection Tool on the right side of the console. If you do not see the Selection Tool, use
the View/Selection Tool menu to show it. Select the first tab marked Map. The displayed Map
Selection Tree shows all icon objects in the map. This includes subnets (which contain lower map
levels), devices, and Goto icons. Networks and links are not shown in the Map Selection Tree.
• Single-click the small box to the left of a subnet icon (folder
icon) to open or close that sublevel in the selection tree.
• Double-click on a subnet name (right of folder icon) to open
that subnet level as a Map View window (see below).
• Left-click on any object name to select that object. Use the
Shift and Ctrl keys to select multiple objects.
• Use the Delete key to remove selected objects.
• After opening two subnet levels, select multiple device
names and drag the mouse to move them from one subnet to
another. Note that any attached links and networks are not
moved, and links will be deleted during the move (you can
re-add them manually later).
• Right-click on a device icon (colored rectangle) or name to
see the available right-click menus. Use these menus to edit
the selected object properties, display tables, and run other
custom menus.
• Open a subnet tree and use the Insert/Map Object menus, or the Edit button bar to add icon
objects to the subnet tree.
Each icon in the Map Selection Tree is colored according to the status of the represented object.
Subnet icons (and the top level Root Subnet icon) show the highest priority color of all underlying
objects.