
Owner's Manual


Table Of Contents
- Smart Switch Software User Manual GS748T
- Contents
- About This Manual
- Chapter 1 Switch Management Overview
- Chapter 2 Using the Smartwizard Discovery Utility
- Chapter 3 Basic Web Management
- Chapter 4 Configuring the Switch
- Configuring Ports
- Configuring the Link Aggregation Group (LAG)
- Setting Up SNMP
- Configuring and Creating VLANs
- Enabling Spanning Tree Protocol
- Establishing Multicast Groups
- Enabling Jumbo Frames
- Setting Rate Limits
- Setting QoS Global Configuration
- Enabling Storm Control
- Configuring the IP Access List
- Controlling Switch Access by MAC Address and VLAN ID
- Setting up Mirroring or “Sniffer Ports”
- Viewing Packet Statistics
- Appendix A Specifications and Default Values
- Appendix B Virtual Local Area Networks (VLANs)
- Appendix C Network Cabling
Smart Switch Software User Manual GS748T
Basic Web Management 3-7
v1.0, October 2007
• You want to make a major configuration change for another reason.
You can perform a Factory Reset using either of the following methods:
• From the main menu, Maintenance > Reset > Factory Default. The Factory Default screen will
display.
• Select the Check this box and click Apply below to reboot and return all configuration
settings to default values check box and then click Apply, or
• Press the Factory Defaults button on the right-hand side of the front panel.
The effect of each of these alternatives is identical.
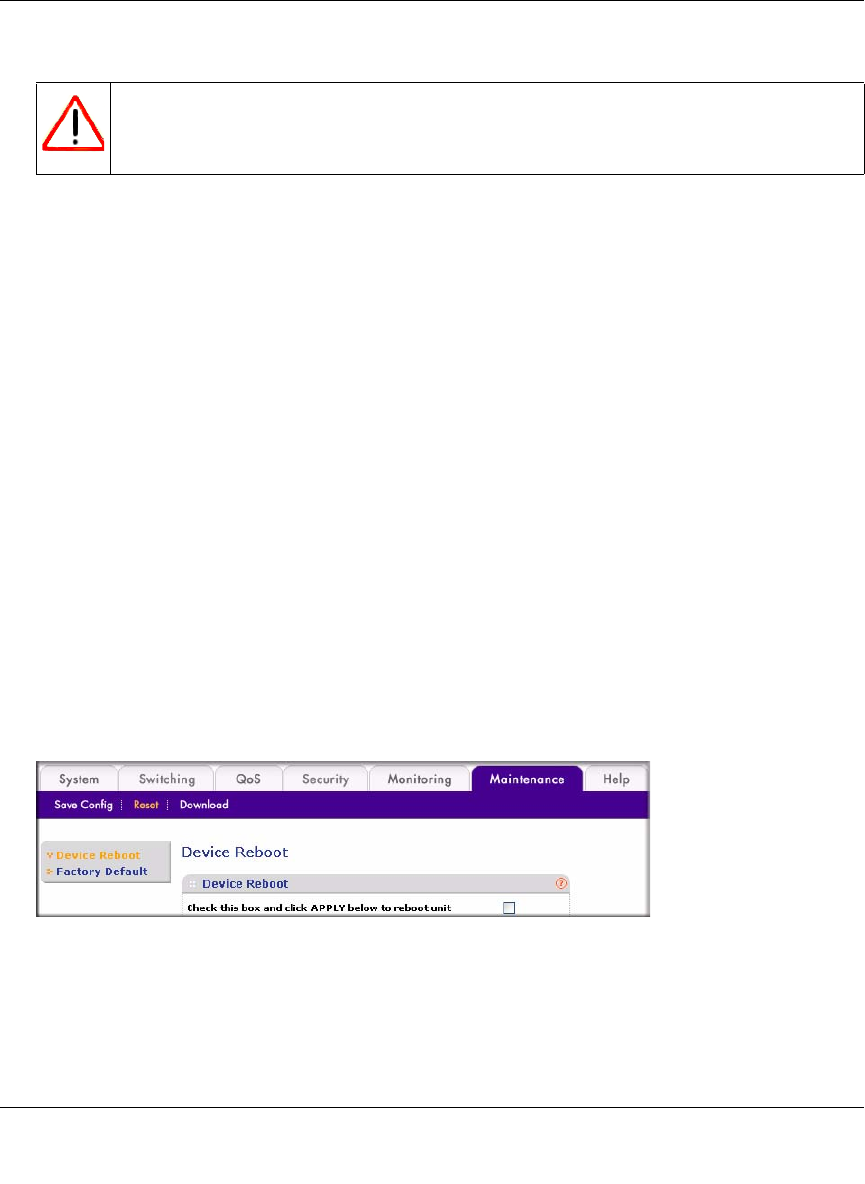
Performing a Device Reboot restarts the system. Your configuration settings remain intact. You
can reboot the switch externally by either:
• Power cycle it by disconnecting and reconnecting the power cord, or
• Use the Reset button on the left-hand side of the front panel.
This operation does not disturb your switch configuration.
To reboot the switch from the switch GUI:
1. Select Maintenance > Reset > Device Reboot. The Device Reboot screen will display.
2. Select the Check this box and click APPLY below to reboot unit checkbox.
3. Click Apply.
Warning: Restoring Factory Defaults erases any prior user configuration.
Figure 3-7