
GC110-GC110P Hardware Installation Guide
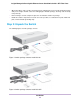

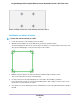
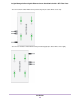
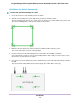
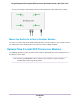
Table Of Contents
- Contents
- 1. Introduction
- 2. Hardware Overview
- 3. Applications
- 4. Installation
- Step 1: Prepare the Site
- Step 2: Protect Against Electrostatic Discharge
- Step 3: Unpack the Switch
- Step 4: Install the Switch
- Optional Step 5: Install SFP Transceiver Modules
- Step 6: Connect Devices to the Switch
- Step 7: Check the Installation
- Step 8: Apply Power and Check the LEDs
- Step 9: Manage the Switch
- 5. Troubleshooting
You can also mount the switch with the back panel facing down (the cables will be at the bottom).
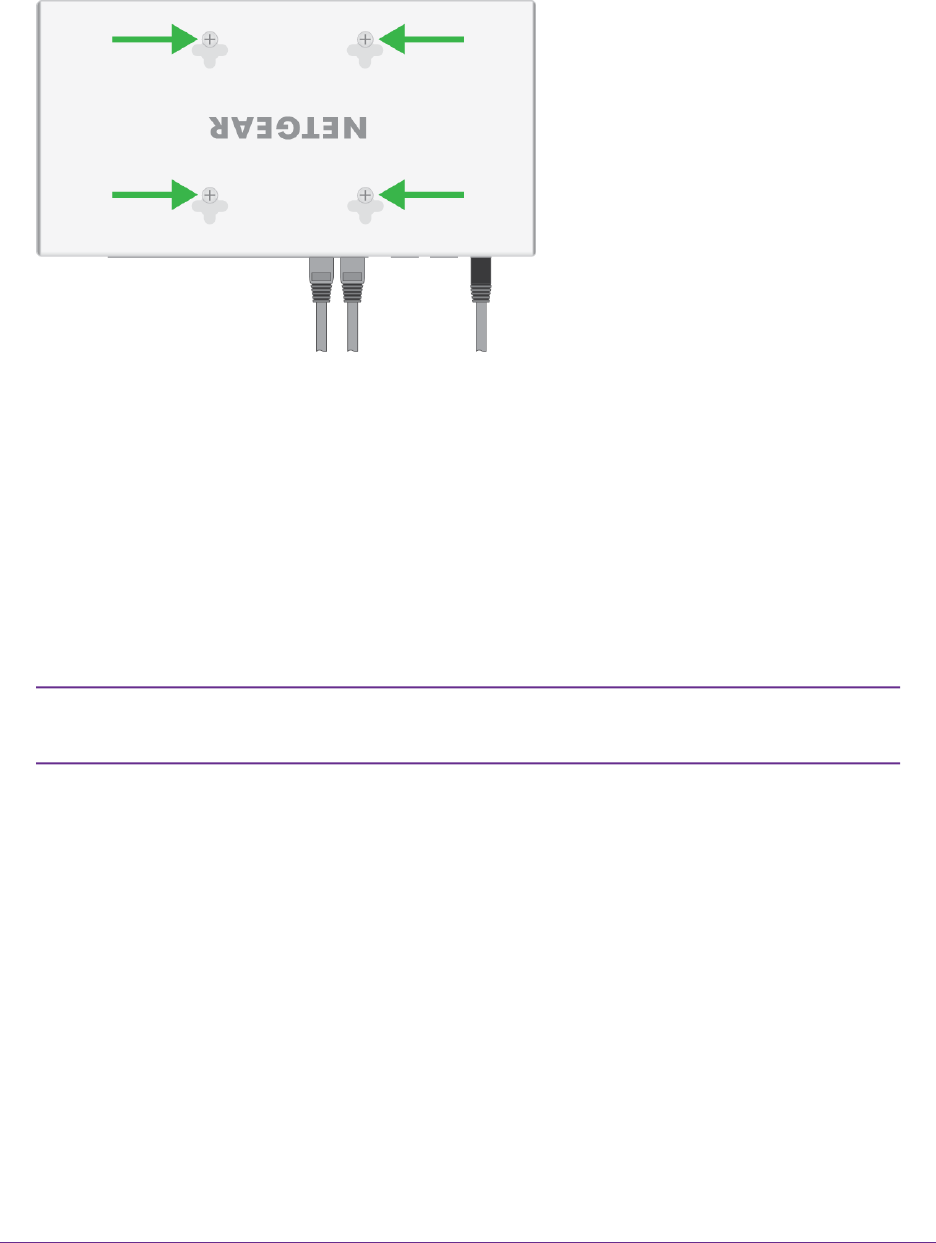
Mount the Switch to a Pole or Another Surface
You can use an off-the-shelf 75 mm VESA standard mount to secure the switch to a pole or another surface.
The bottom panel of the switch provides four mount holes that are VESA-compliant.
Optional Step 5: Install SFP Transceiver Modules
The following optional procedure describes how to install an optional SFP transceiver module into one of
the SFP ports of the switch.
Contact your NETGEAR reseller to purchase these modules. If you do not want to
install an SFP module, skip this procedure.
Note
Installation
27
Insight Managed 8-Port Gigabit Ethernet Smart Cloud Switch with 2 SFP Fiber Ports